Zendesk Connector Documentation
If you have already set up a connector, skip to How to Use the Zendesk Connector.
Connect your Zendesk Help Center to Abacus.AI
To use the Abacus Zendesk connector, you must authorize your API requests by obtaining an API token from your Zendesk account.
-
Log in to your Zendesk account and navigate to the Admin Center.
-
Select "Apps and Integrations", then choose "Zendesk API" under the "APIs" section.
-
Enable token access and generate a new API token. Remember to save the token securely as it will only be shown once.

-
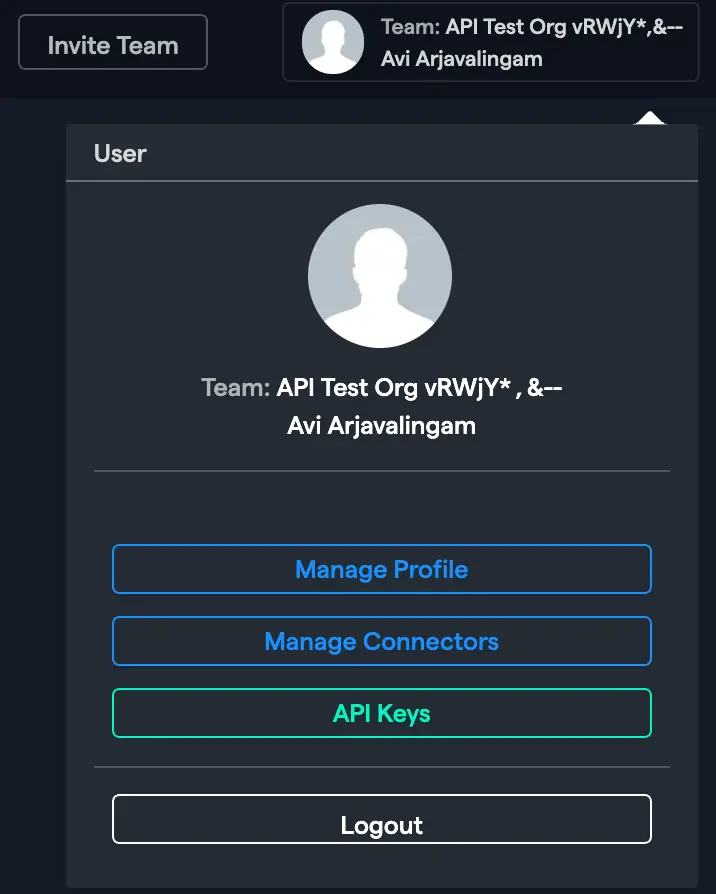
In the Abacus.AI interface, click on your profile picture in the top right corner.

-
From the dropdown menu, select "Manage Connectors".
-
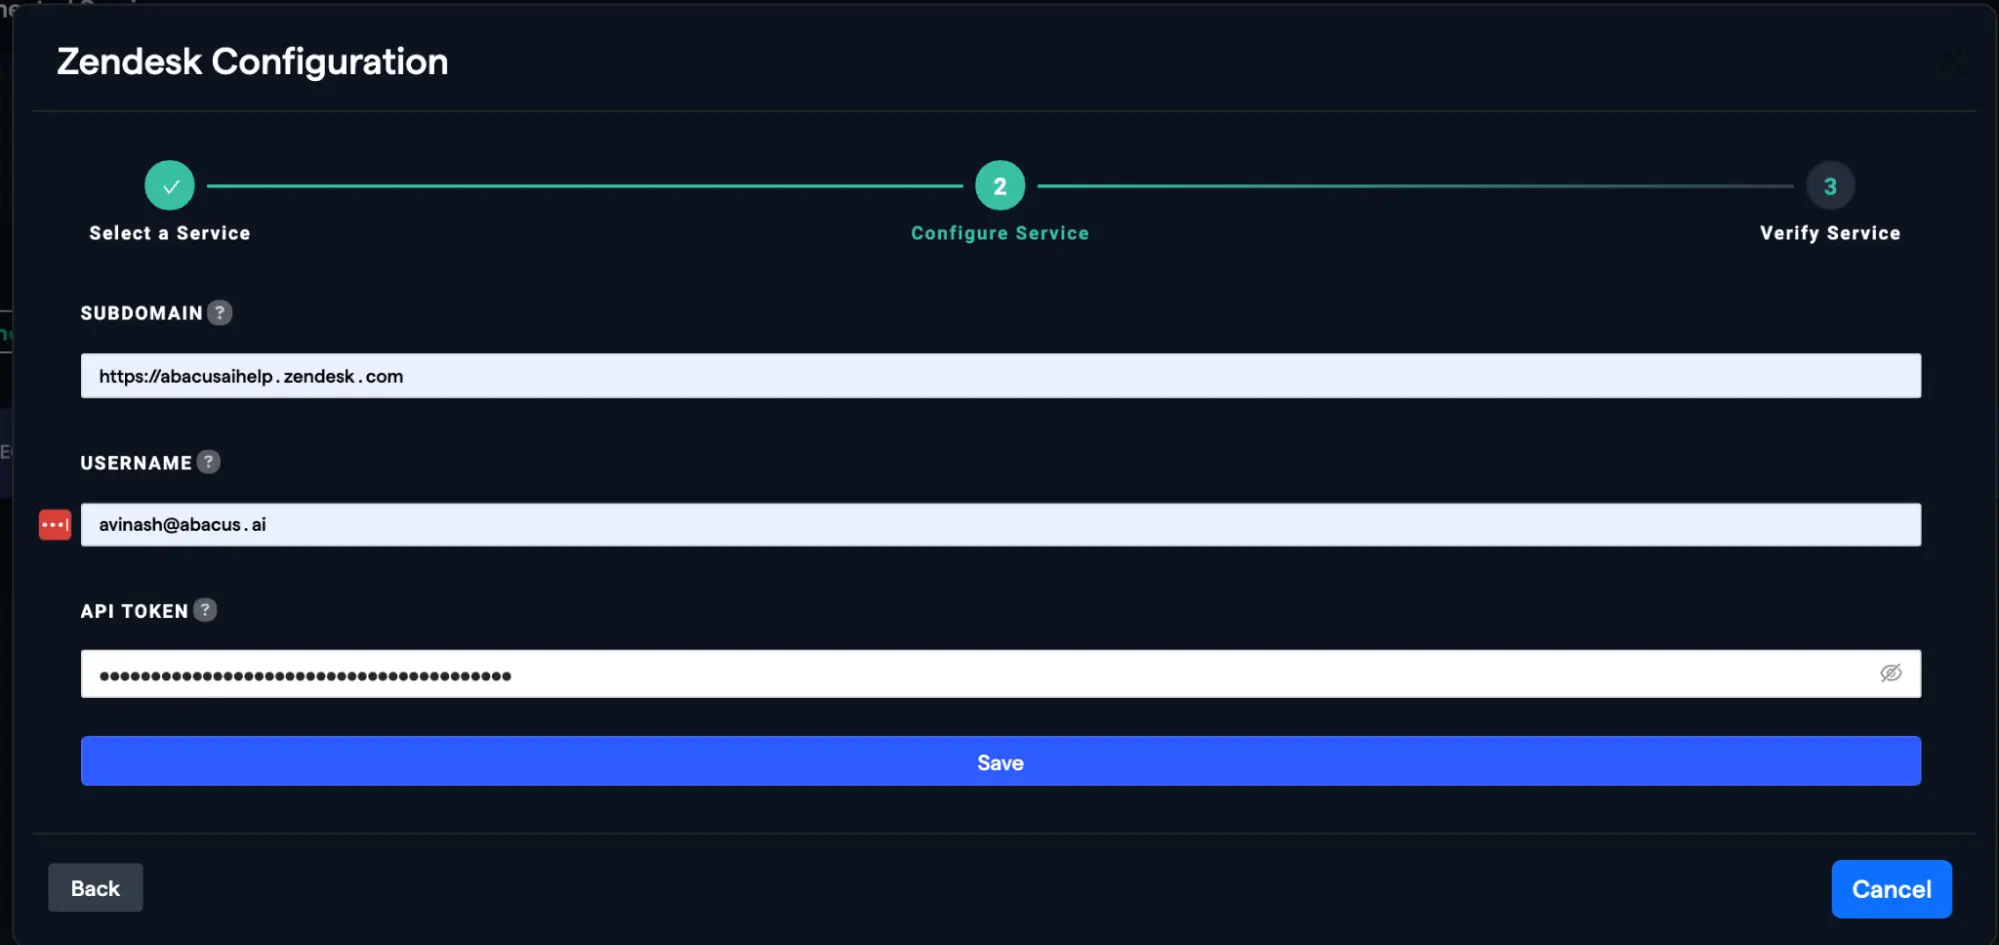
Click on "Add New Connector", choose "Zendesk" from the list, and enter the required information including the API token you generated earlier. Click "Save" to complete the setup.
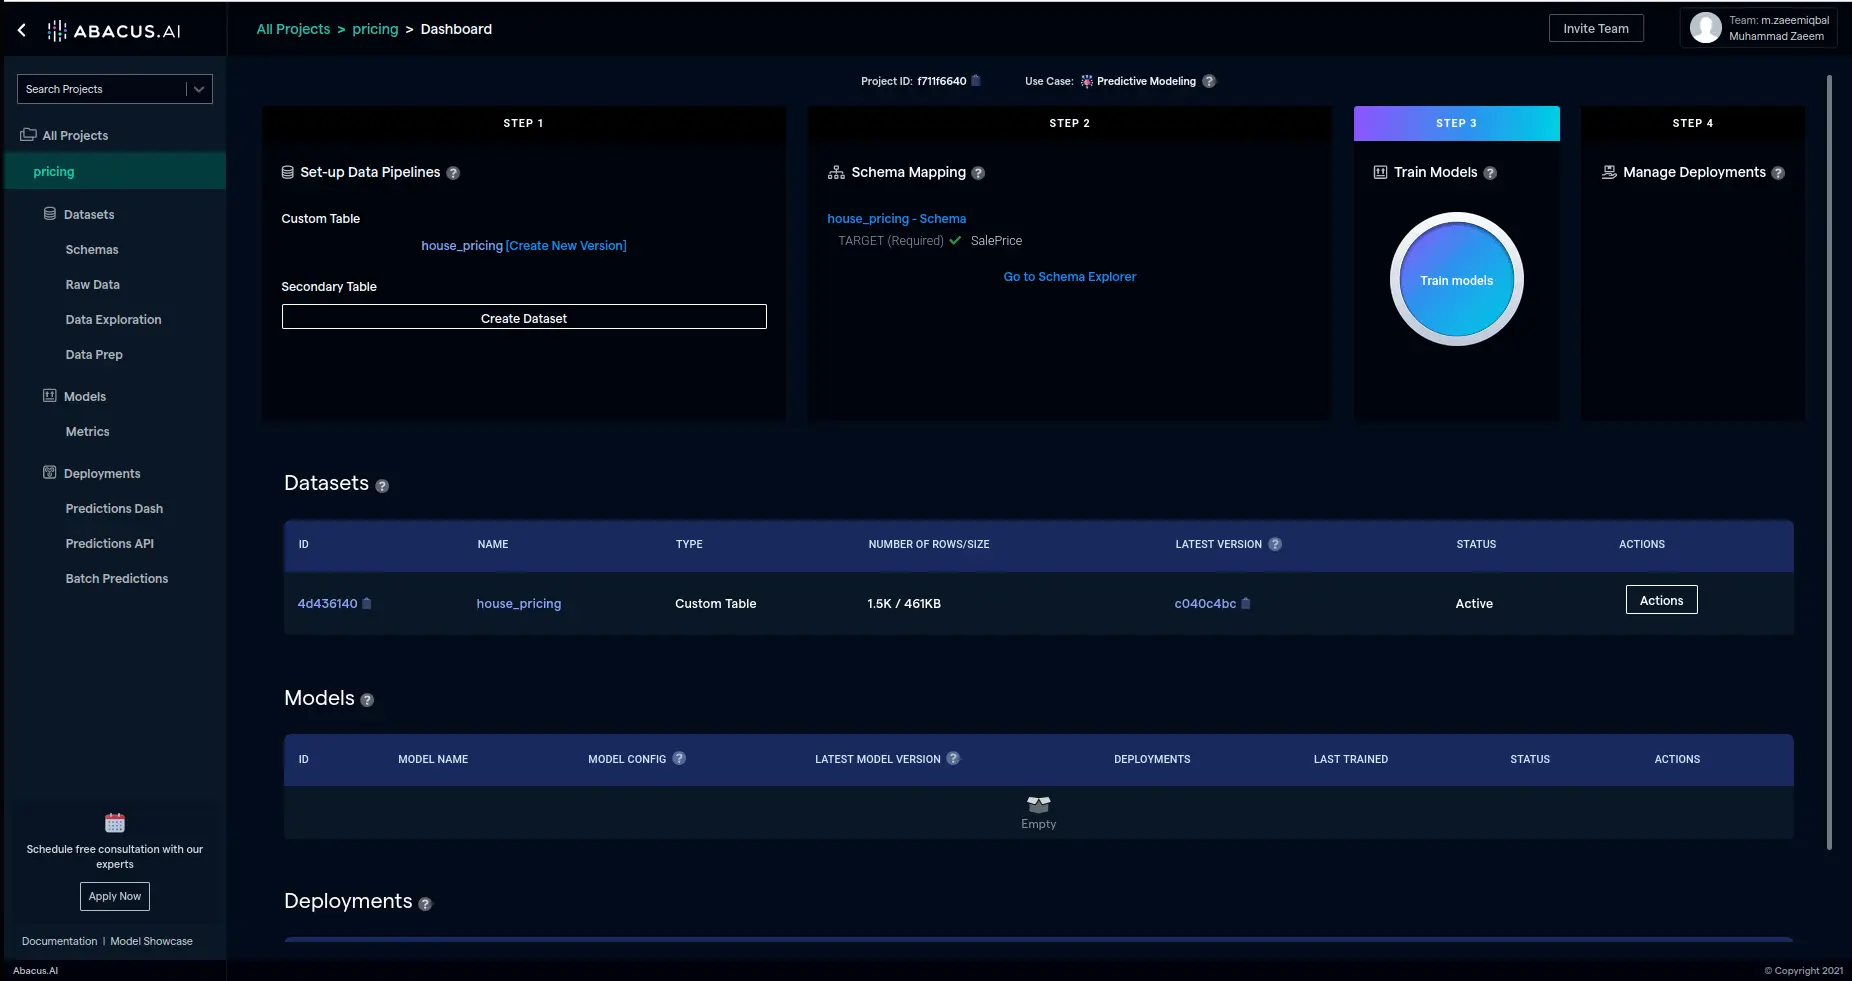
How to Use the Zendesk Connector
Once the Zendesk connector is set up, you can fetch data to train models in Abacus.AI.
-
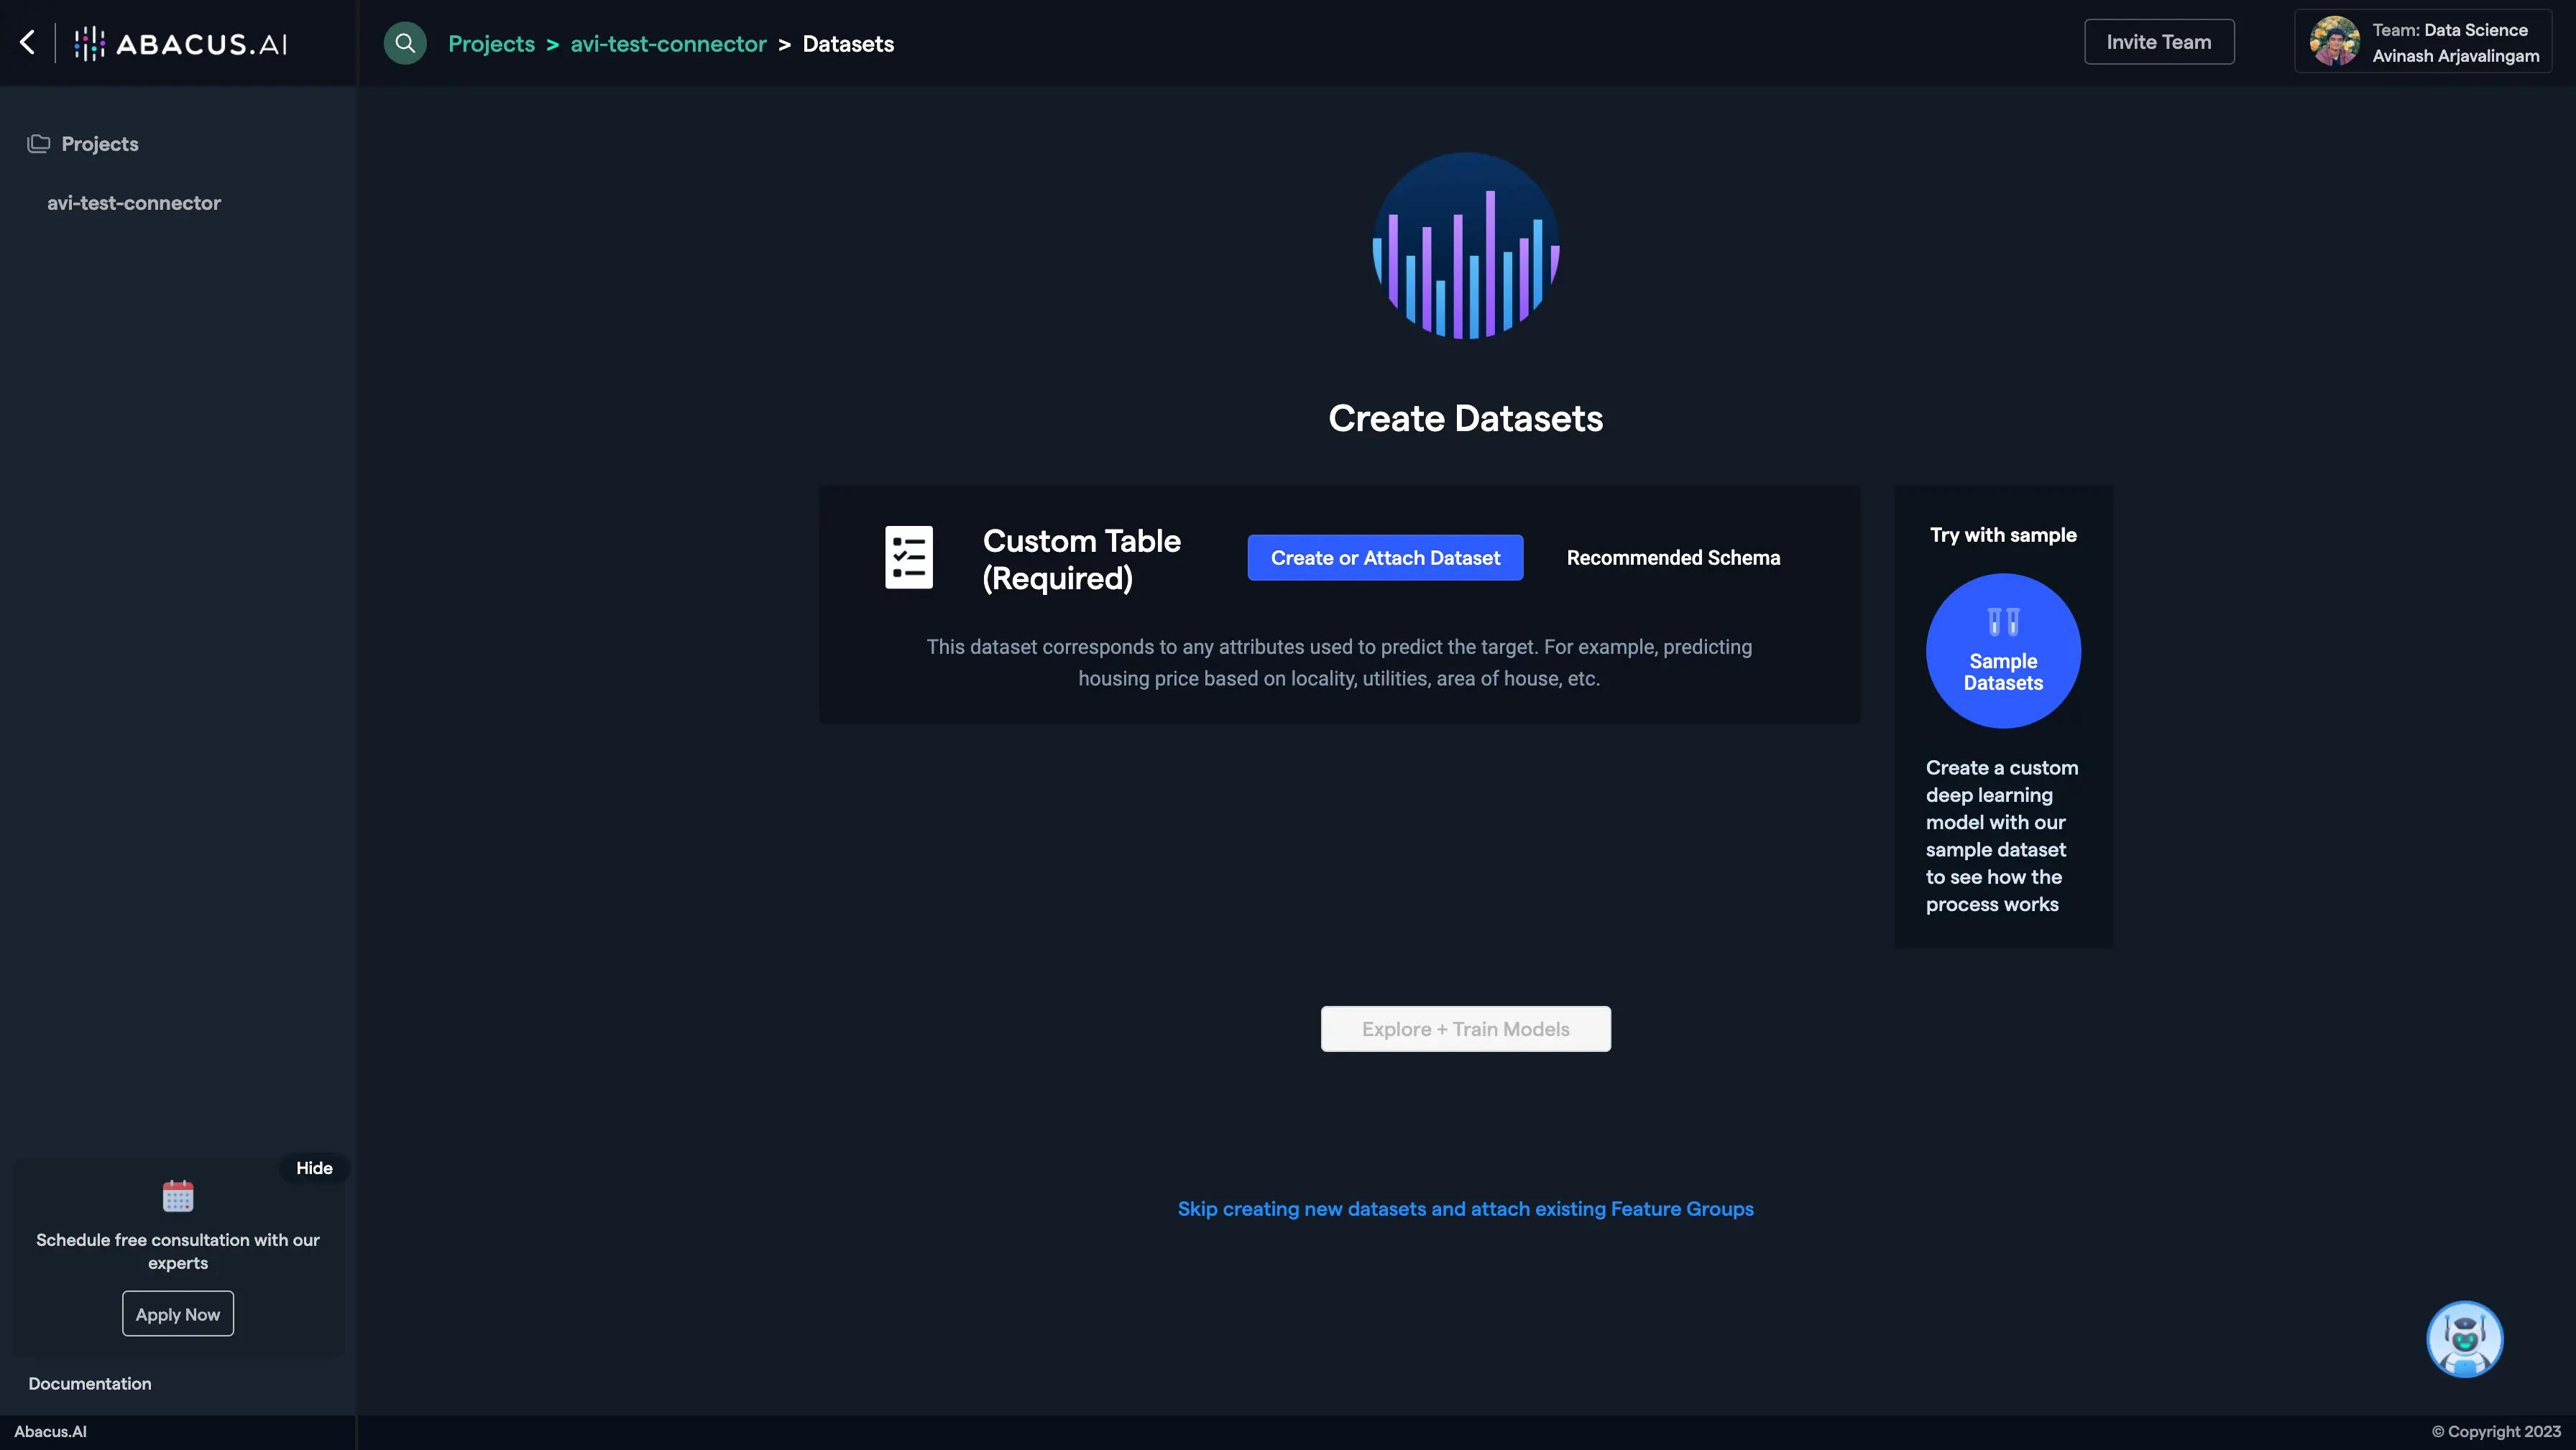
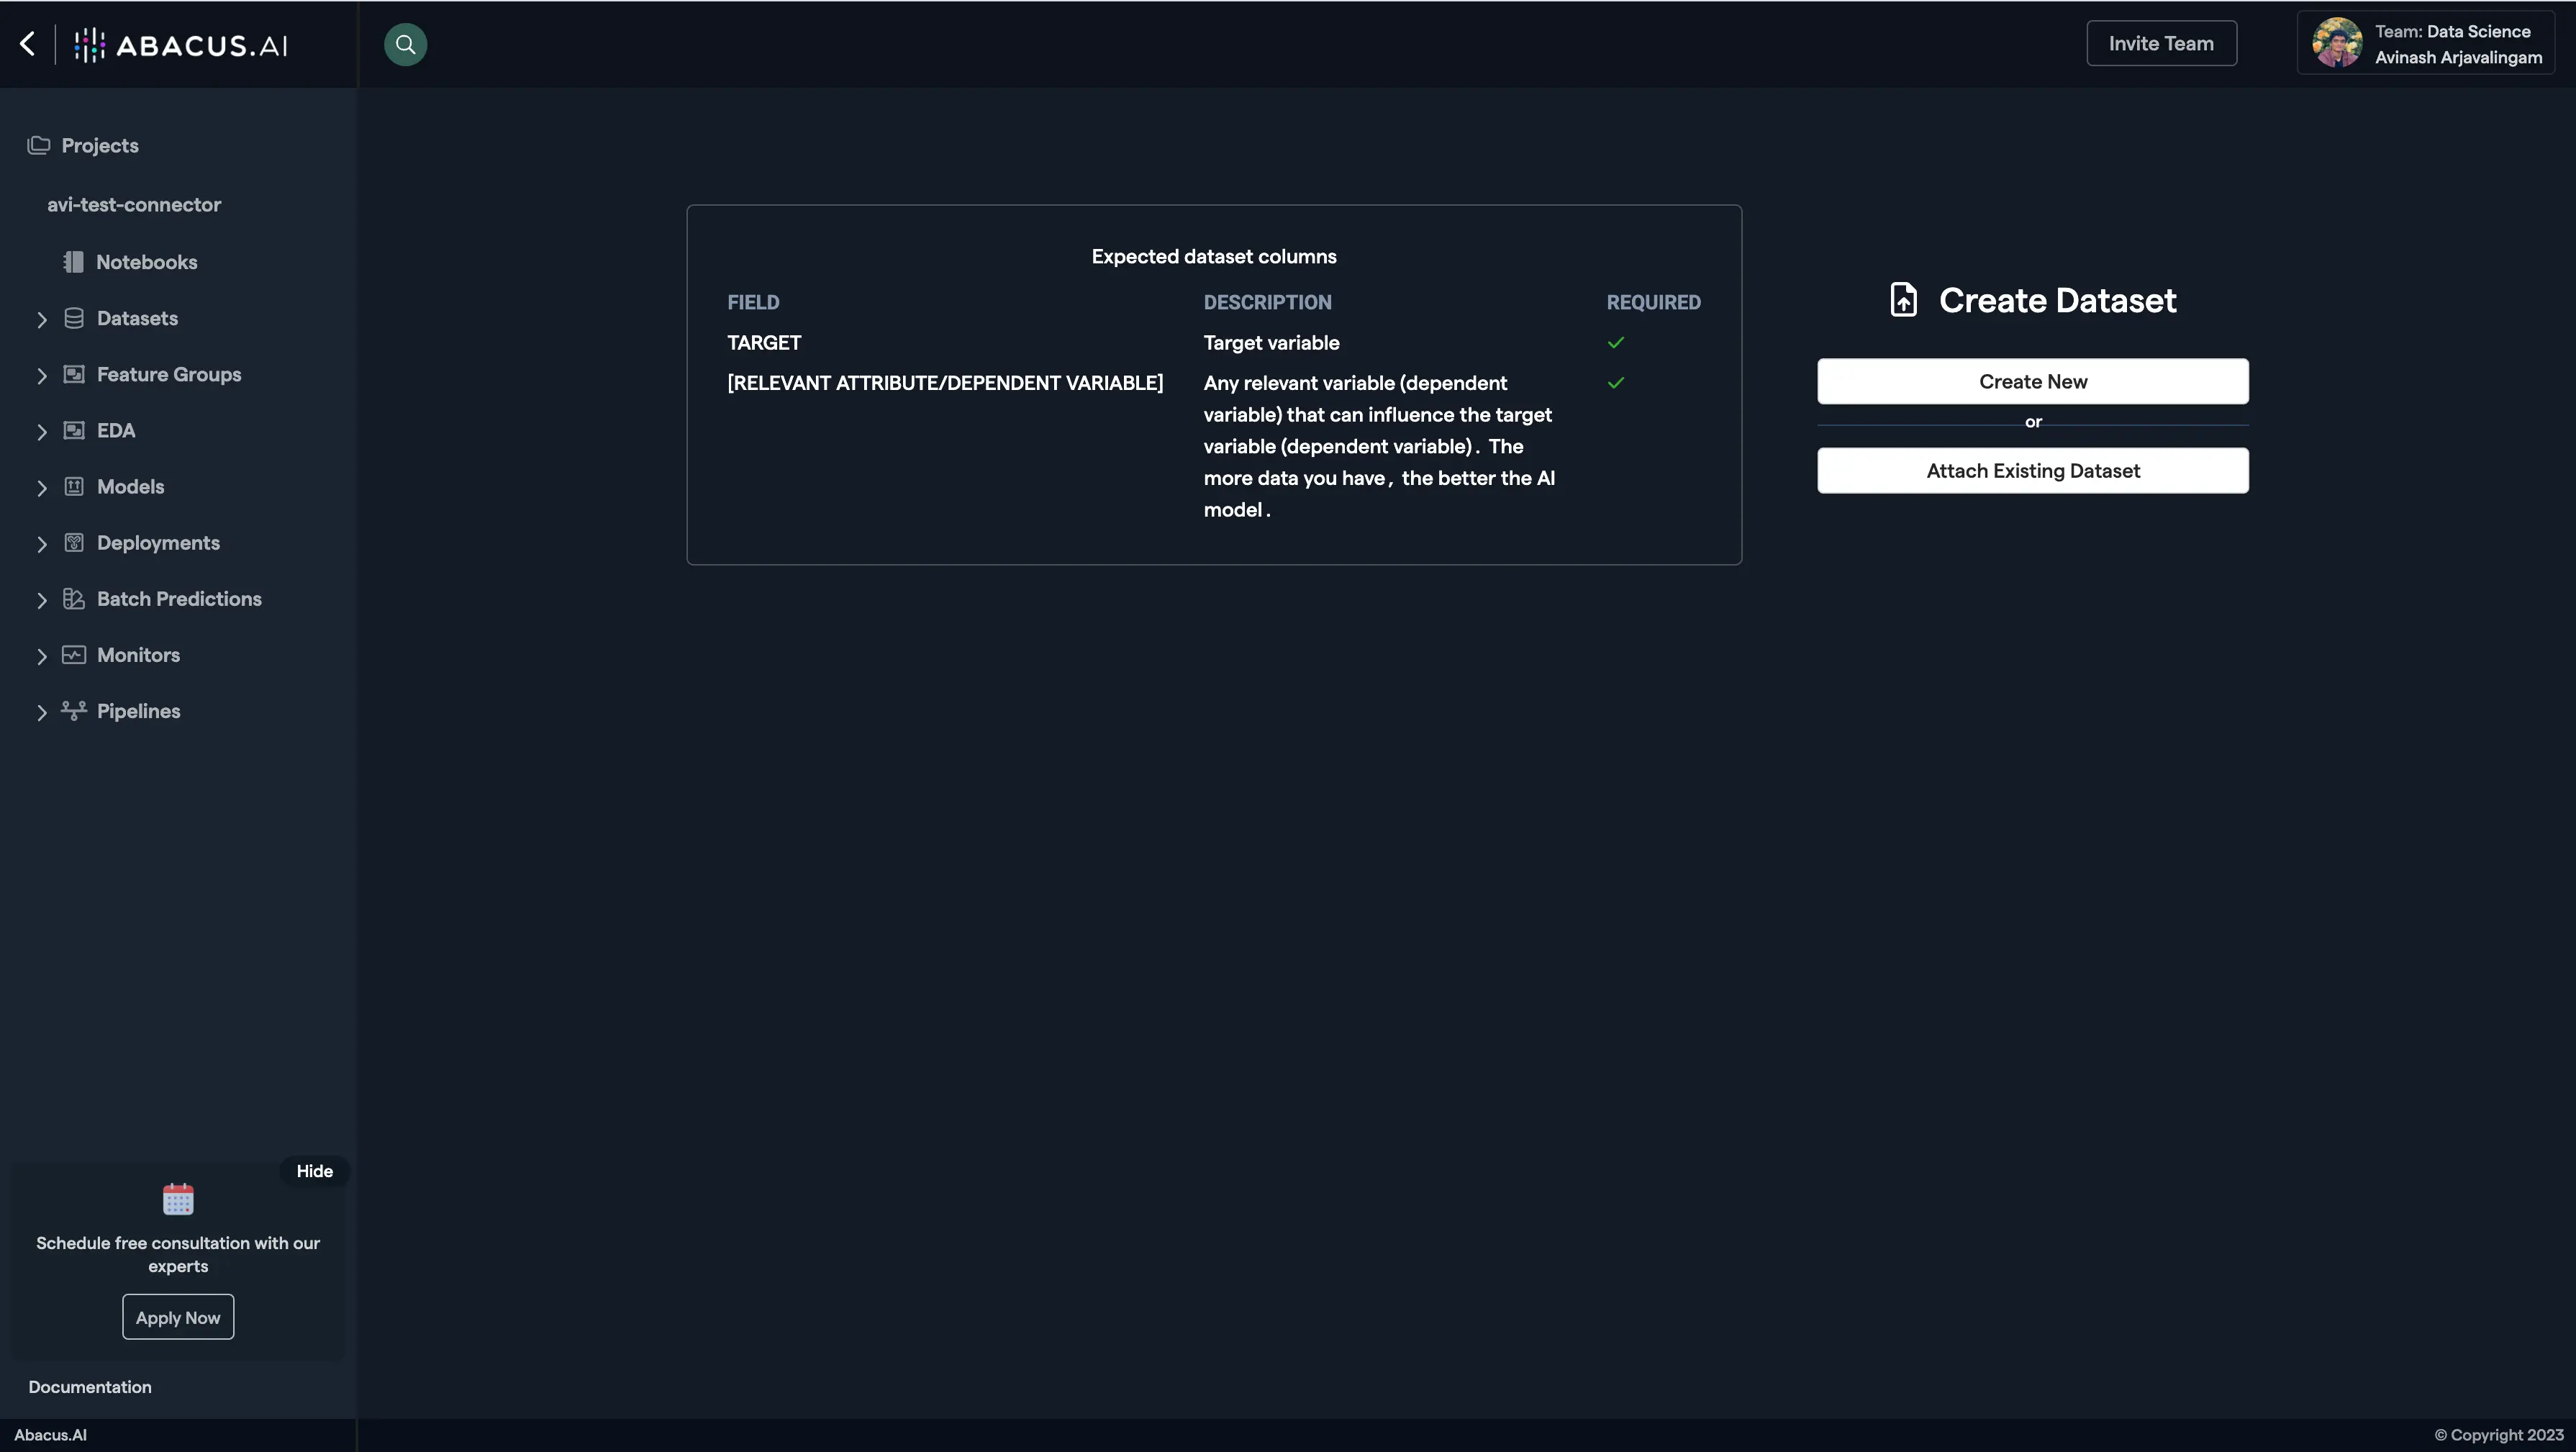
Create a new project and select the use case, then go to the "Datasets" tab and click "Create Dataset".
-
Click on "Create New".
-
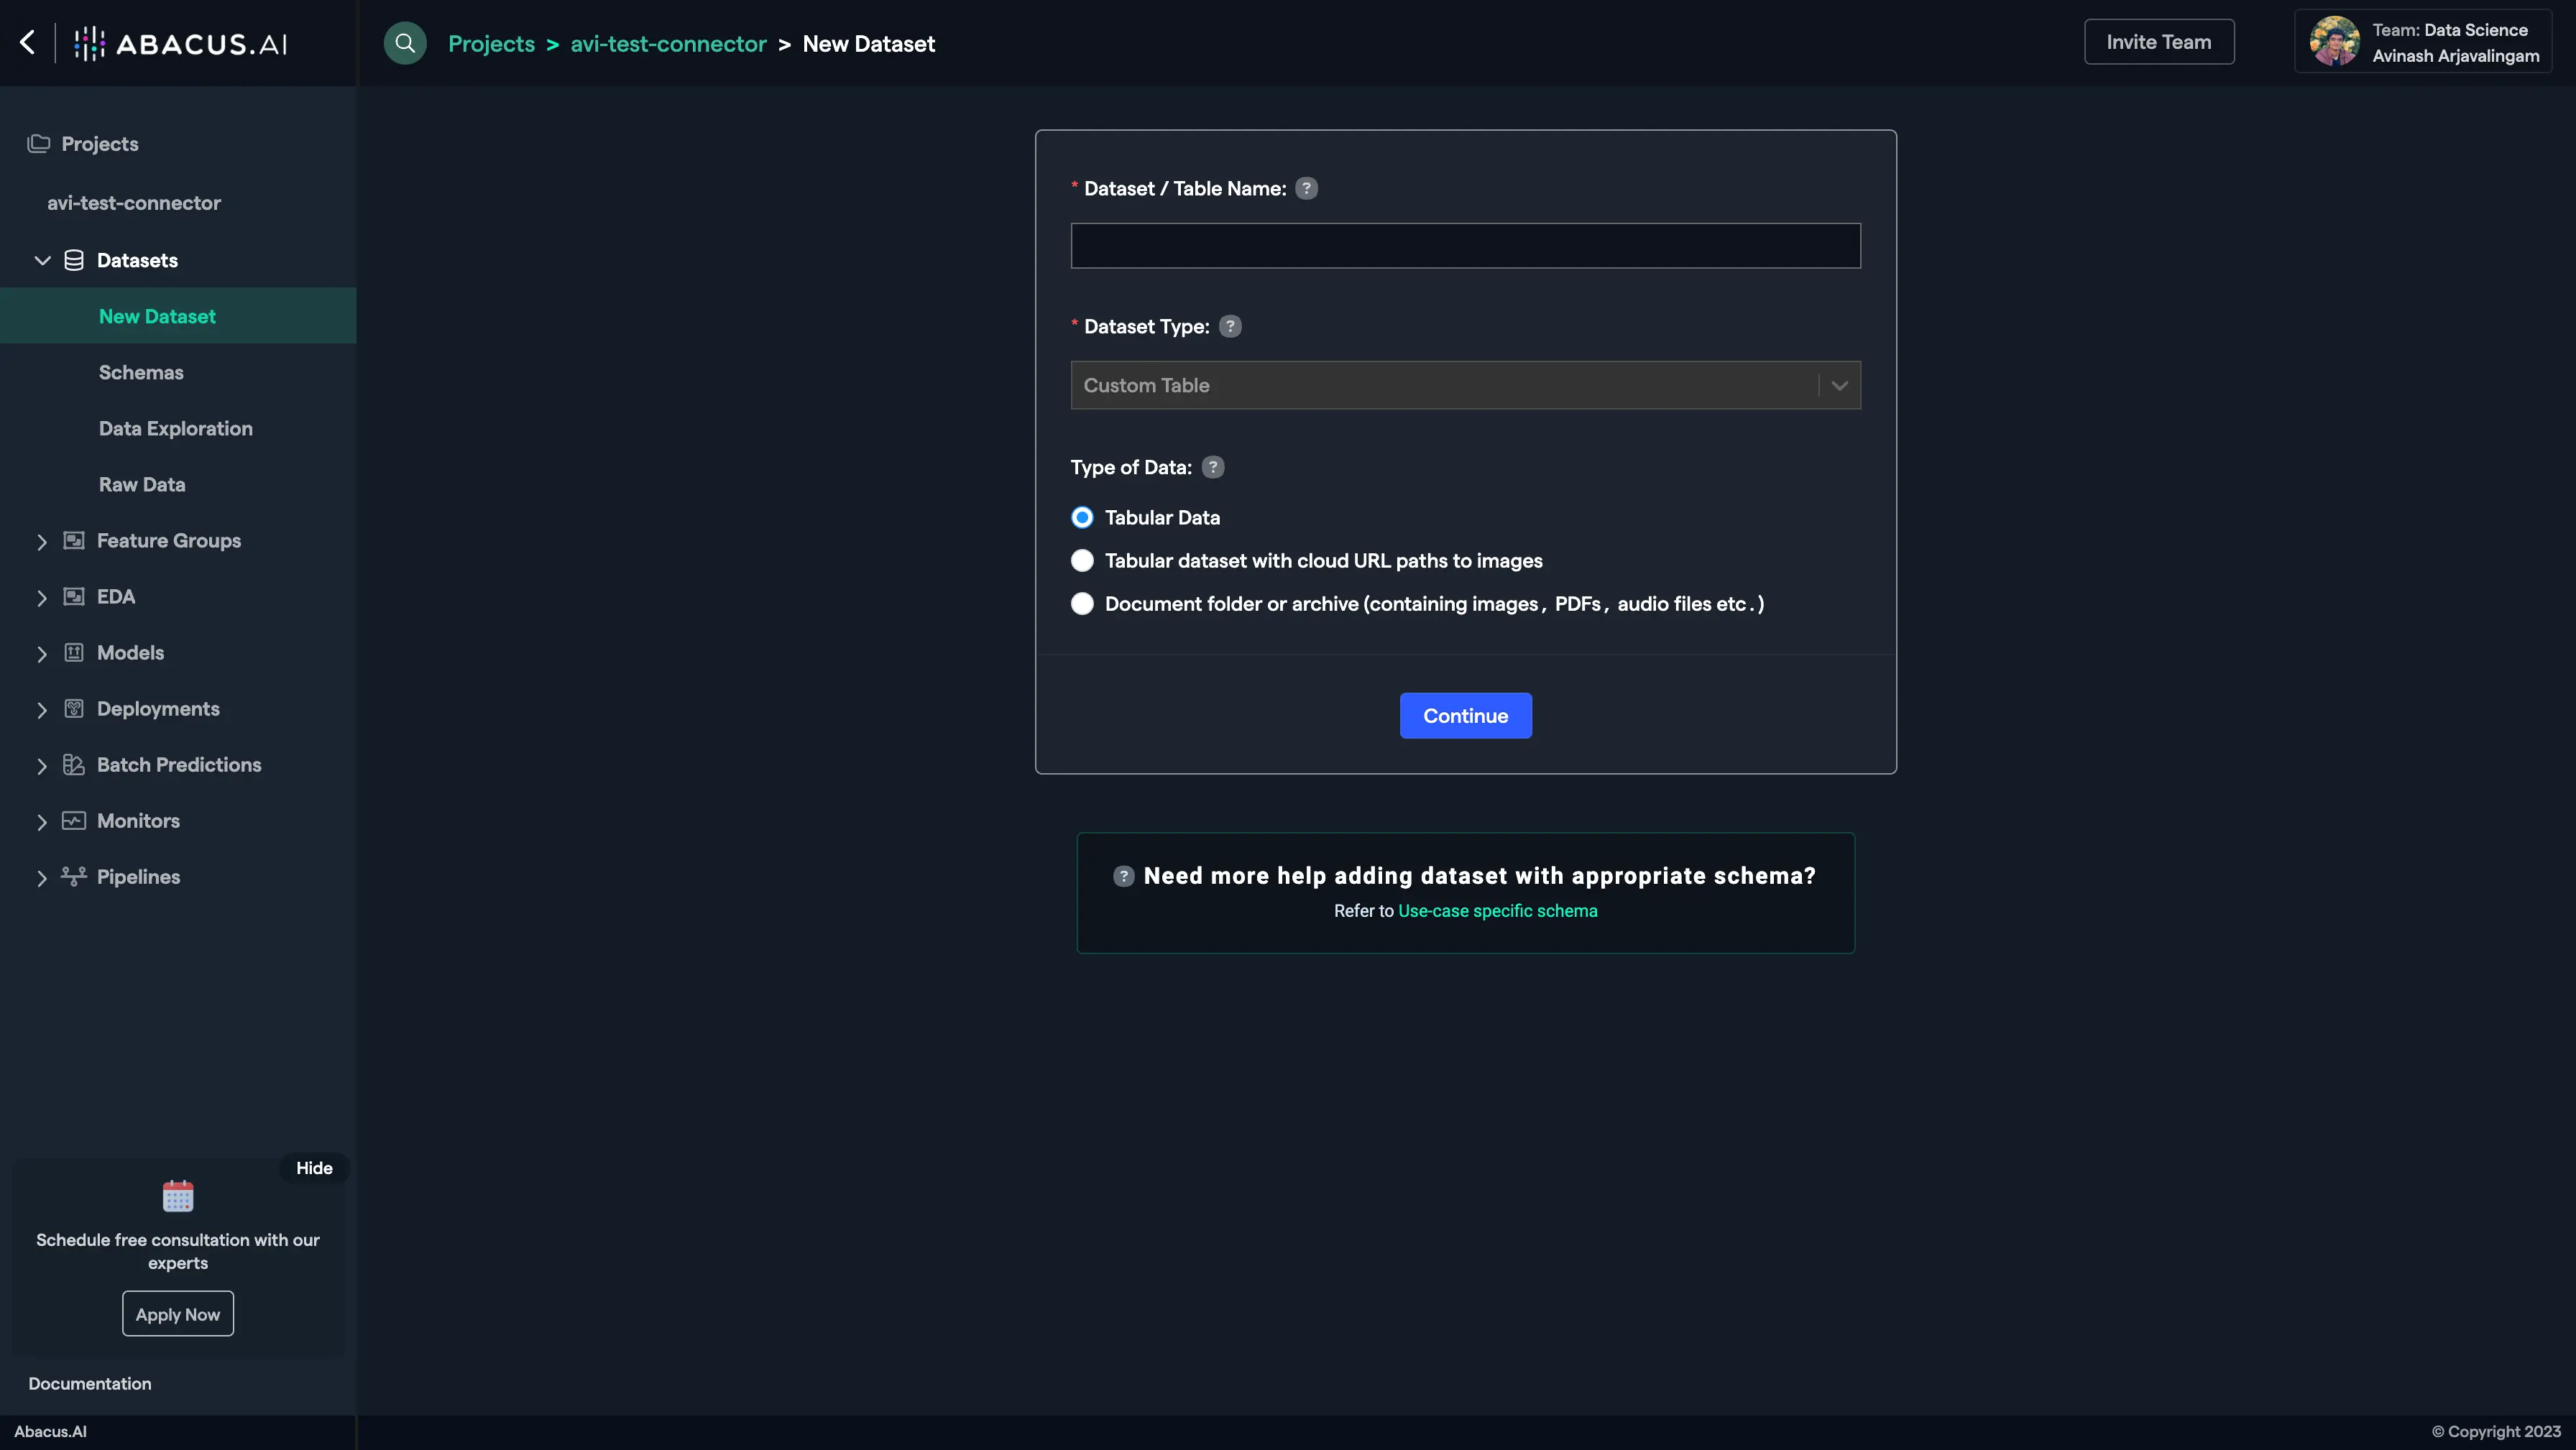
Name the dataset, select the data type 'Custom Table', and click "Continue".
-
Choose "Read from External Service" and select your Zendesk connector under "Application Connectors".

-
If only certain articles are needed, click
Browseto use the Application Browser to select the articles to fetch. All will be pulled by default.
-
After the dataset is uploaded, configure the schema mapping and proceed to train models with the data.