Jira Connector Documentation
- Connect your Jira to Abacus.AI
- How to Use the Jira Connector
- Supported Data Types
- Using Jira Data
- Feature Group Types
Connect your Jira to Abacus.AI
To integrate Jira with Abacus.AI, you can either use an API token or directly log in to your Jira account.
-
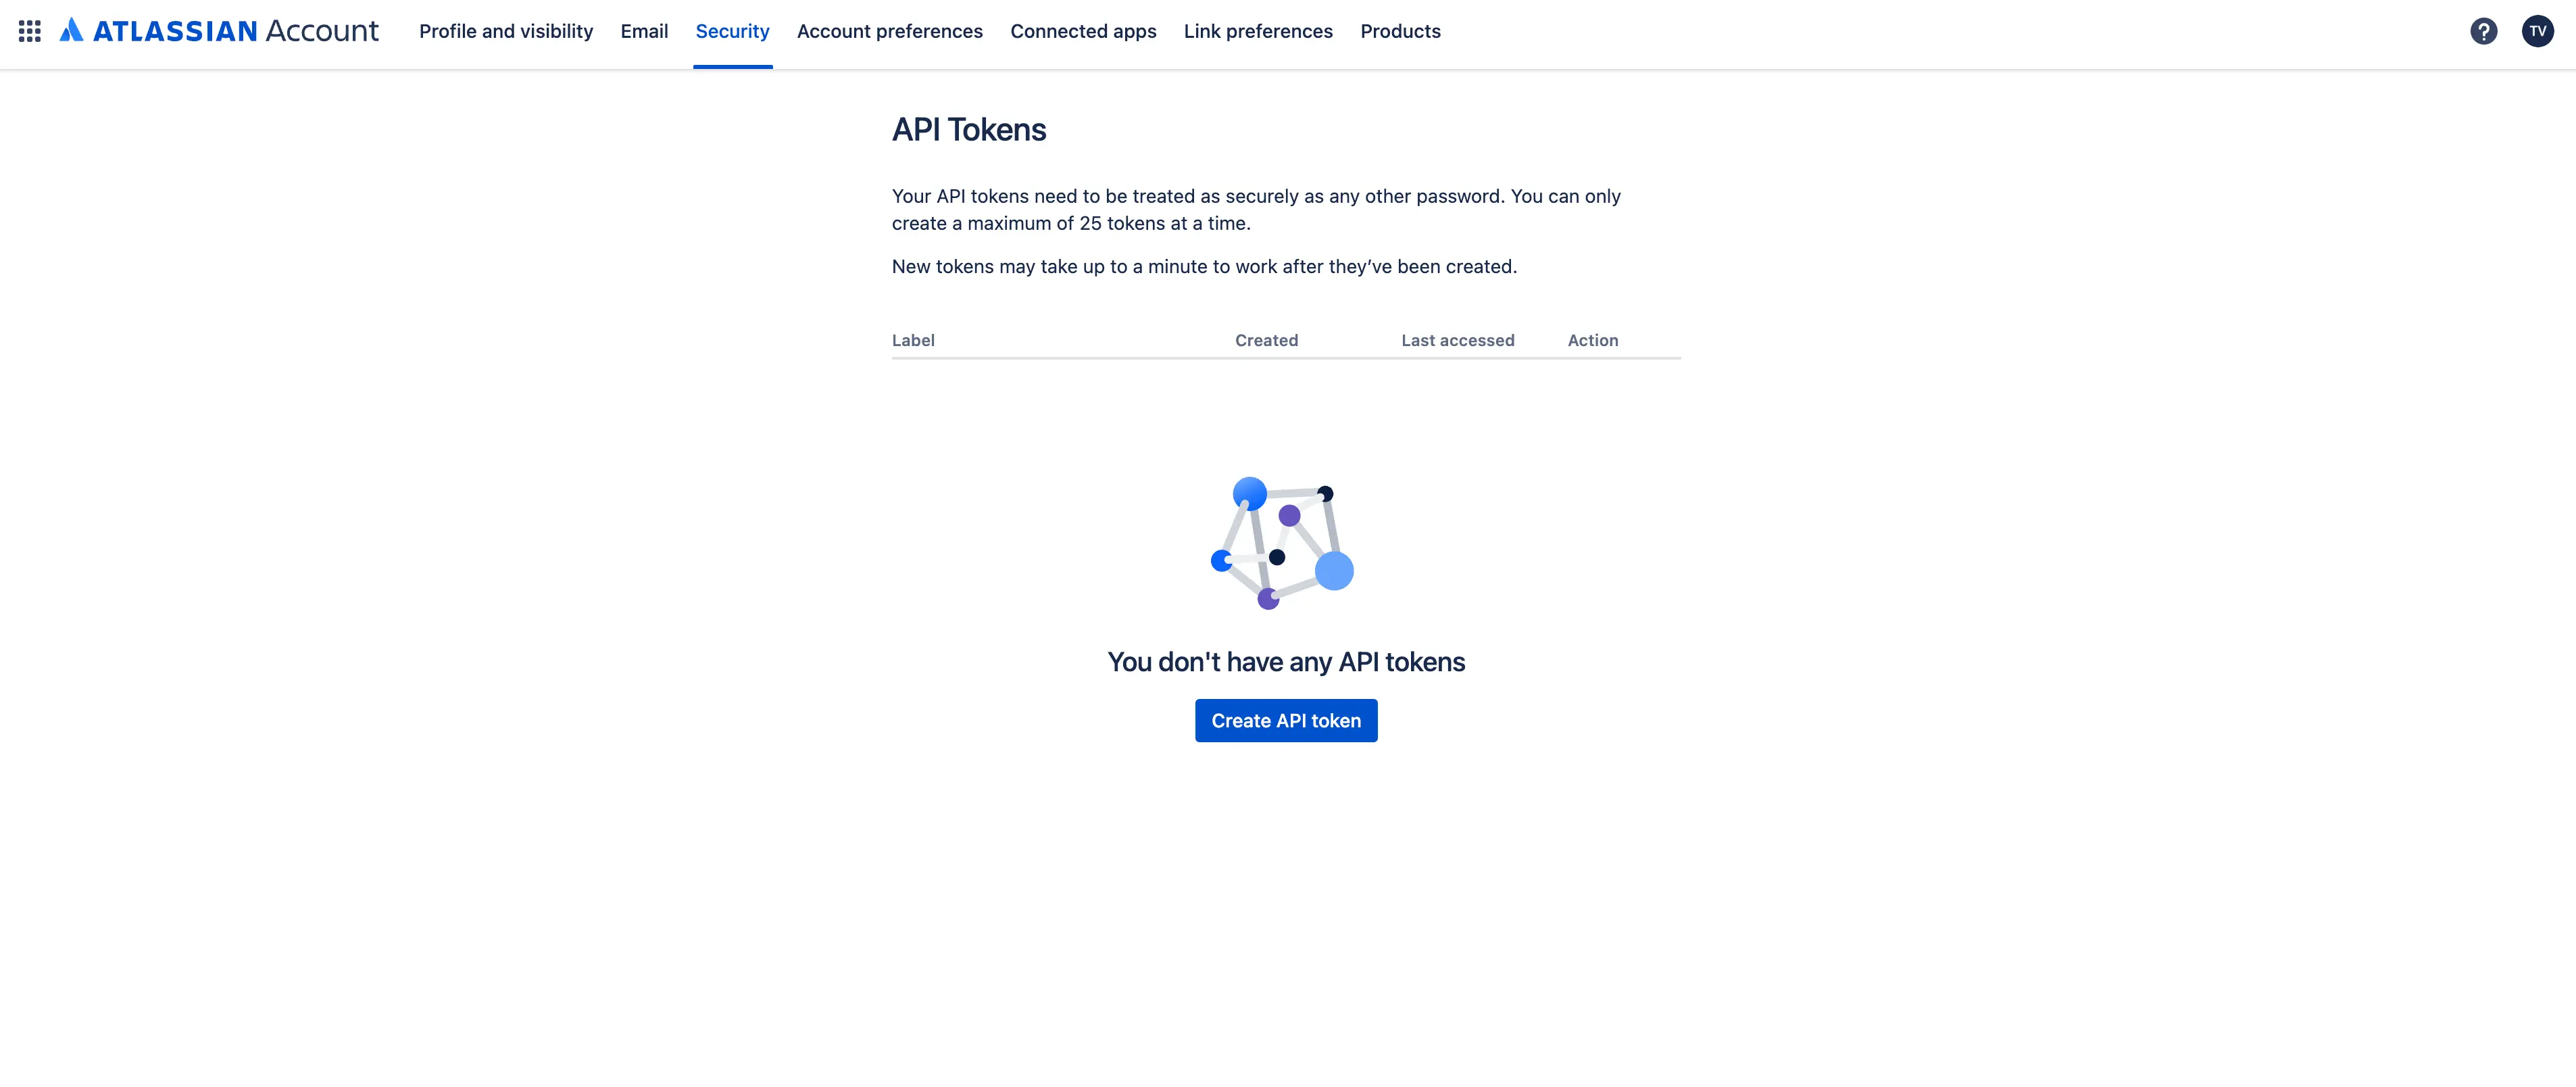
Visit https://id.atlassian.com/manage-profile/security/api-tokens and generate a new API token. Be sure to copy and save it.
-
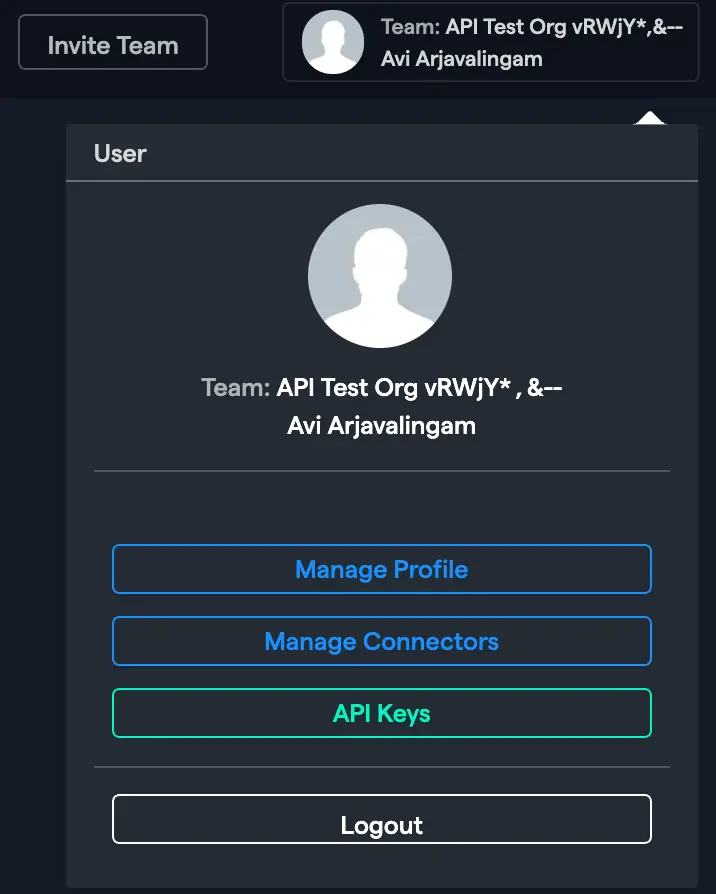
In the Abacus.AI interface, click on your profile picture in the top right corner.

-
Select "Manage Connectors" from the dropdown menu.
-
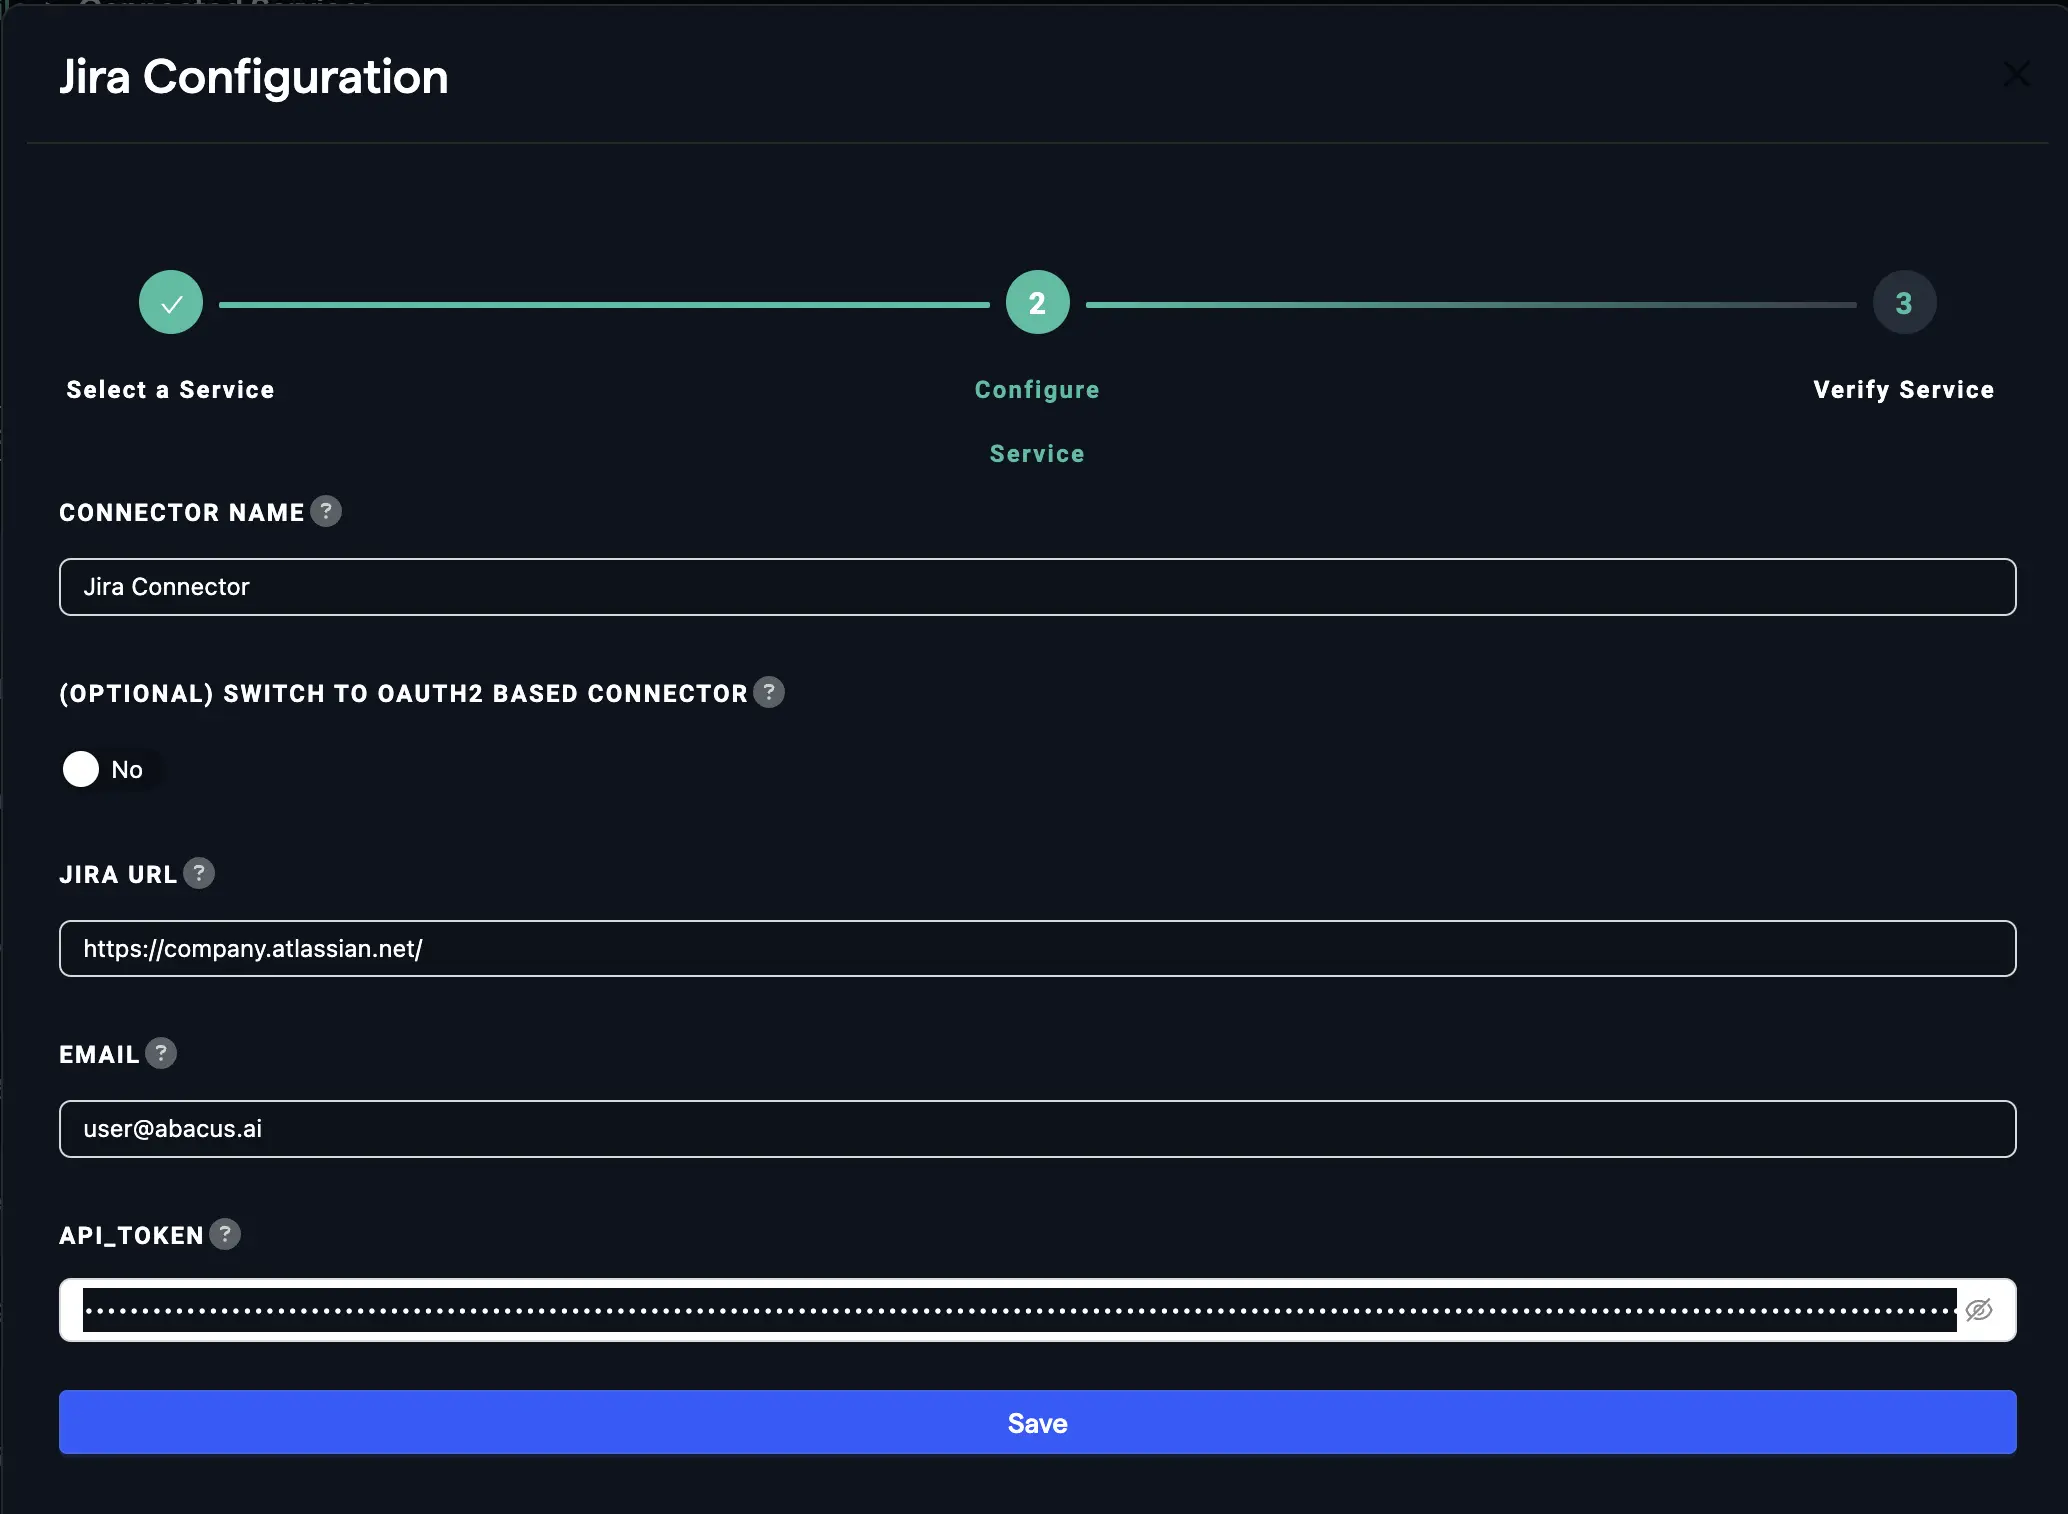
Click on "Add New Connector", choose "Jira" from the list. Enter the name of the connector and enter the required information, including the API token you generated.
Click "Save" to complete the setup.
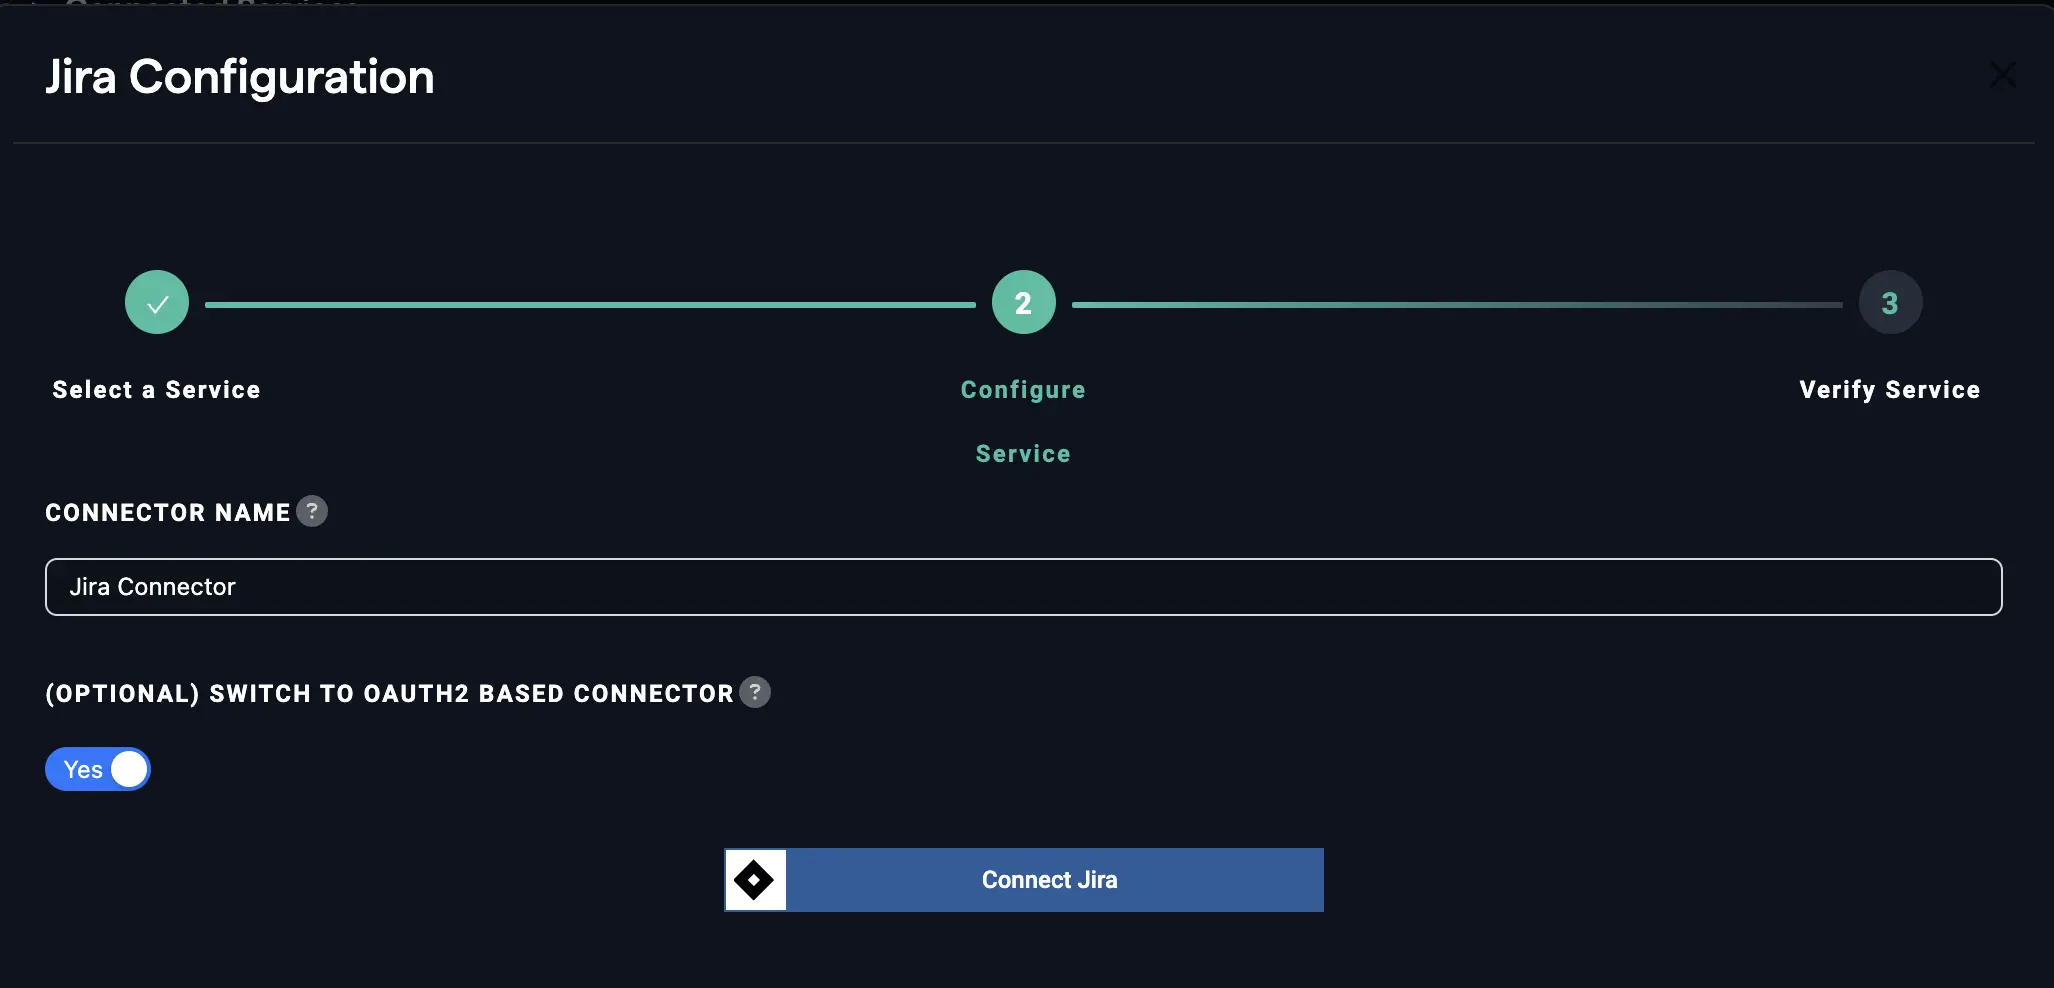
You can also directly log in to your Jira account if you select the "switch to OAuth-based connector" option.
How to Use the Jira Connector
Once the Jira connector is set up, you can fetch data to train models in Abacus.AI.
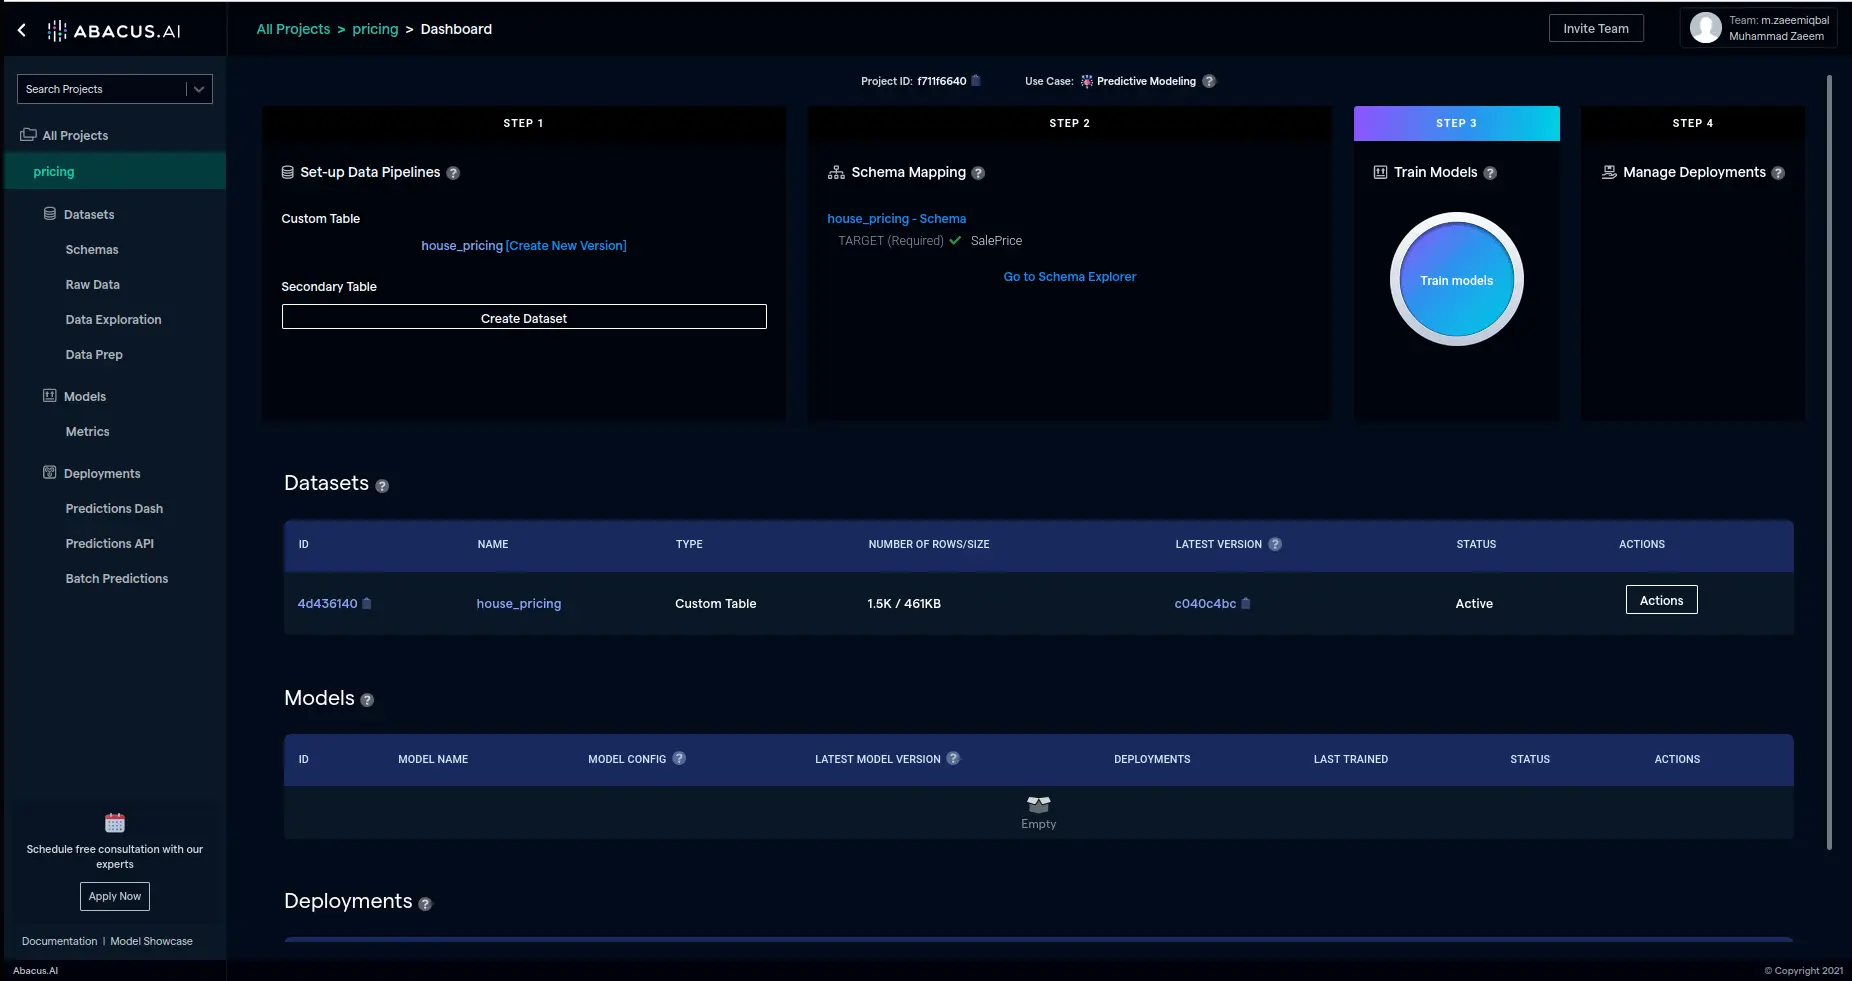
- Create a new project and select the use case, then go to the "Datasets" tab and click "Create Dataset".
- Click on "Create New" and name the dataset.
- Choose "Read from External Service" and select your Jira connector under "Application Connectors".
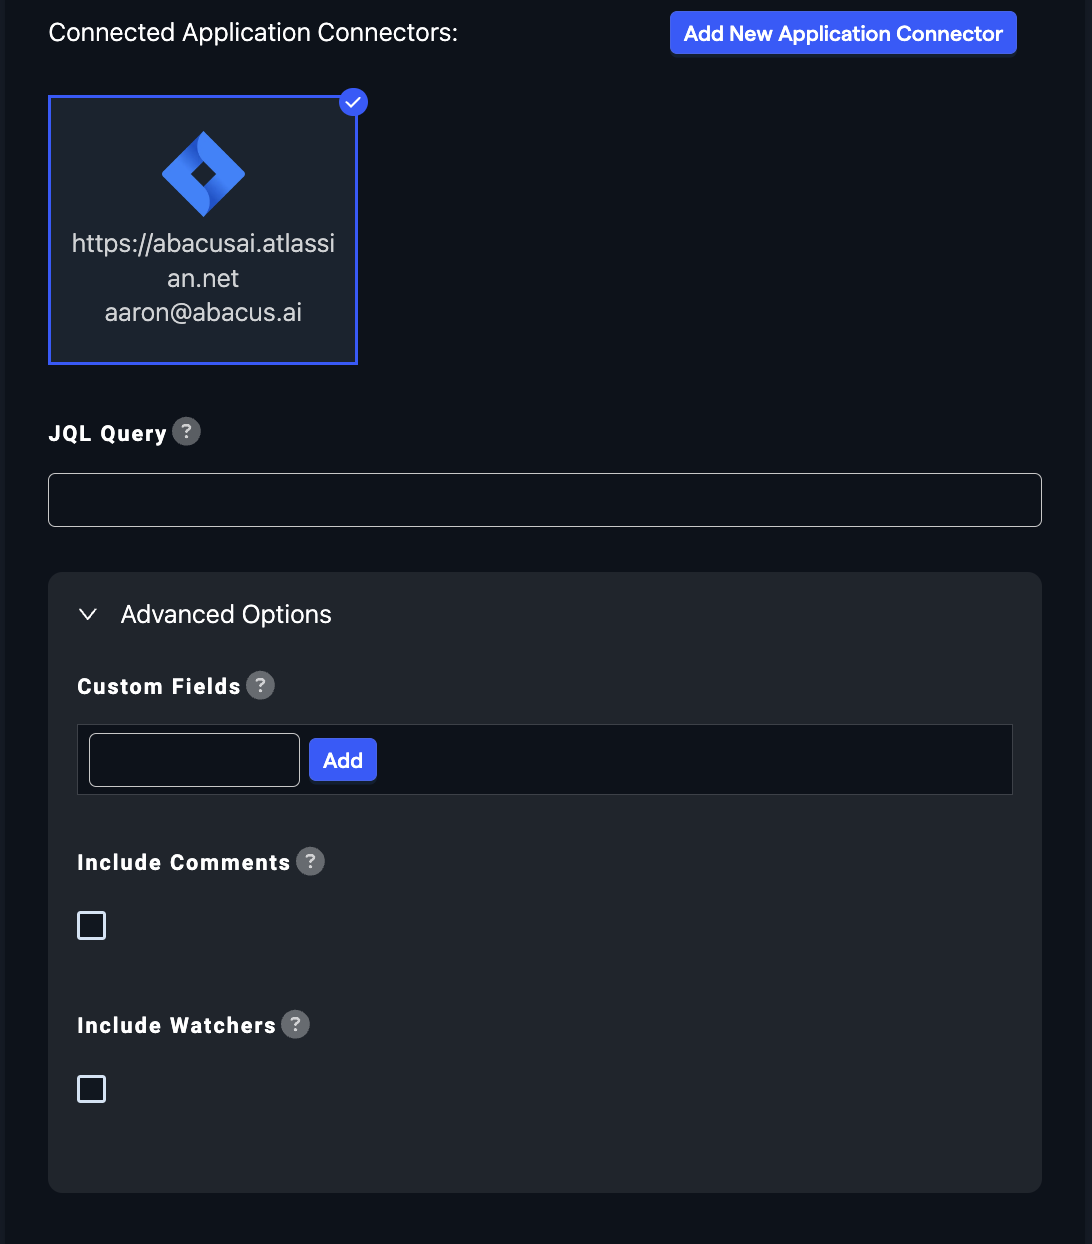
- Configure the specific data you wish to import from Jira using the special options provided:
-
JQL Query: Enter a JQL query to filter the issues you want to include in your dataset. For help with JQL, visit this Atlassian JQL overview.
-
Custom Fields: Select which custom fields you want to include in your dataset.
-
Include Comments: Check this option if you want to include comments from the issues.
-
Include Watchers: Check this option if you want to include information about who's watching the issues.
-
After configuring the data import options, proceed to upload the dataset.
-
Once the dataset is uploaded, configure the schema mapping and train models with the data.
Supported Data Types
- Supported Data Types: The Jira connector supports ingesting tickets, comments, and custom fields. All data is treated as a custom table, which is suitable for structured data lookups in DataLLM or the combined Data+ChatLLM approach. Please not ethat this connector does not support visualizing tickets or pulling attachments.
Using Jira Data with LLMs
- DataLLM Use Case: Jira data is ideal for structured data interactions, such as querying tickets, analyzing trends, or generating reports.
- ChatLLM Use Case: Jira data cannot be directly used in ChatLLM projects, as it is not treated as a list of documents.
- Combined Data+ChatLLM Use Case: Jira data can be used in combination with unstructured or other structured data sources to provide conversational explanations alongside structured data insights.
Feature Group Types
- List of Documents: Used for unstructured data, such as uploaded documents, in ChatLLM projects. These feature groups require processing into a Document Retriever for retrieval-augmented generation (RAG).
- Custom Table: Used for structured data, such as Jira tickets, in DataLLM projects. These feature groups are directly queried by the model for structured data lookups.
By combining both feature group types, you can handle both unstructured and structured data effectively in a single project.