Outlook Connector Documentation
This documentation is about how to set up a Outlook connector with the Abacus.AI enterprise application.
If you have already set up a connector, skip to How to Use the Outlook Connector.
Connect your Outlook to Abacus.AI
To integrate Outlook with Abacus.AI, follow these steps:
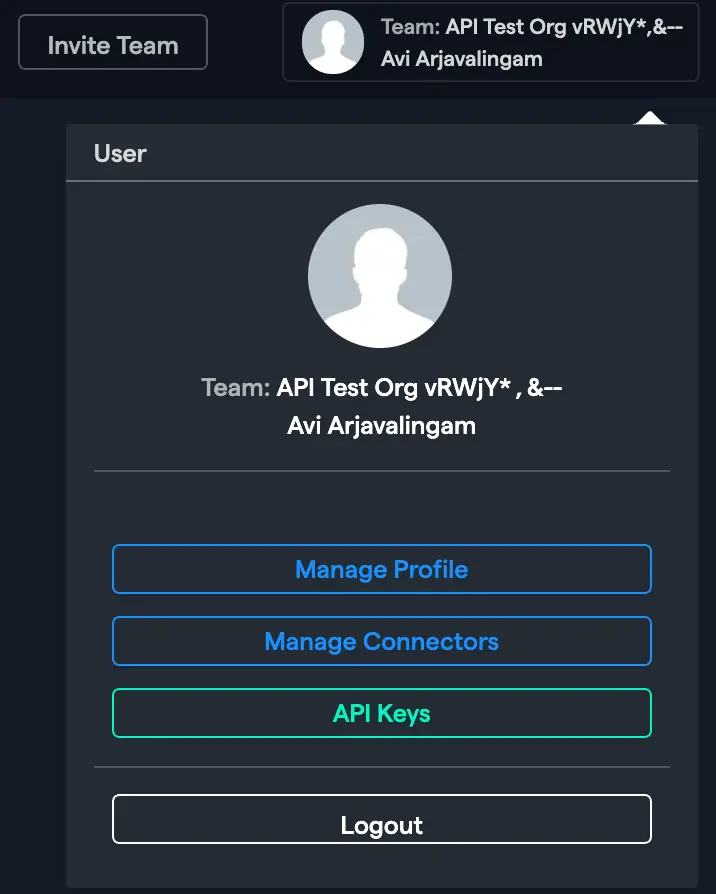
- In the Abacus.AI interface, click on your profile picture in the top right corner.
- Select "Manage Connectors" from the dropdown menu.

-
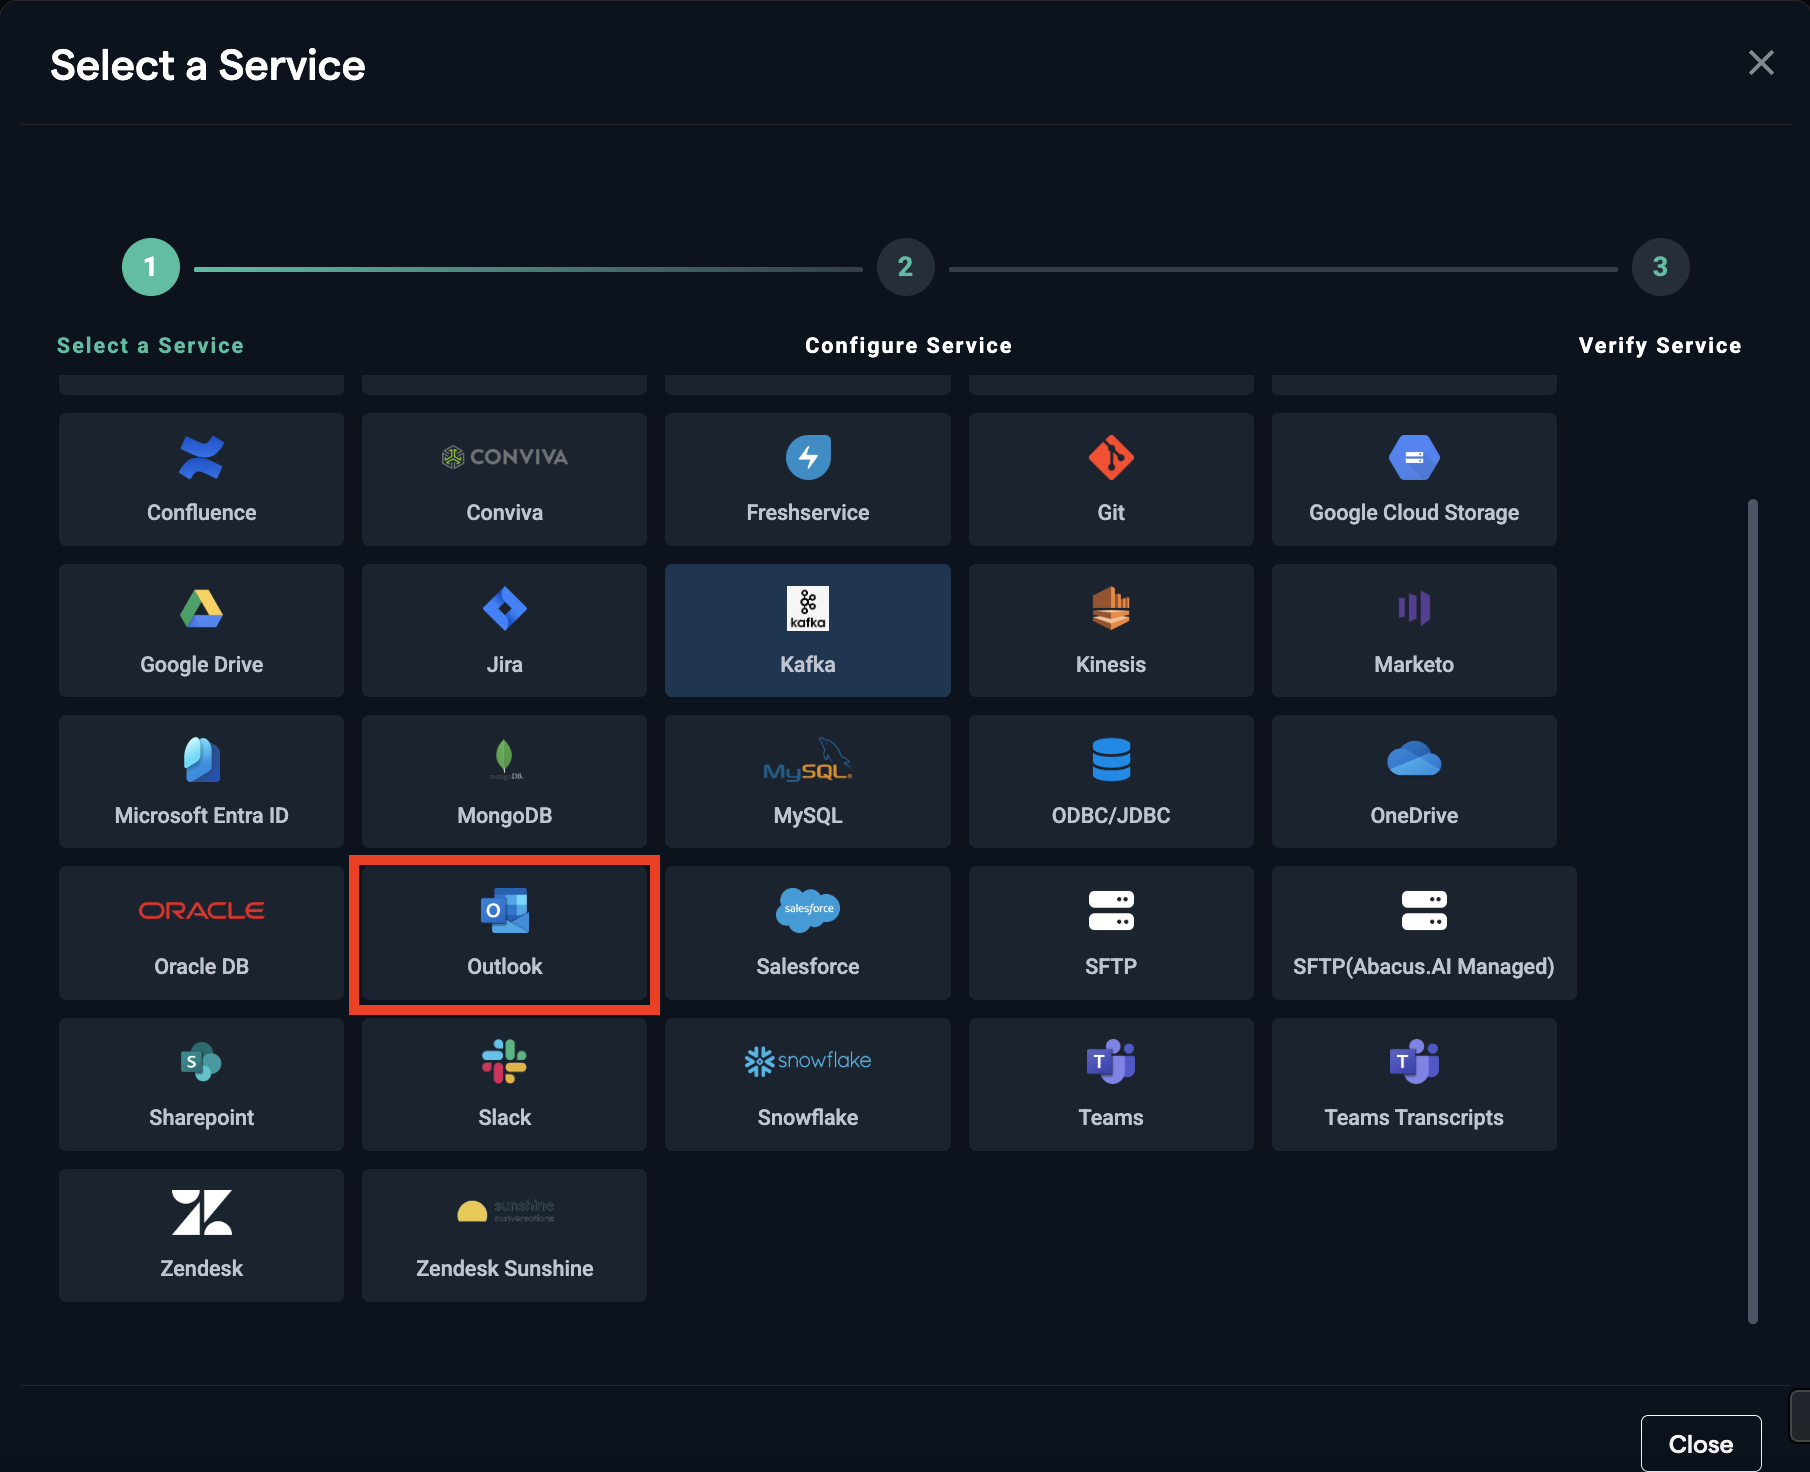
Click on "Add New Connector", choose "Outlook" from the list.
-
Select
Authentication Type.- OAuth (default): Authorize our app to read data from your account.
- Custom OAuth (optional): Use your own OAuth app and grant it access to read data.
Copy the app’s Client ID and Client Secret, then enter them into the Client ID and Client Secret fields.
Note: Please refer to microsft documentaiton to create the app and add necessary scopes to app.
-
Click
Connect Outlook.

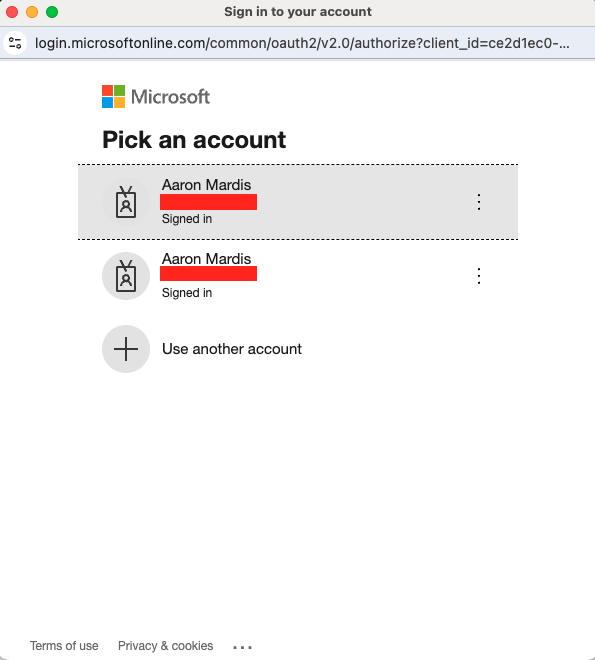
- Log in through your Microsoft account (if not logged in already) and click
Acceptto grant permission to read your Outlook files.

Microsoft Access Scopes and Their Purpose
The following Microsoft scopes are required across connectors that use Microsoft authentication.
These scopes ensure secure access, profile verification, dataset creation, and Outlook integration.
-
General Mandatory Scopes
- User.Read – Identifies and validates the signed-in user and provides basic profile information.
- offline_access – Provides refresh tokens so authentication persists without repeated sign-ins.
-
Minimum Scope required for Dataset creation.
- Mail.Read
Permissions and Access
When setting up the connector, the following permissions are requested. Please note that all the permissions are delegated permissions:
- email: View users' email address
- Mail.Read: Read user mail
- MailboxFolder.Read: Read a user's mailbox folders
- MailboxItem.Read: Read a user's mailbox items
- MailboxSettings.Read: Read user mailbox settings
- offline_access: Maintain access to data you have given it access to
- openid: Sign users in
- profile: View users' basic profile
- User.Read: Sign in and read user profile
These permissions allow the connector to pull necessary data.
How to Use the Outlook Connector
Once the Outlook connector is set up, you can fetch emails to train models in Abacus.AI.
- Create a new project and select the use case, then go to the "Datasets" tab and click "Create Dataset".
- Name the dataset, choose "Tabular data", then click "Continue".
- Choose "Read from External Service" and select your Outlook connector under "Application Connectors".
- Click on 'Add Dataset'.