Overview
Use Cases
Connectors
Database Connectors
File Connectors
Application Connectors
Messaging Connectors
Permission Aware Connectors
Realtime Synced Datasets
User Connector
Azure_Sql_Server
Box
Bigquery
Confluence
Databricks
Gmail
GoogleCalendar
GoogleDrive
Jira
One drive
Outlook
Salesforce
Sharepoint
Slack
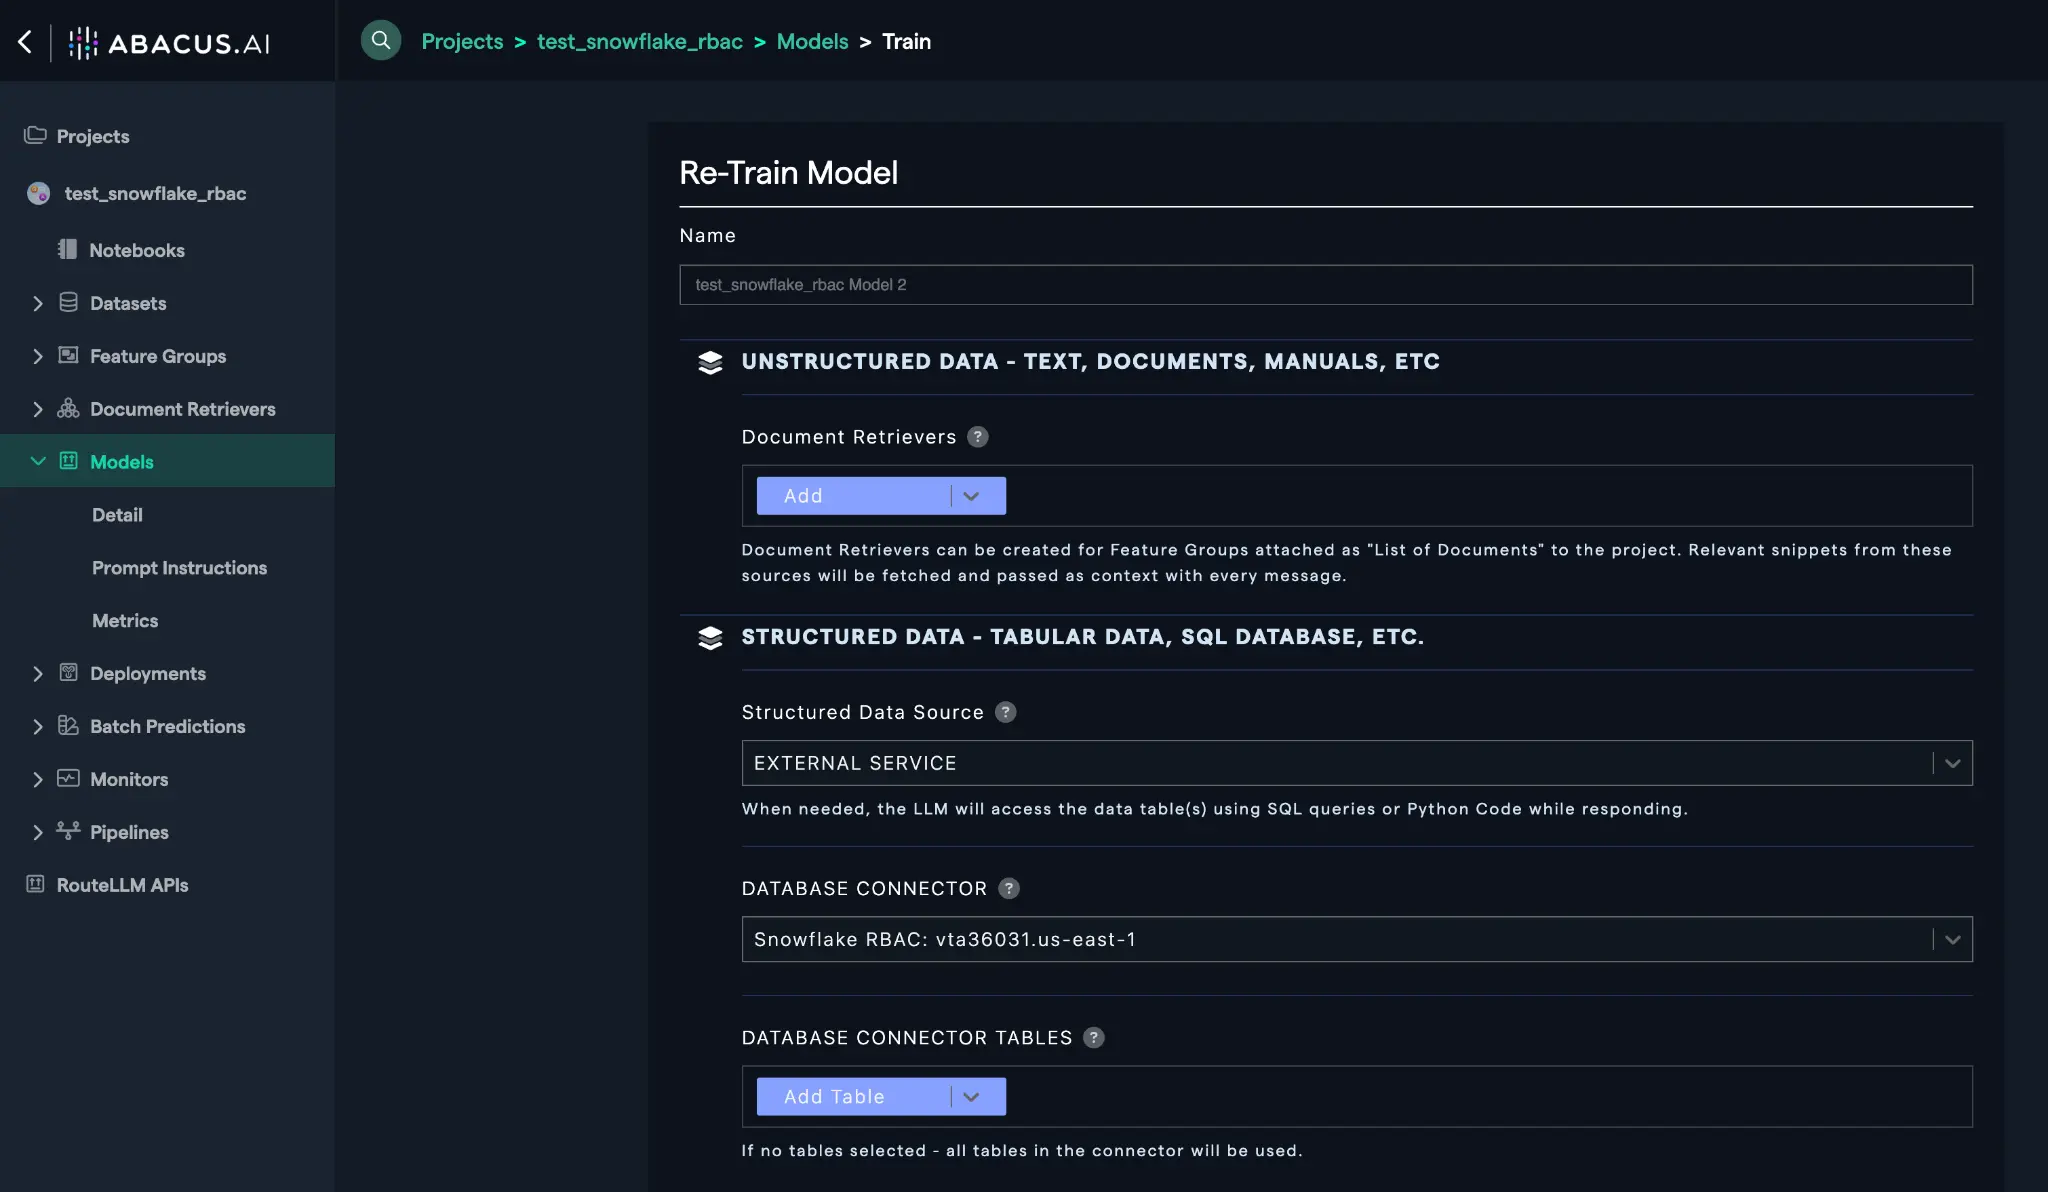
Snowflake
Microsoft teams
Twitter
Authentication
Getting Started with the Python SDK
API
Documentation Chat Bot
API Search
How to