Abacus.AI - Microsoft Teams Connector Documentation
The Abacus.AI Microsoft Teams App allows you to interact with your AI models directly within Microsoft Teams. Follow the instructions below to set up and use the Teams connector.
- Setup Instructions
- Customizing the Abacus.AI Bot
- Managing Access for Users and Groups
- Configuring Chatbot Settings
- Usage Instructions
- Updating the Abacus.AI Bot
- Teams Transcripts Connector
- Troubleshooting and FAQ
Setup Instructions
To set up the Abacus.AI Teams Bot in your Microsoft Teams environment, follow these steps:
Step 1: Add the App from Microsoft Teams Store
Before anyone can use the Abacus.AI Teams Bot, an admin must set up the connection between Abacus.AI and Microsoft Teams. This step ensures that the two services can securely share data.
- What this means: Only one person with admin access needs to complete this step. Once done, the connection is established for your organization, and individual users do not need to repeat this process.
- How to do it:
-
Log in to Abacus.AI.
-
Navigate to Manage Connectors > 'Add New Connector' and select the Microsoft Teams Connector.
-
Select
Authentication Type:- OAuth (default): Authorize the Abacus.AI app to access your Microsoft Teams data.
- Custom OAuth (optional): Use your own Azure AD app registration and provide its credentials. This is useful if your organization requires a dedicated app registration or uses a single-tenant Azure AD configuration.
- Client ID: The Application (client) ID of your Azure AD app.
- Client Secret: A client secret generated for your Azure AD app.
- Tenant ID (optional): The Directory (tenant) ID of your Azure AD tenant. Required for single-tenant apps where the
commonendpoint is not supported. If left blank, the multi-tenantcommonendpoint is used by default. - Note: Please refer to the Microsoft documentation to create the app and add the necessary scopes to it.
-
Follow the prompts to authorize the connection between Abacus.AI and Microsoft Teams.
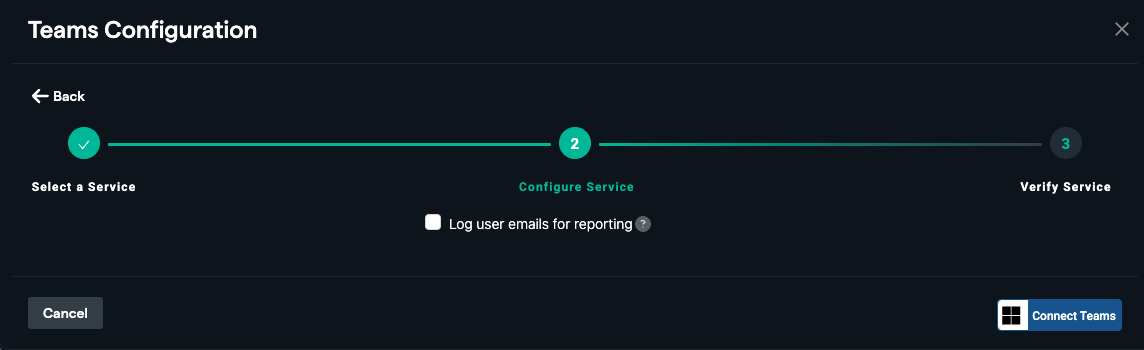
Optional: Enable the "Log user emails for reporting" toggle.
- Enabling this option allows Abacus.AI to identify users making queries from Teams.
- This is useful for generating detailed user-level reports.
- You need to be a Teams Admin to enable this functionality.
Step 2: Add the App from Microsoft Teams Store
-
Open Microsoft Teams and navigate to the Apps section.
-
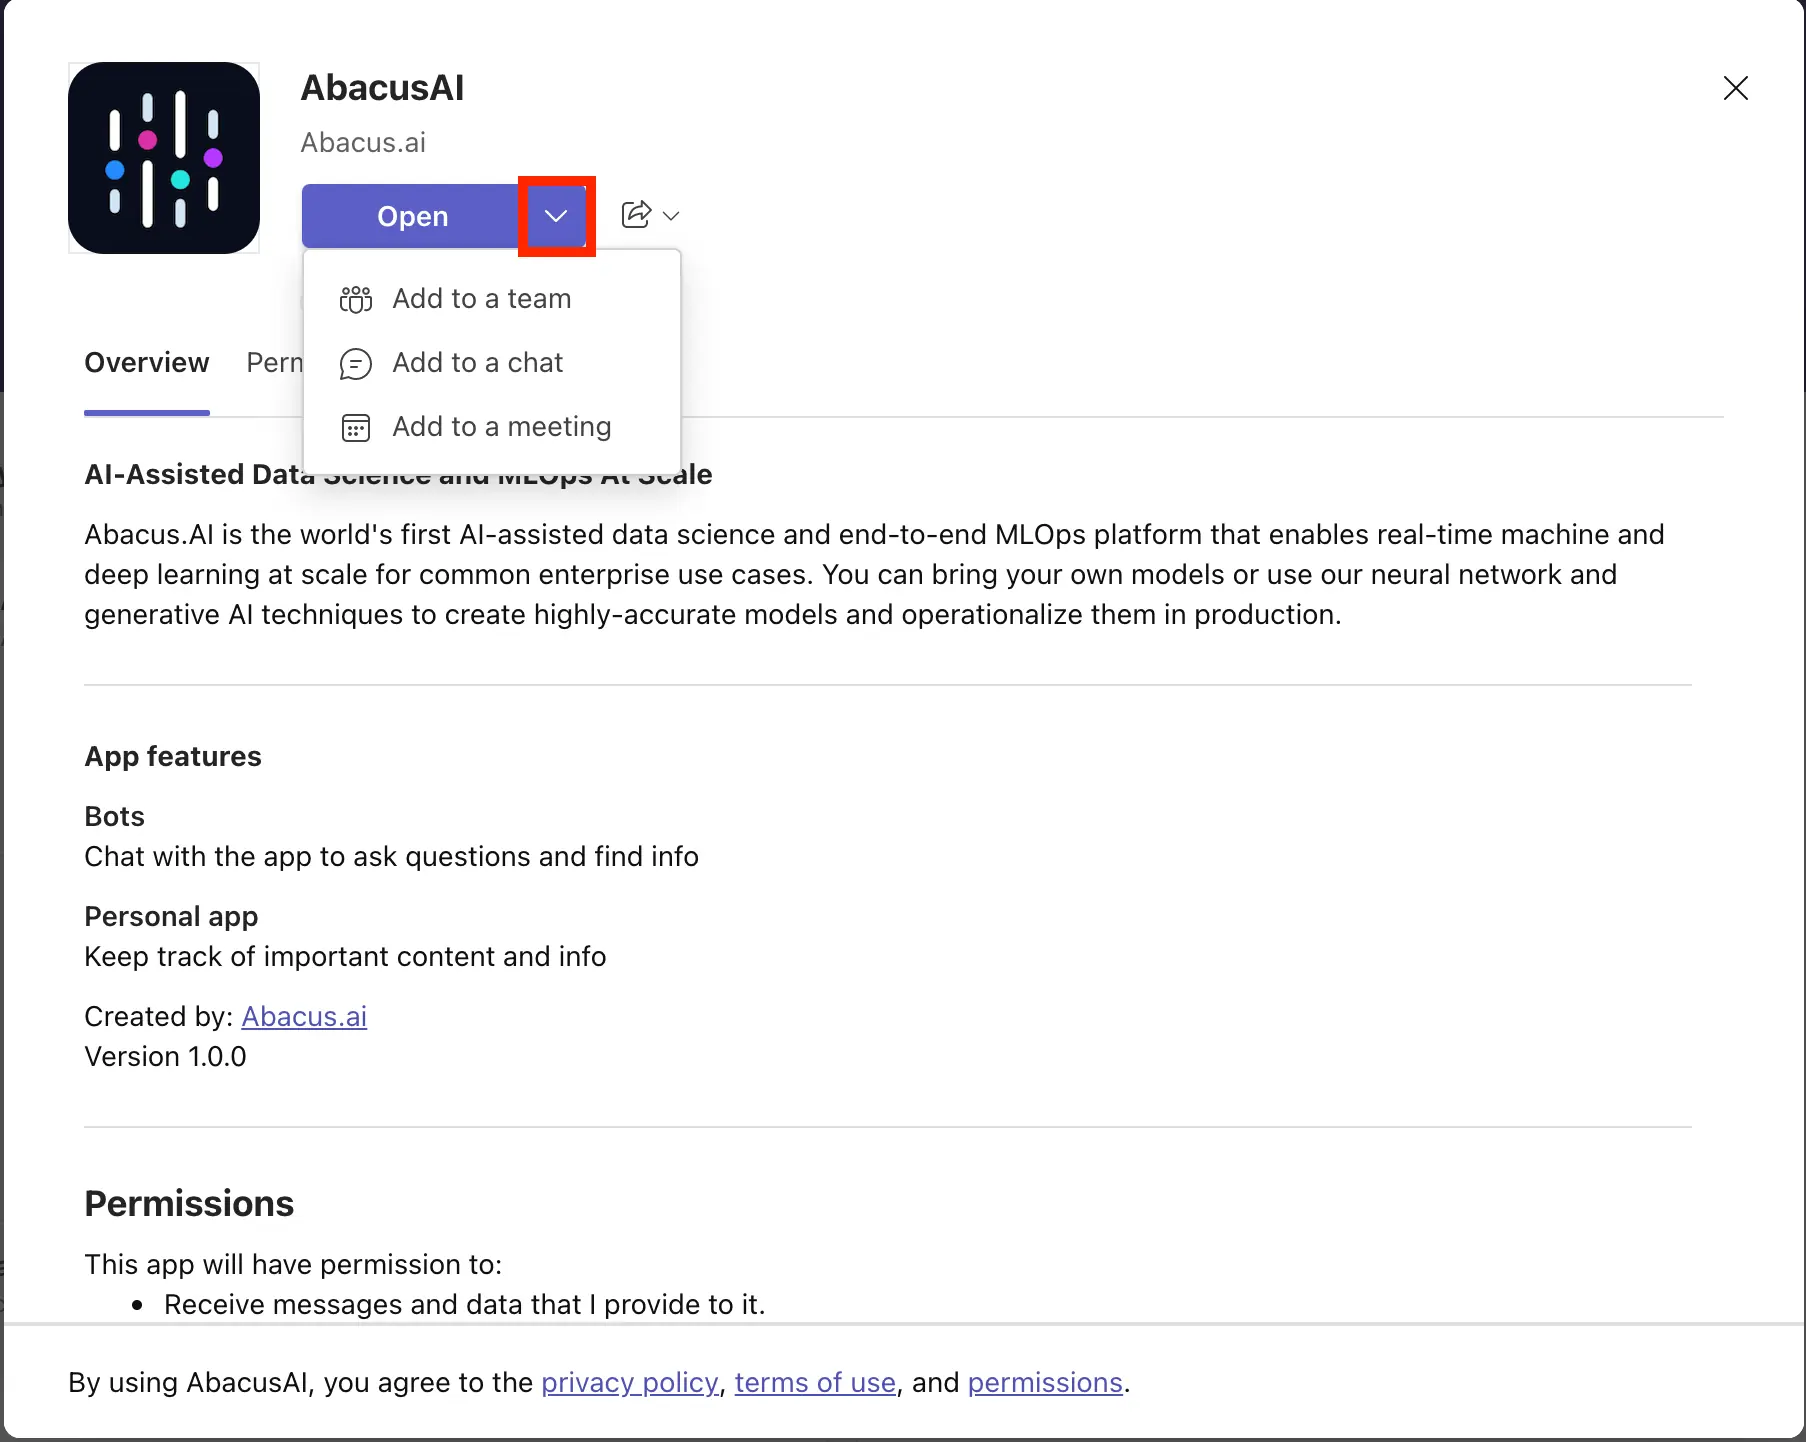
Use the search bar to find the Abacus.AI app, or click here to view the app in the Microsoft Teams Store.
-
Select the app and choose where to add it within Teams (e.g., a team, group chat, or personal chat).
Step 3: Set Up the Abacus.AI Bot
-
Add the bot to a team or chat and confirm the setup.
-
Test the bot by sending a query to ensure it responds as expected.

Permissions and Access
When setting up the bot, the following permissions are requested:
- ChannelMessage.Read.All: Read user channel messages.
- Chat.Read: Read user chat messages.
- Group.Read.All: Read all groups.
- openid: Sign users in.
- User.Read: Sign in and read user profile.
- ChannelMessage.Send: Send channel messages.
- Chat.ReadWrite: Read and write user chat messages.
- offline_access: Maintain access to data you have given it access to.
- profile: View users' basic profile.
- User.Read.All: Read all users' full profiles
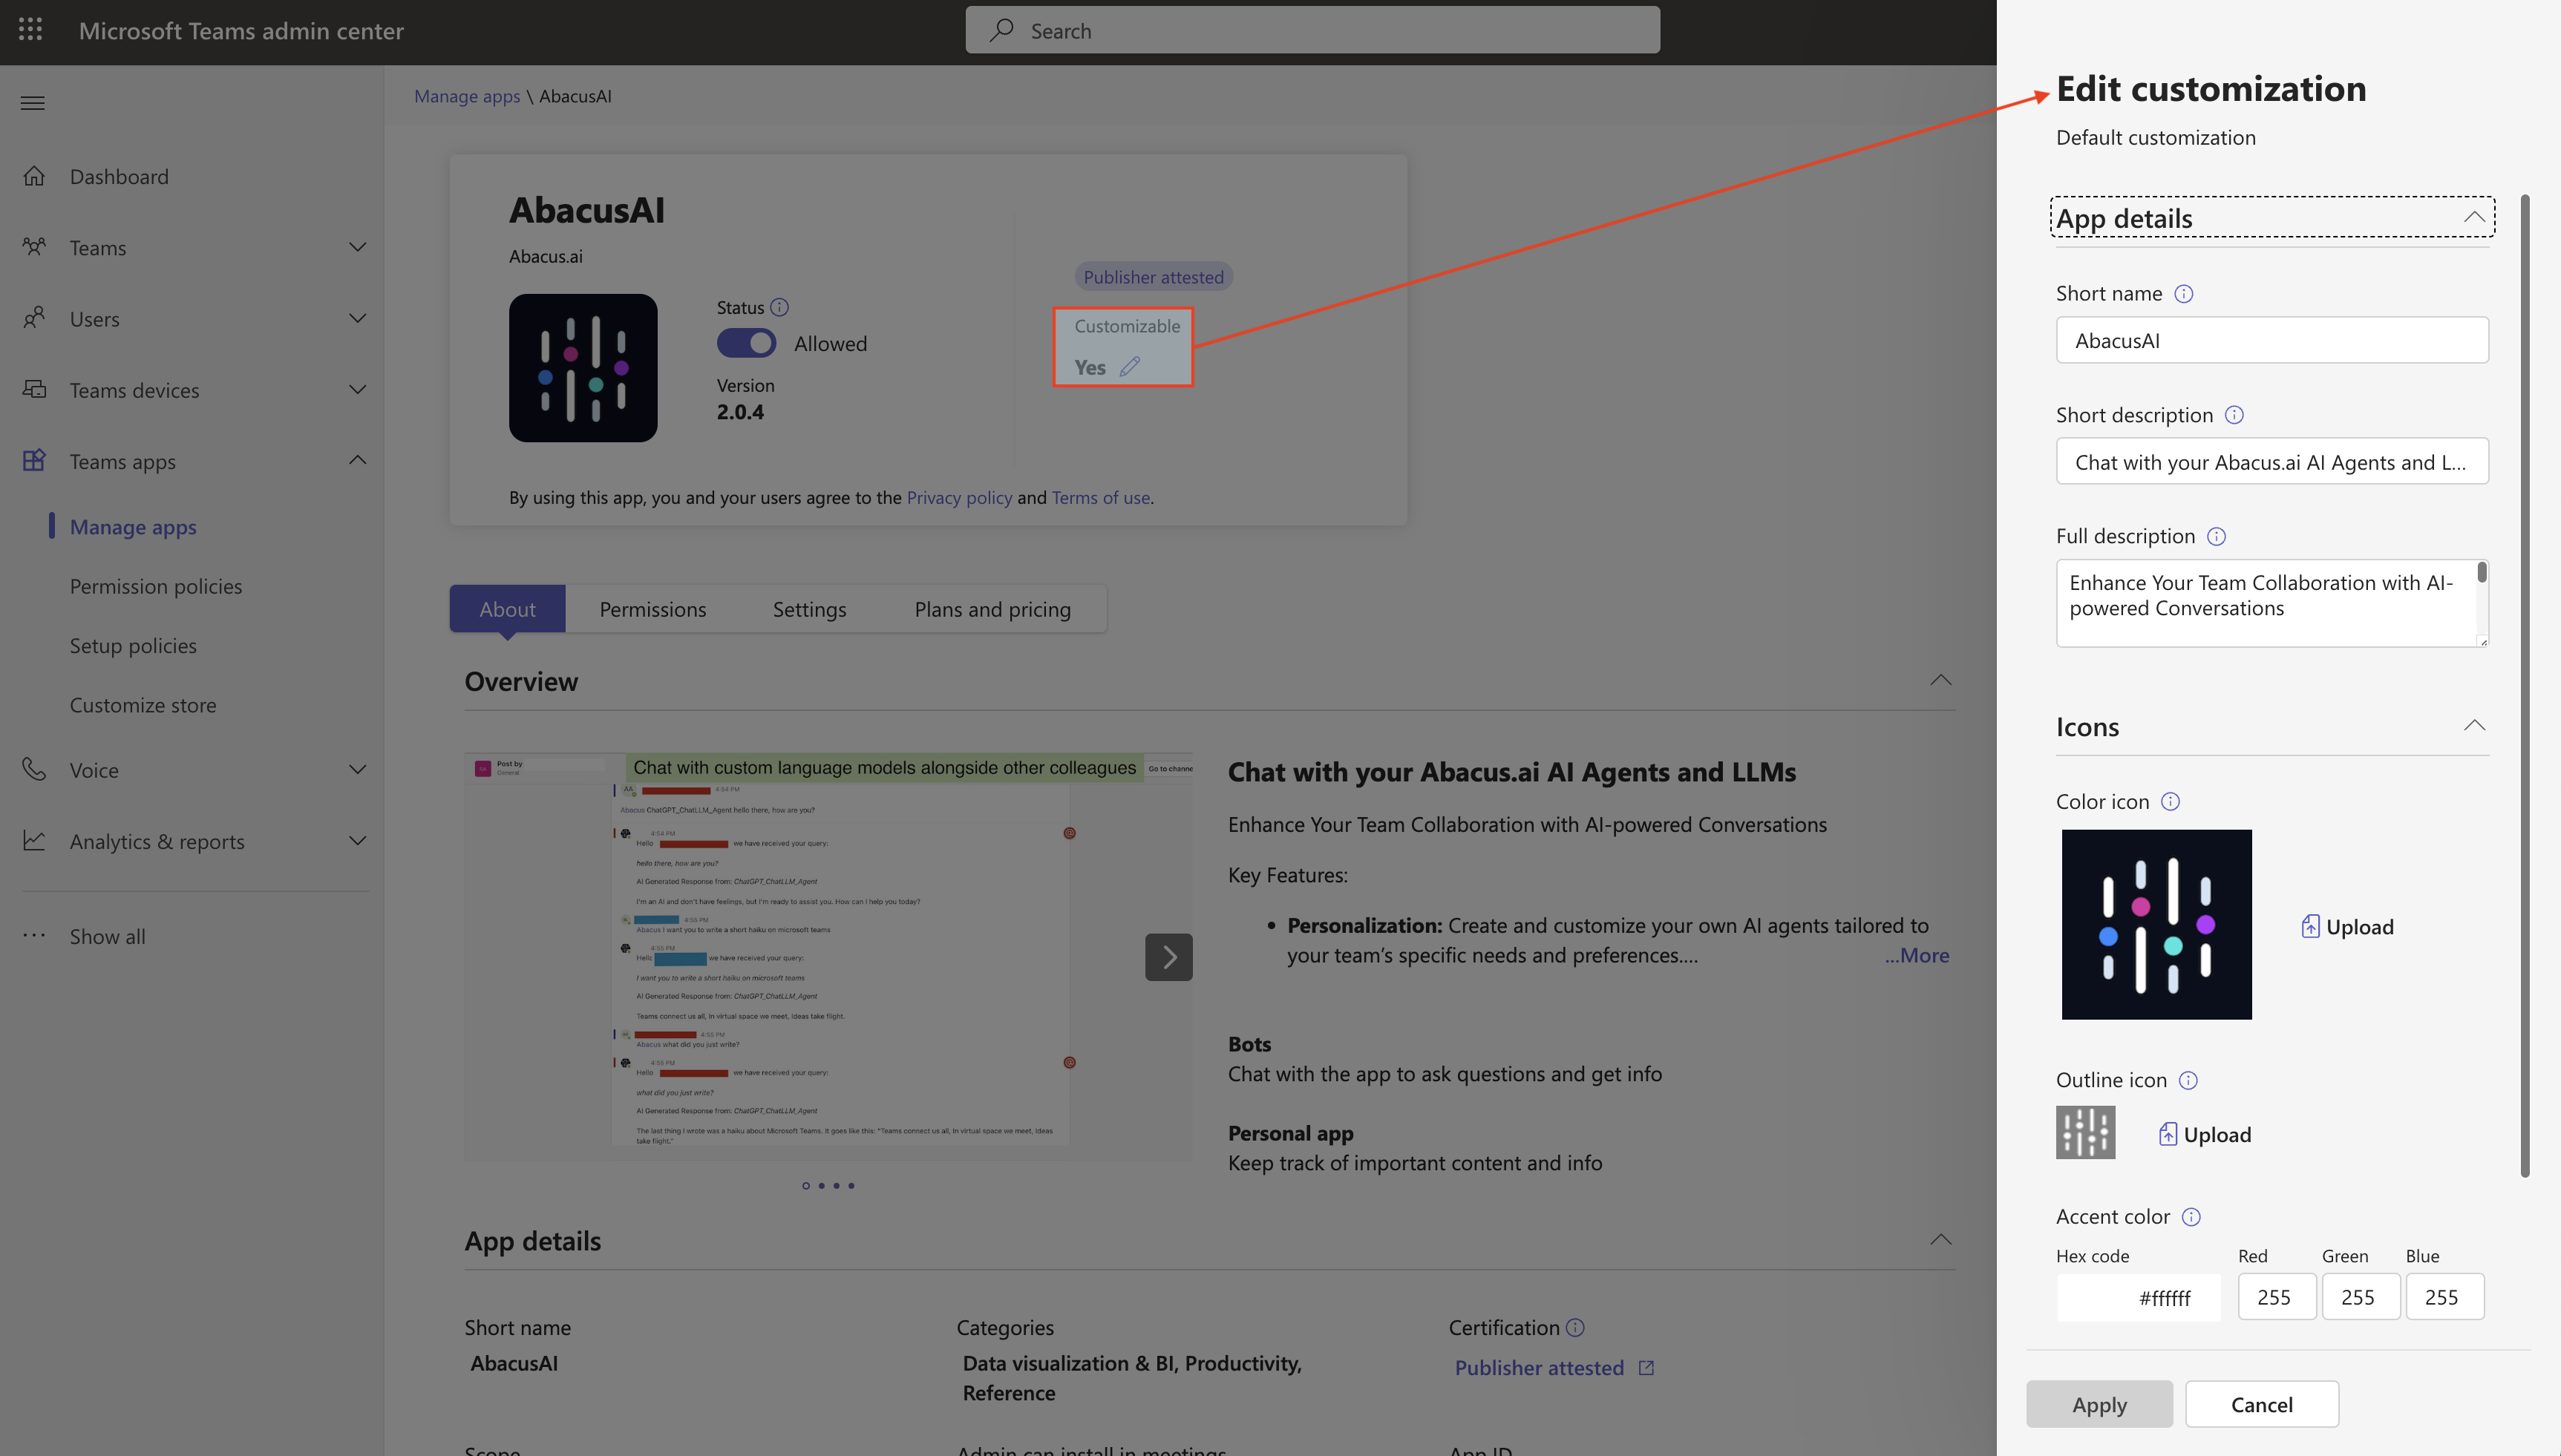
Customizing the Abacus.AI Bot Appearance and Description
You can customize the appearance and description of the Abacus.AI bot to align with your organization's branding.
- Navigate to the Microsoft Teams Admin Center.
- Customize the following settings:
-
Short Display Name: Edit the bot's name as it appears in Teams.
-
Short Description: Provide a brief description (under 80 characters).
-
Full Description: Add a detailed description of the bot's functionality.
-
App Icon: Upload a custom icon (192x192 PNG).
Managing Access for Users and Groups
Admins can control who has access to the Abacus.AI bot by managing permissions for specific users or groups.

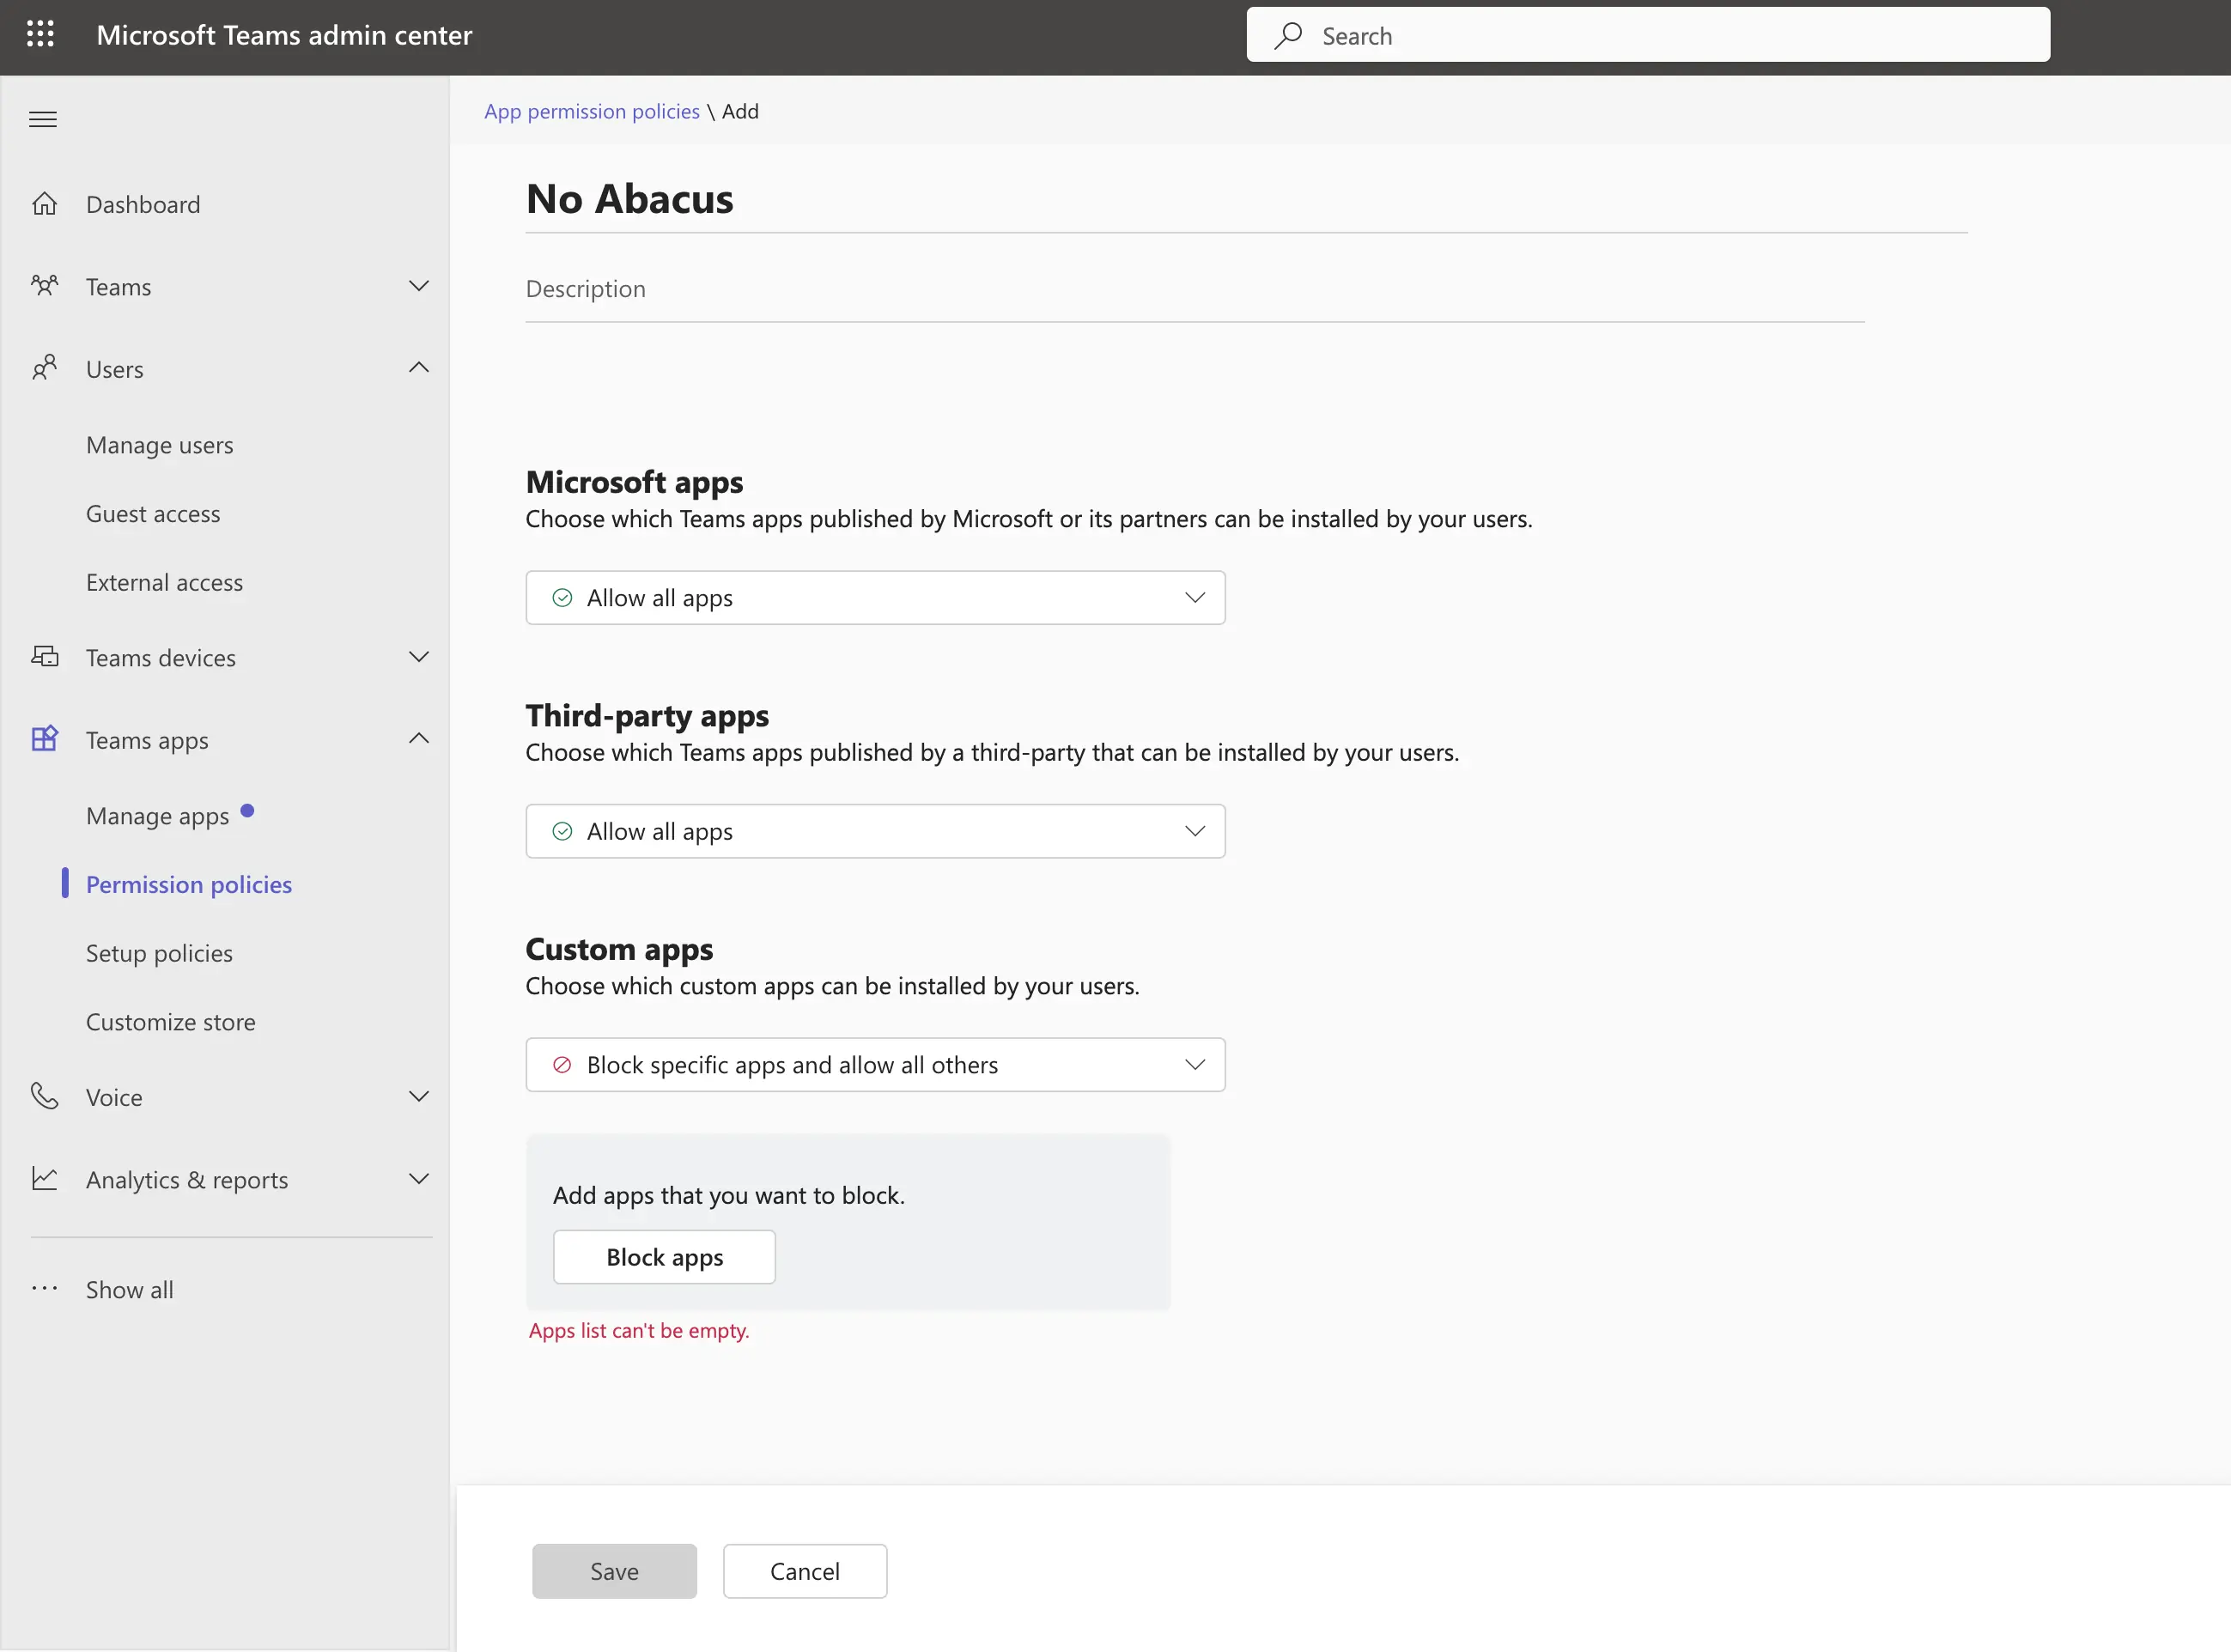
Step 1: Set Up Permission Policies
- Go to the Microsoft Teams Admin Center - Permission Policies.
- Create a new permission policy or edit an existing one (e.g., the global policy). You must be an admin to do this.
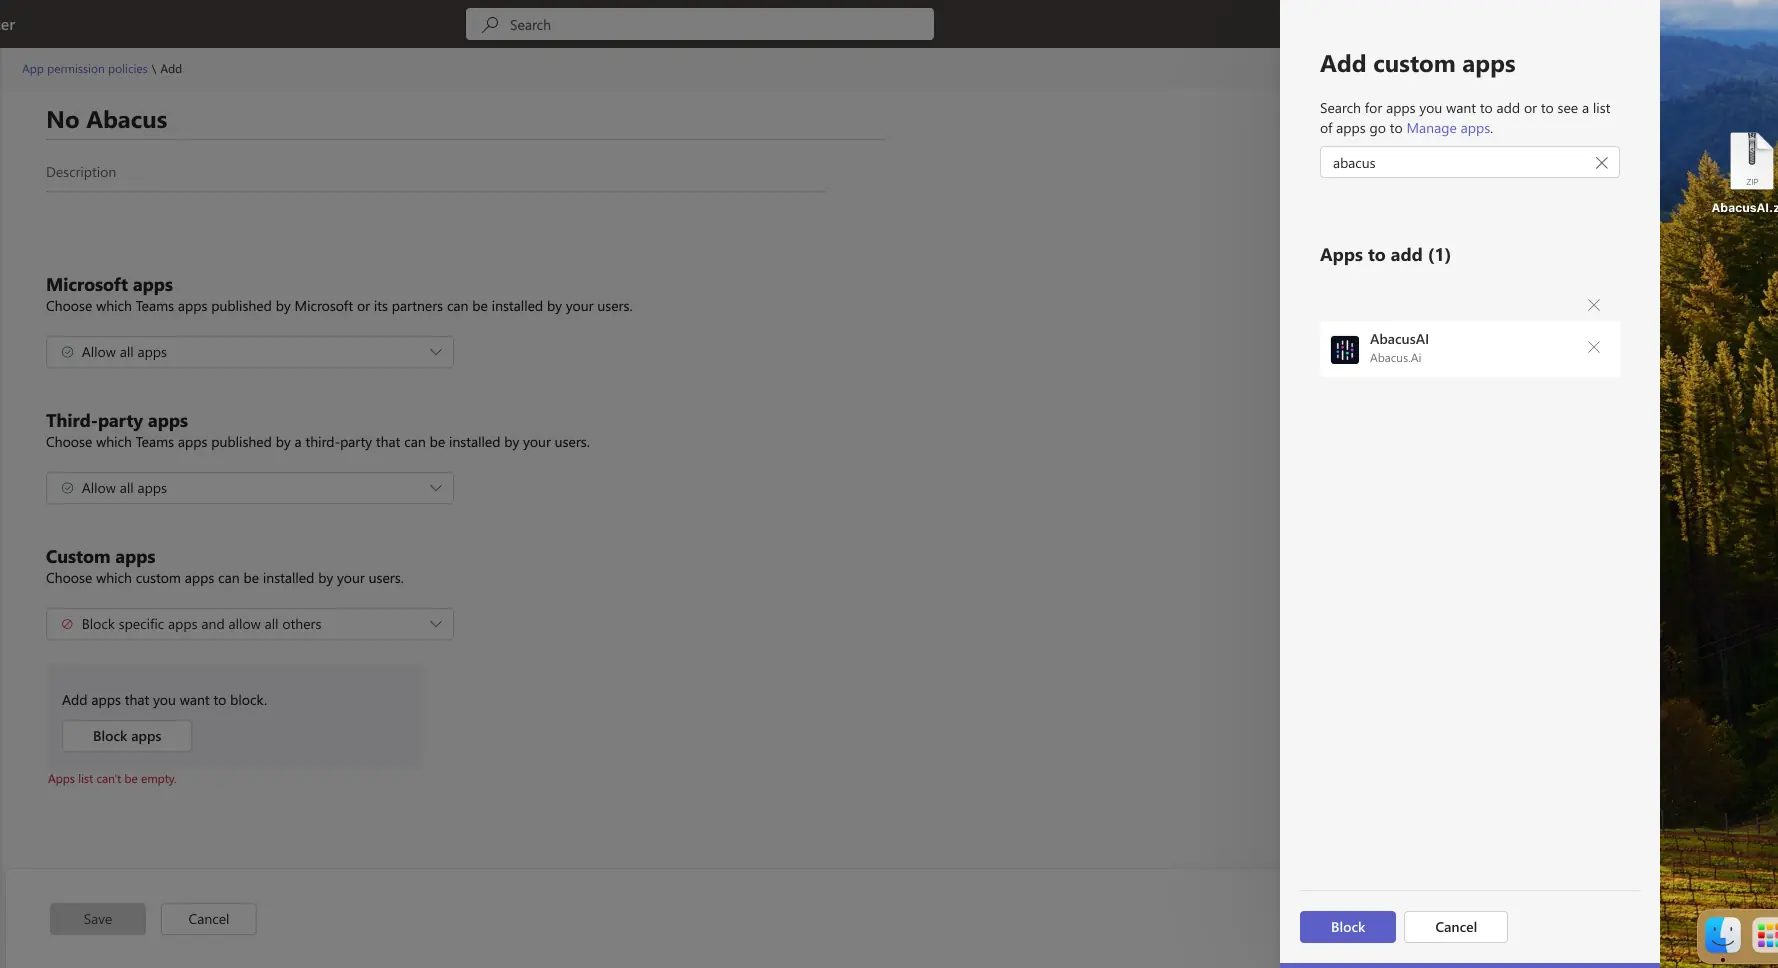
- Under Custom Apps, choose one of the following options:
-
Allow All Apps Except Blocked Apps: Block the Abacus.AI bot for specific users or groups.
-
Block All Apps Except Allowed Apps: Allow the Abacus.AI bot only for specific users or groups.
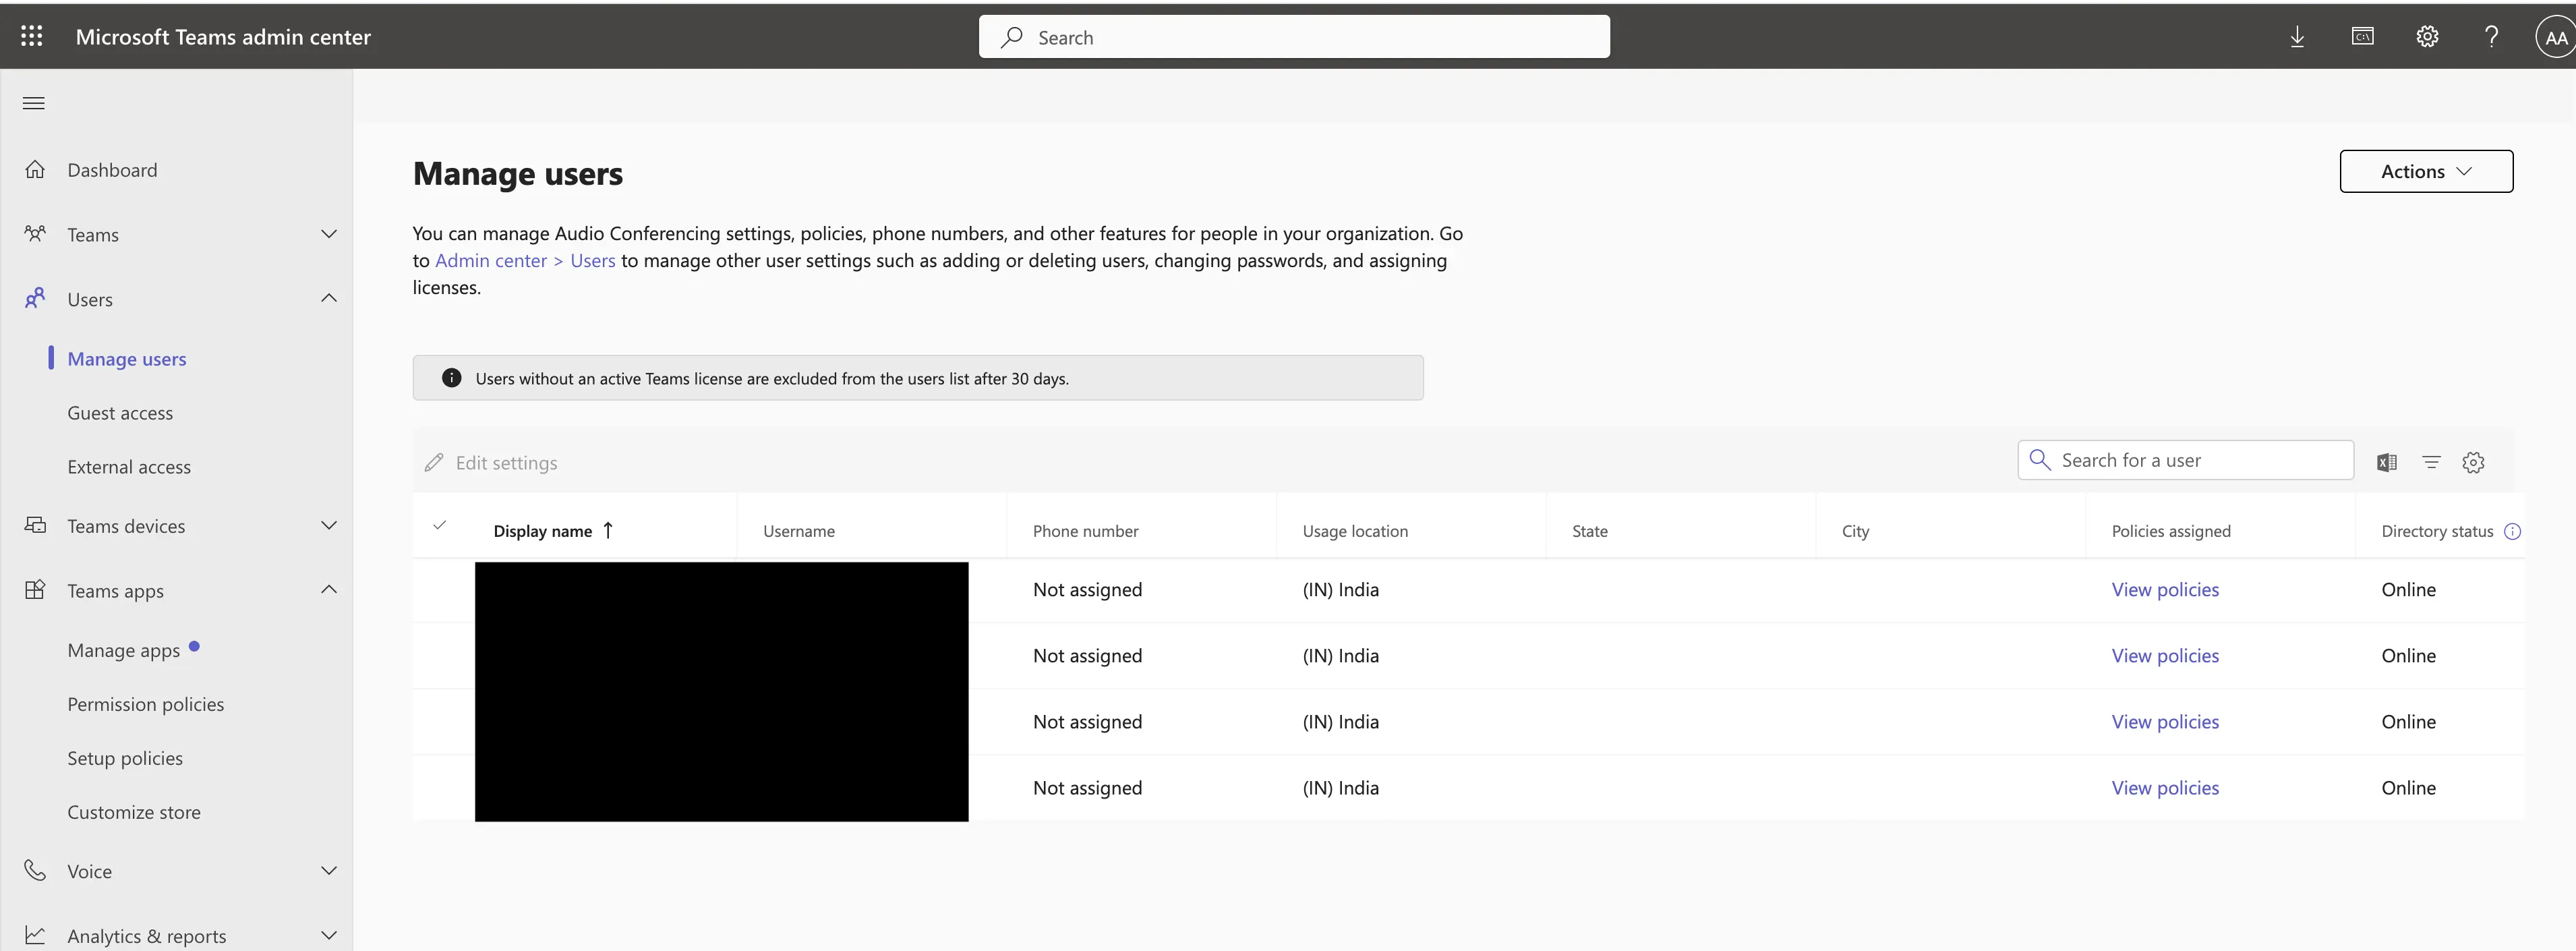
Step 2: Assign Policies to Users or Groups
-
Navigate to the Microsoft Teams Admin Center - Manage Users.
-
Select a user or group and click View Policies.
-
Assign the appropriate permission policy to control access to the Abacus.AI bot. Here, you can add or remove policies you've created/edited for users.
Configuring Chatbot Settings
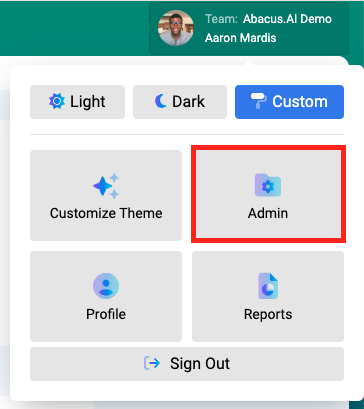
To configure various settings for your chatbots, visit the external admin page -> Admin > Connectors.
Here, you can select the checkboxes for:
- Review Initial Acknowledgement: Provide a message that the query has been received.
- Customize Default Messages: Set the welcome message, disclaimer, whitelabel name, and default message.
- Welcome Message: Set the initial message users will see when they start interacting with the bot.
- Disclaimer: This is a message that will be appended to every response from the bot to provide any necessary legal disclaimers or other important information.
- Whitelabel Name: Choose a custom name for the bot that reflects your branding.
- Default Message: Define a default message for unrecognized queries.
Examples:
- Welcome Message: "Welcome to BotChat. How may I assist you?"
- Disclaimer: "AI Generated Response from: Abacus.AI. Please review before using."
- Whitelabel Name: "Abacus.AI"
- Default Message: "To start, you can ask our bot a question using the format:
@<bot_name <query>You can then converse with the chatbot in the chat without using<chatbot>prefix. This will continue to use the original chatbot you invoked. To switch bots, simply use a new bot name. If you want to see a list of available bot names, type @list. To end your current conversation, type clear."
Usage Instructions
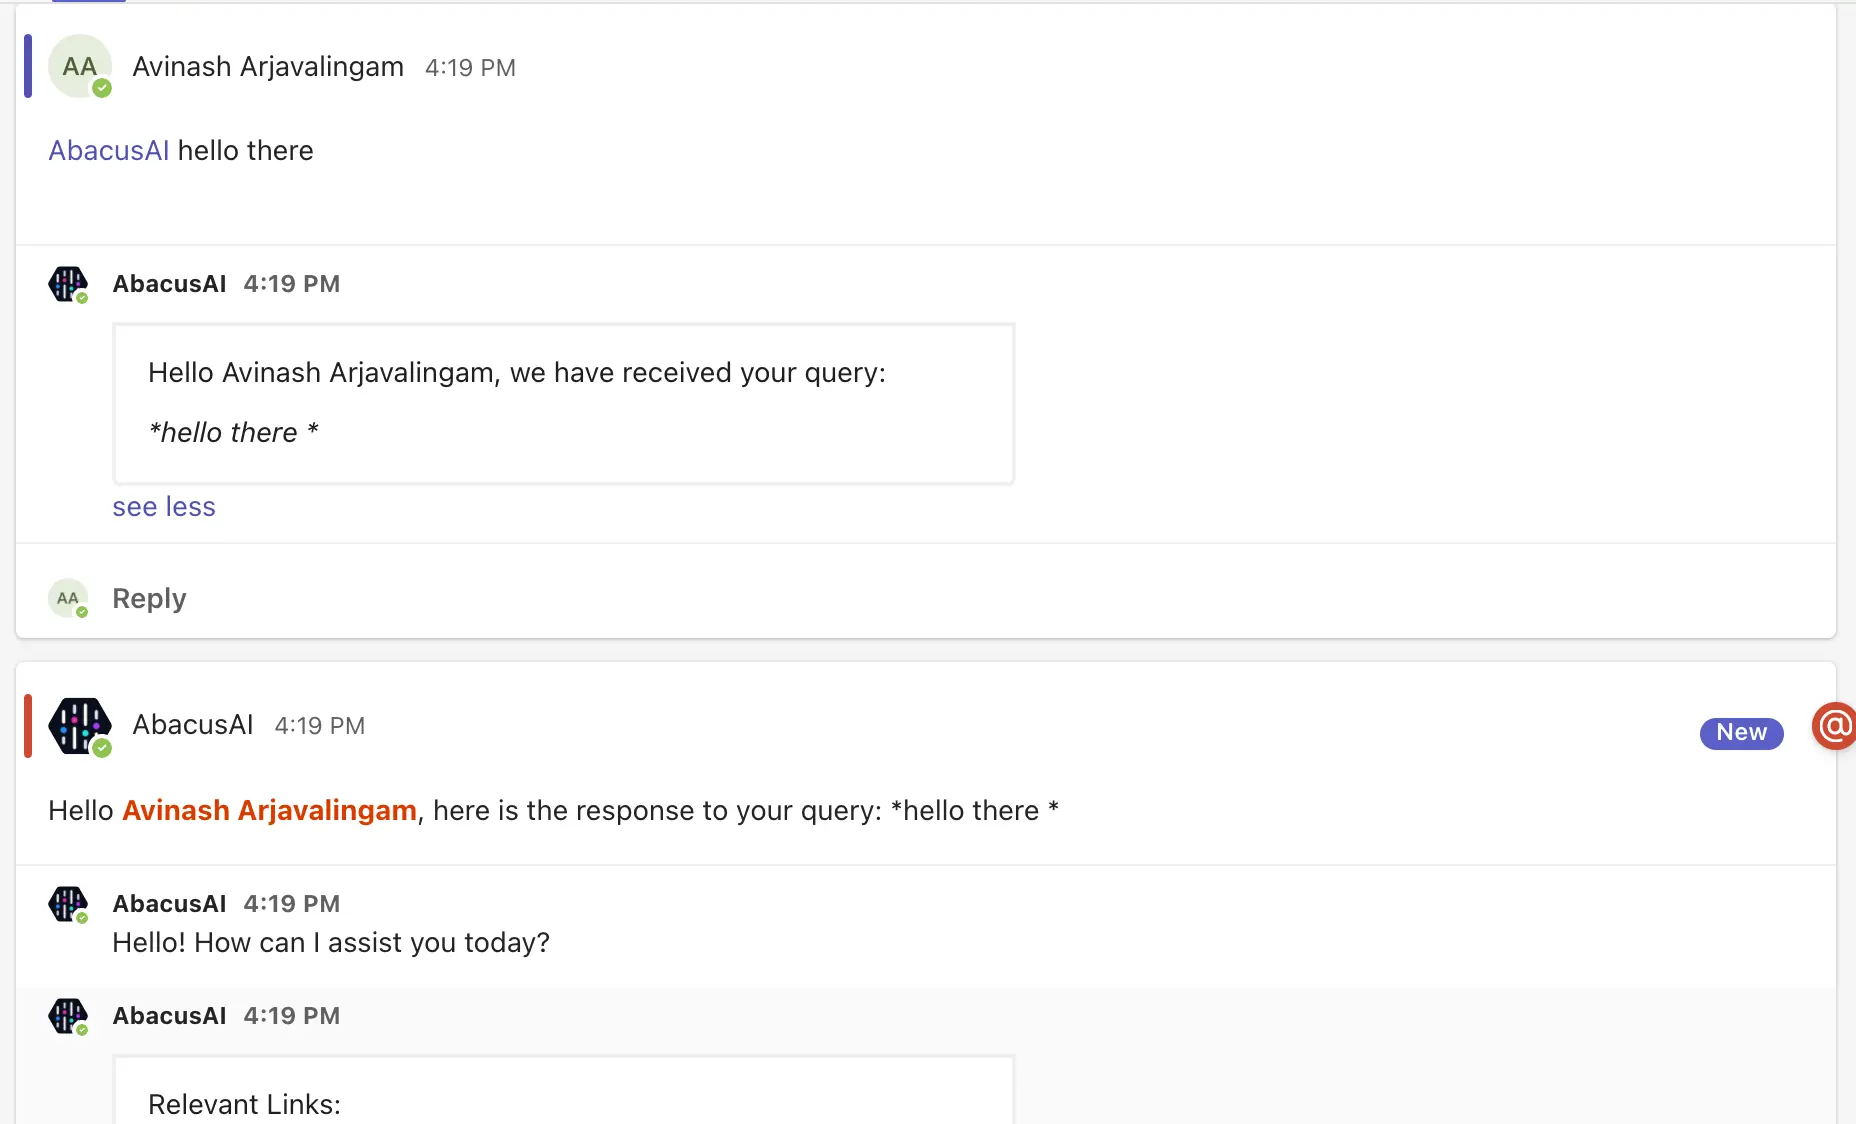
Engage in a dialogue with the Abacus.AI bot, which will remember your previous queries within the same conversation.
Before First Use: Register the Bot
- Important: Before using the bot, users must run the
registercommand in a direct message (DM) with the bot.
This completes the connection between Abacus.AI and Microsoft Teams for the user.
Utility Commands
@Abacus.AI list— Lists all available chatbot names.@Abacus.AI help— Provides assistance in using the bot.
Interacting with Bots in Channels and Group Chats
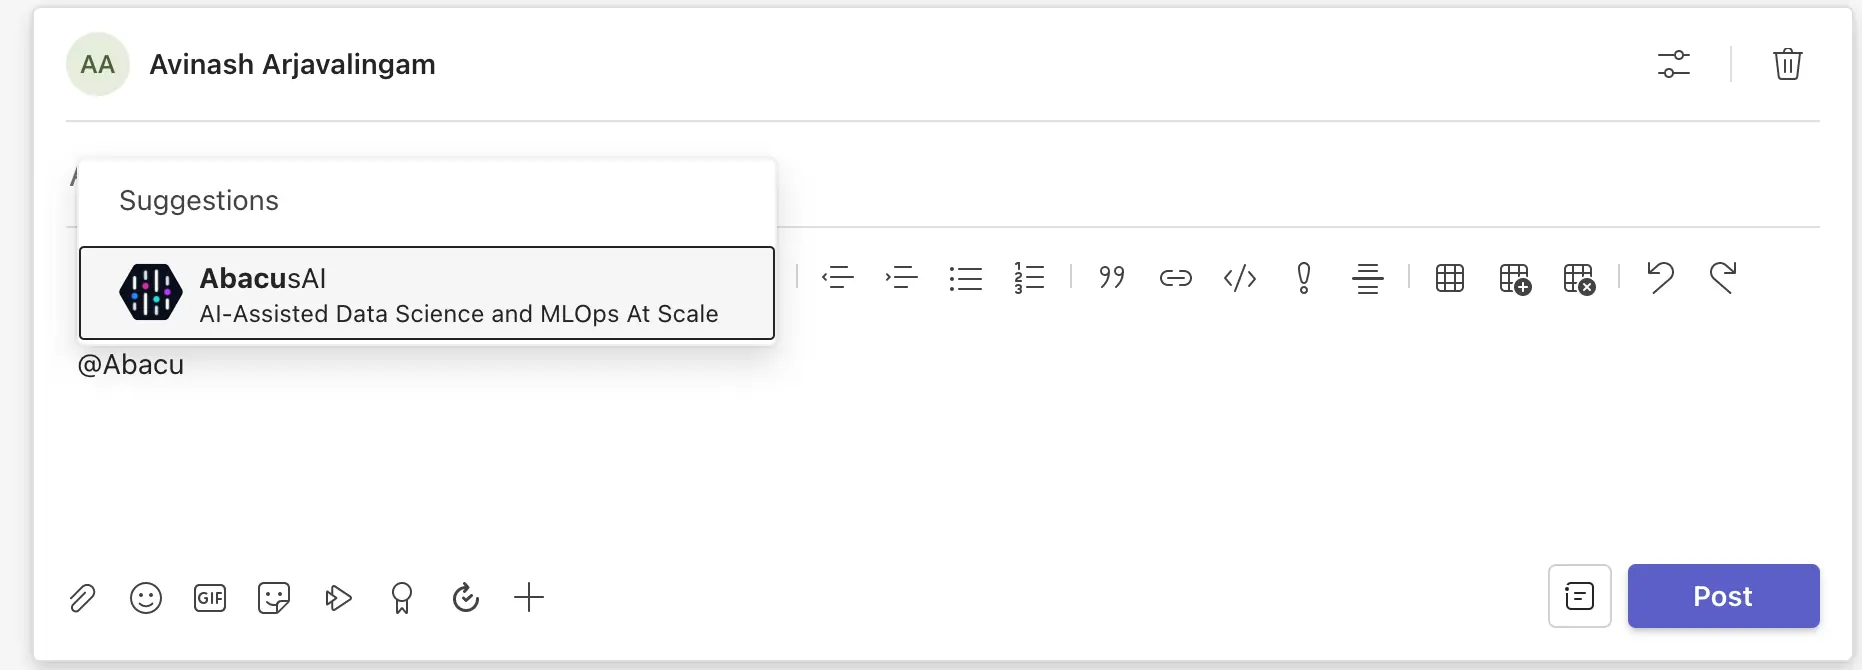
In Teams channels and group chats, you must mention the bot to invoke it:
- Invoke a specific bot:
@Abacus.AI <bot_name> <query> - Use the default bot:
@Abacus.AI <query>(routes to your configured default bot) - Continue the conversation in the thread created by the bot — no need to mention
@Abacus.AIagain within the same thread. - To switch bots, start a new message with
@Abacus.AI <different_bot_name> <query>.
Examples (Channel / Group Chat):
| What you type | What happens |
|---|---|
@Abacus.AI sales_bot What were Q4 results? | Sends the query to the sales_bot |
@Abacus.AI What were Q4 results? | Sends the query to your default bot |
@Abacus.AI list | Lists all available bot names |
Interacting with Bots in Direct Messages (DMs)
In a direct message (DM) conversation with the Abacus.AI bot, you do not need to use the @Abacus.AI mention — every message you send is automatically seen by the bot. You can still include the mention if you prefer; both styles work.
- Invoke a specific bot:
<bot_name> <query>or@Abacus.AI <bot_name> <query> - Use the default bot:
<query>or@Abacus.AI <query>(routes to your configured default bot) - Use
listor@Abacus.AI listto see available bot names. - Continue the conversation in the thread — subsequent messages will use the same bot without needing to specify the bot name again.
Examples (DM):
| What you type | What happens |
|---|---|
sales_bot What were Q4 results? | Sends the query to the sales_bot |
@Abacus.AI sales_bot What were Q4 results? | Same — sends the query to the sales_bot |
What were Q4 results? | Sends the query to your default bot |
@Abacus.AI What were Q4 results? | Same — sends the query to your default bot |
list | Lists all available bot names |
Setting a Default Bot
If you have a default bot configured, you can skip specifying the bot name entirely. Any message without a bot name will automatically be routed to the default bot.
To configure the default bot:
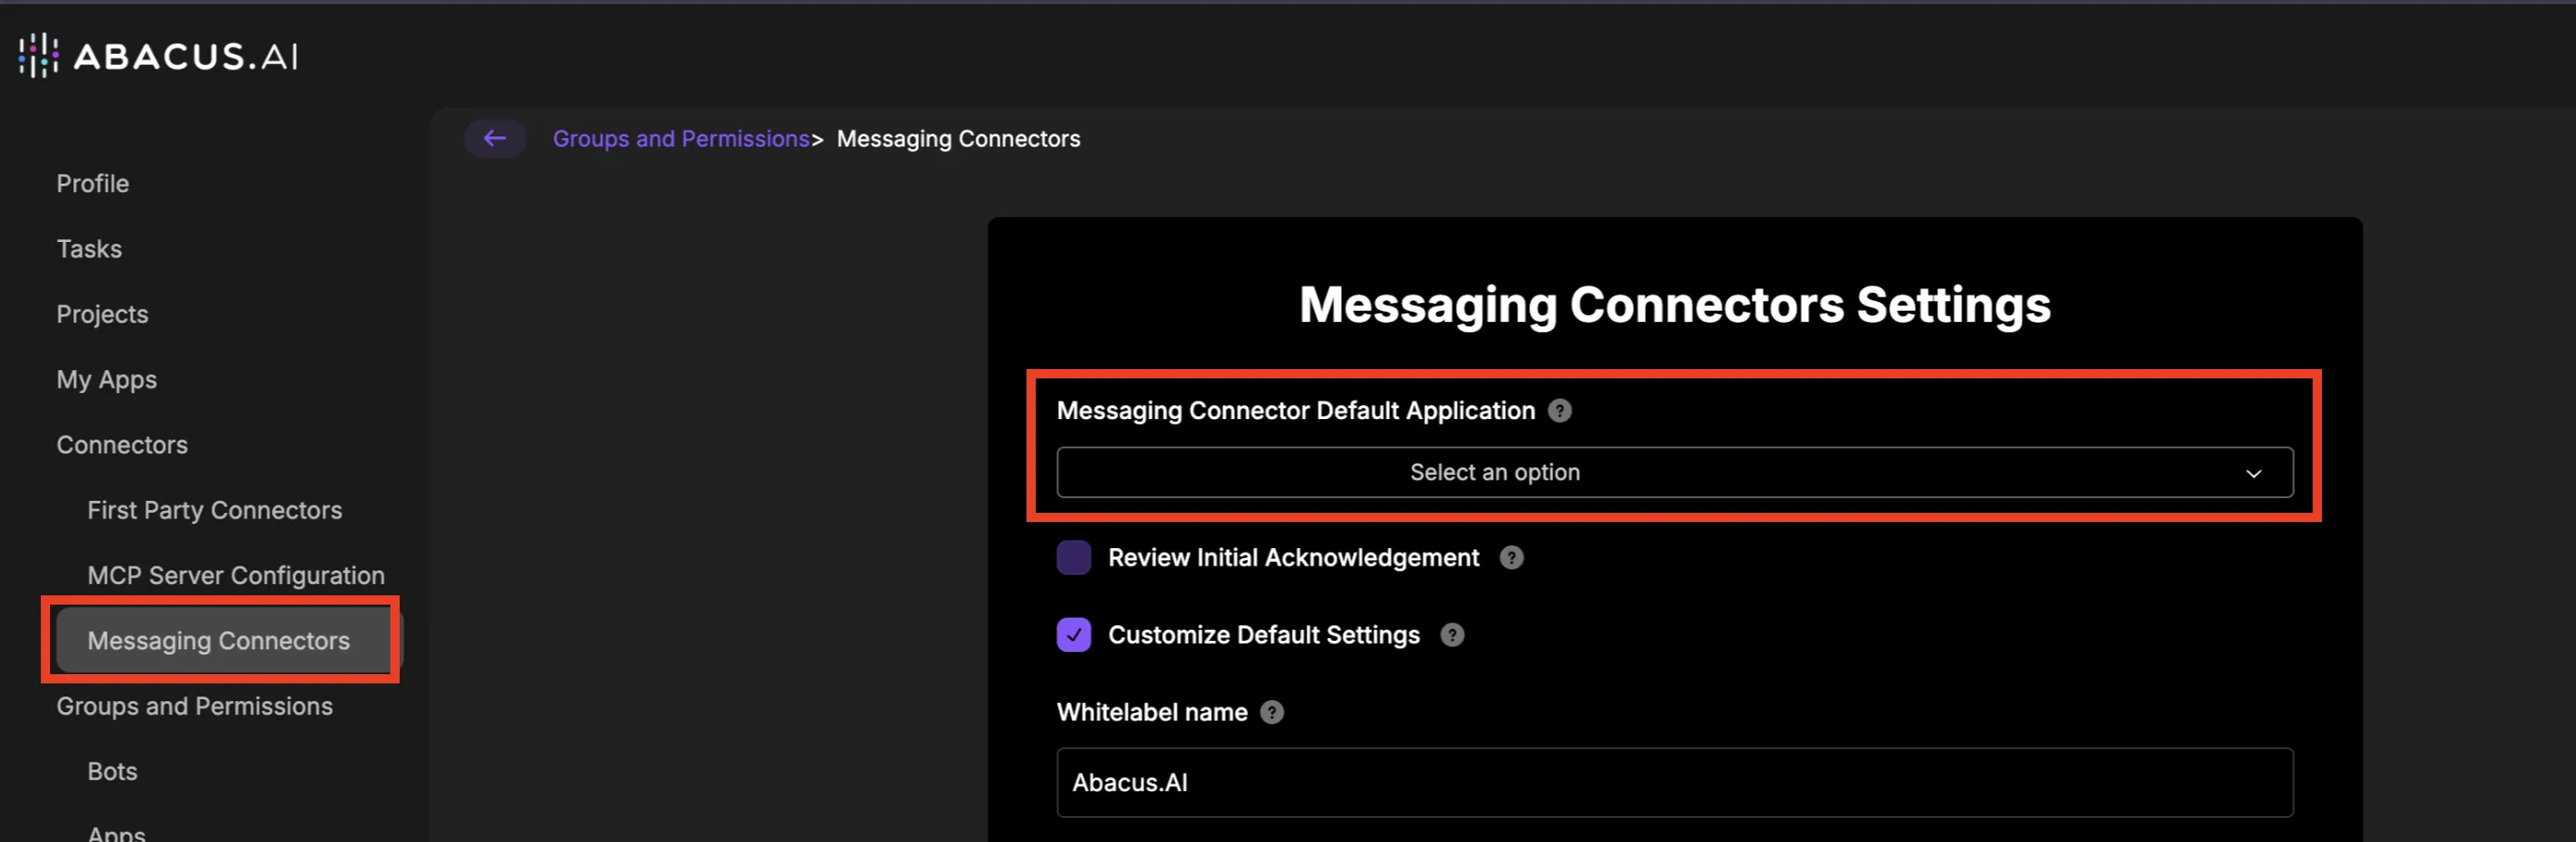
- In the Abacus.AI platform, navigate to Groups and Permissions > Messaging Connectors.
- Under Messaging Connector Default Application, select the bot you want to use as the default from the dropdown.
- Optionally, toggle Review Initial Acknowledgement to customize the acknowledgement message sent when a conversation starts.
- Optionally, check Customize Default Settings to configure additional options such as the Whitelabel name displayed to users.
Updating the Abacus.AI Bot
To ensure the bot has the latest features and fixes, follow the standard method of updating apps in Microsoft Teams.
Teams Transcripts Connector
The Teams Transcripts Connector is specifically designed for scraping and analyzing data from Teams. It focuses on extracting detailed information from Teams communications, such as chat messages, channel posts, and potentially meeting transcripts.
If you want to pull that data from Teams, please see the Teams Transcript connector here.
Troubleshooting and FAQ for the Teams Connector
The bot is not responding to queries.
- Ensure you have run the register command in a direct message with the bot.
- Verify that the Microsoft Teams Connector has been set up by an admin in the Abacus.AI Admin Console.
I cannot see the bot in Teams.
- Check with your Teams Admin to ensure the bot has been added and permissions are correctly configured.
I want to track user activity for reporting.
- Ensure the "Log user emails for reporting" toggle is enabled in the Microsoft Teams Connector settings.
If a User A who has access to "Confidential Bot" adds it to a conversation in Teams with User B who does not have access to the "Confidential Bot," will User B still see the bot's messages and responses?
- Yes, User B will still be able to see the bot's messages and responses in the shared conversation. However, User B will not be able to interact with the bot or create their own conversation thread with it. Only users with access to the bot can directly query it.
For any issues or questions regarding the Teams connector, please refer to the troubleshooting section or contact Abacus.AI support for assistance.
Having multiple bots in teams The Abacus.AI bot is registered as a single app in the Microsoft Teams Store with one unique Microsoft App ID/Bot ID, so it's not feasible to have multiple bots.