Conversational
Workflow Type: Conversational AI Workflow
Conversational workflows enable interactive chat experiences with context awareness, memory, and document retrieval. Perfect for Q&A bots, assistants, and support agents.
A conversational AI Workflow would look like below:
So it would follow a normal chatbot experience. Please note that in most cases, this is not required. You can just use our custom chatbots to build conversational experiences.
Use Case: Document Q&A with Context
Users ask questions, and the workflow searches a document retriever, maintains conversation history, and generates contextual responses.
Step 1: Create the Query Handler Function
This function handles user messages, retrieves relevant documents, and generates responses with conversation context.
from abacusai import (
    ApiClient,
    AgentInterface,
    AgentResponse,
    WorkflowGraph,
    WorkflowGraphNode,
    WorkflowNodeInputMapping,
    WorkflowNodeInputSchema,
    WorkflowNodeInputType,
    WorkflowNodeOutputMapping,
    WorkflowNodeOutputSchema,
    WorkflowNodeOutputType,
)

def query_handler(message):
    """
    Handles user queries with document retrieval and conversation context

    Args:
        message (str): User's question or message

    Returns:
        Streams response directly to user (no explicit return)
    """
    import abacusai
    client = abacusai.ApiClient()

    ################################################
    # Settings
    ################################################
    HISTORY_LIMIT = 2  # Number of previous exchanges to include
    DOCUMENT_RETRIEVER_ID = 'YOUR_DOCUMENT_RETRIEVER'  # Your document retriever ID

    ################################################
    # Get Conversational Context
    ################################################

    try:
        # Get last N messages (multiplied by 2 for USER + ASSISTANT pairs)
        chat_history = client.get_agent_context_chat_history()[-HISTORY_LIMIT*2:]
    except Exception as e:
        chat_history = []

    # Format messages for LLM consumption
    formatted_messages = []
    if chat_history:
        for msg in chat_history:
            if hasattr(msg, "role") and (hasattr(msg, "text") or hasattr(msg, "streamed_data")):
                # Use text if available, otherwise streamed_data
                content = msg.text if msg.text else msg.streamed_data
                formatted_messages.append({
                    "role": msg.role,
                    "content": content
                })

    # Combine all messages into context string
    all_messages_text = "\n".join(
        [f"{msg.get('role')}: {msg.get('content')}" for msg in formatted_messages]
    )

    ################################################
    # Get Documents from Document Retriever
    ################################################

    context = 'No relevant information available.'
    try:
        # Search document retriever
        search_results = client.get_matching_documents(
            document_retriever_id=DOCUMENT_RETRIEVER_ID,
            query=message,
            limit=20  # Get top 20 relevant chunks
        )

        # Format search results
        formatted_results = []
        for i, result in enumerate(search_results):
            props = result.properties
            formatted_result = f"""
        ---------START OF DOCUMENT---------
        Document URL:
        [{props.get('file_path', 'N/A').split('/')[-1]}]({props.get('url', 'N/A')})

        Equipment Type:
        {props.get('equipment_type', 'N/A')}

        Document Content:
        {result.document}
        ---------END OF DOCUMENT---------

        """
            formatted_results.append(formatted_result)

        context = "\n".join(formatted_results)
    except Exception as e:
        context = "Error retrieving relevant documents."

    ################################################
    # Finalize System Message
    ################################################

    system_message = f"""
### All the conversation history with the user up to now:
---
{all_messages_text}
---
### All of the search results. Don't answer outside the information below:
---
{context}
---
"""

    ################################################
    # Stream Output to the User
    ################################################

    # Stream response in real-time - No need to return anything.
    client.streaming_evaluate_prompt(
        prompt=message,
        system_message=system_message,
        llm_name='OPENAI_GPT4.1'
    )
Key Features:
get_agent_context_chat_history(): Retrieves previous conversation turnsget_matching_documents(): Semantic search in document retrieverstreaming_evaluate_prompt(): Streams response token-by-token for better UX
Step 2: Create Query Handler Node
query_handler_node = WorkflowGraphNode(
    "Query Handler",
    query_handler,
    input_mappings={},  # No input mappings needed - message comes from chat interface
    output_mappings=[]  # No explicit outputs - function streams directly
)
Conversational Specifics:
- No
input_mappings: Themessageparameter is automatically provided by the chat interface - No
output_mappings: Responses are streamed directly viastreaming_evaluate_prompt()
Step 3: Build Workflow Graph
agent_interface = AgentInterface.CHAT

workflow_graph = WorkflowGraph(
    nodes=[query_handler_node],
    specification_type="data_flow"
)
Step 4: Register the Agent
from abacusai import ApiClient

client = ApiClient()

agent = client.create_agent(
    project_id='your_project_id',
    workflow_graph=workflow_graph,
    agent_interface=agent_interface,
    description="Conversational Q&A agent with document retrieval and context awareness",
)

agent.wait_for_publish()
print(f"Conversational agent created: {agent.agent_id}")
Critical Settings:
agent_interface=AgentInterface.CHAT
Additional Information
Conversational workflows can also respond back with "sources" so that the user can see the documents that were used for responding.
To set that up, use below API method:
# Get search results from a document retreiver
sources = client.get_matching_documents()

# Pass that into the agent context
client.set_agent_response_document_sources(sources)
Note: This method is only used to make the end result prettier for the end user, and allow him to navigate through the data used to generate a response. It does not actually pass that context to the AI Agent - that is handled purely through the code as shown in the previous end to end example.
Additionally, you can add functionality for users to upload documents. Your main node function would look something like this:
def chat_handler(query, file_upload = None):
    # Handle file upload as normally
    # Handle chat as normally
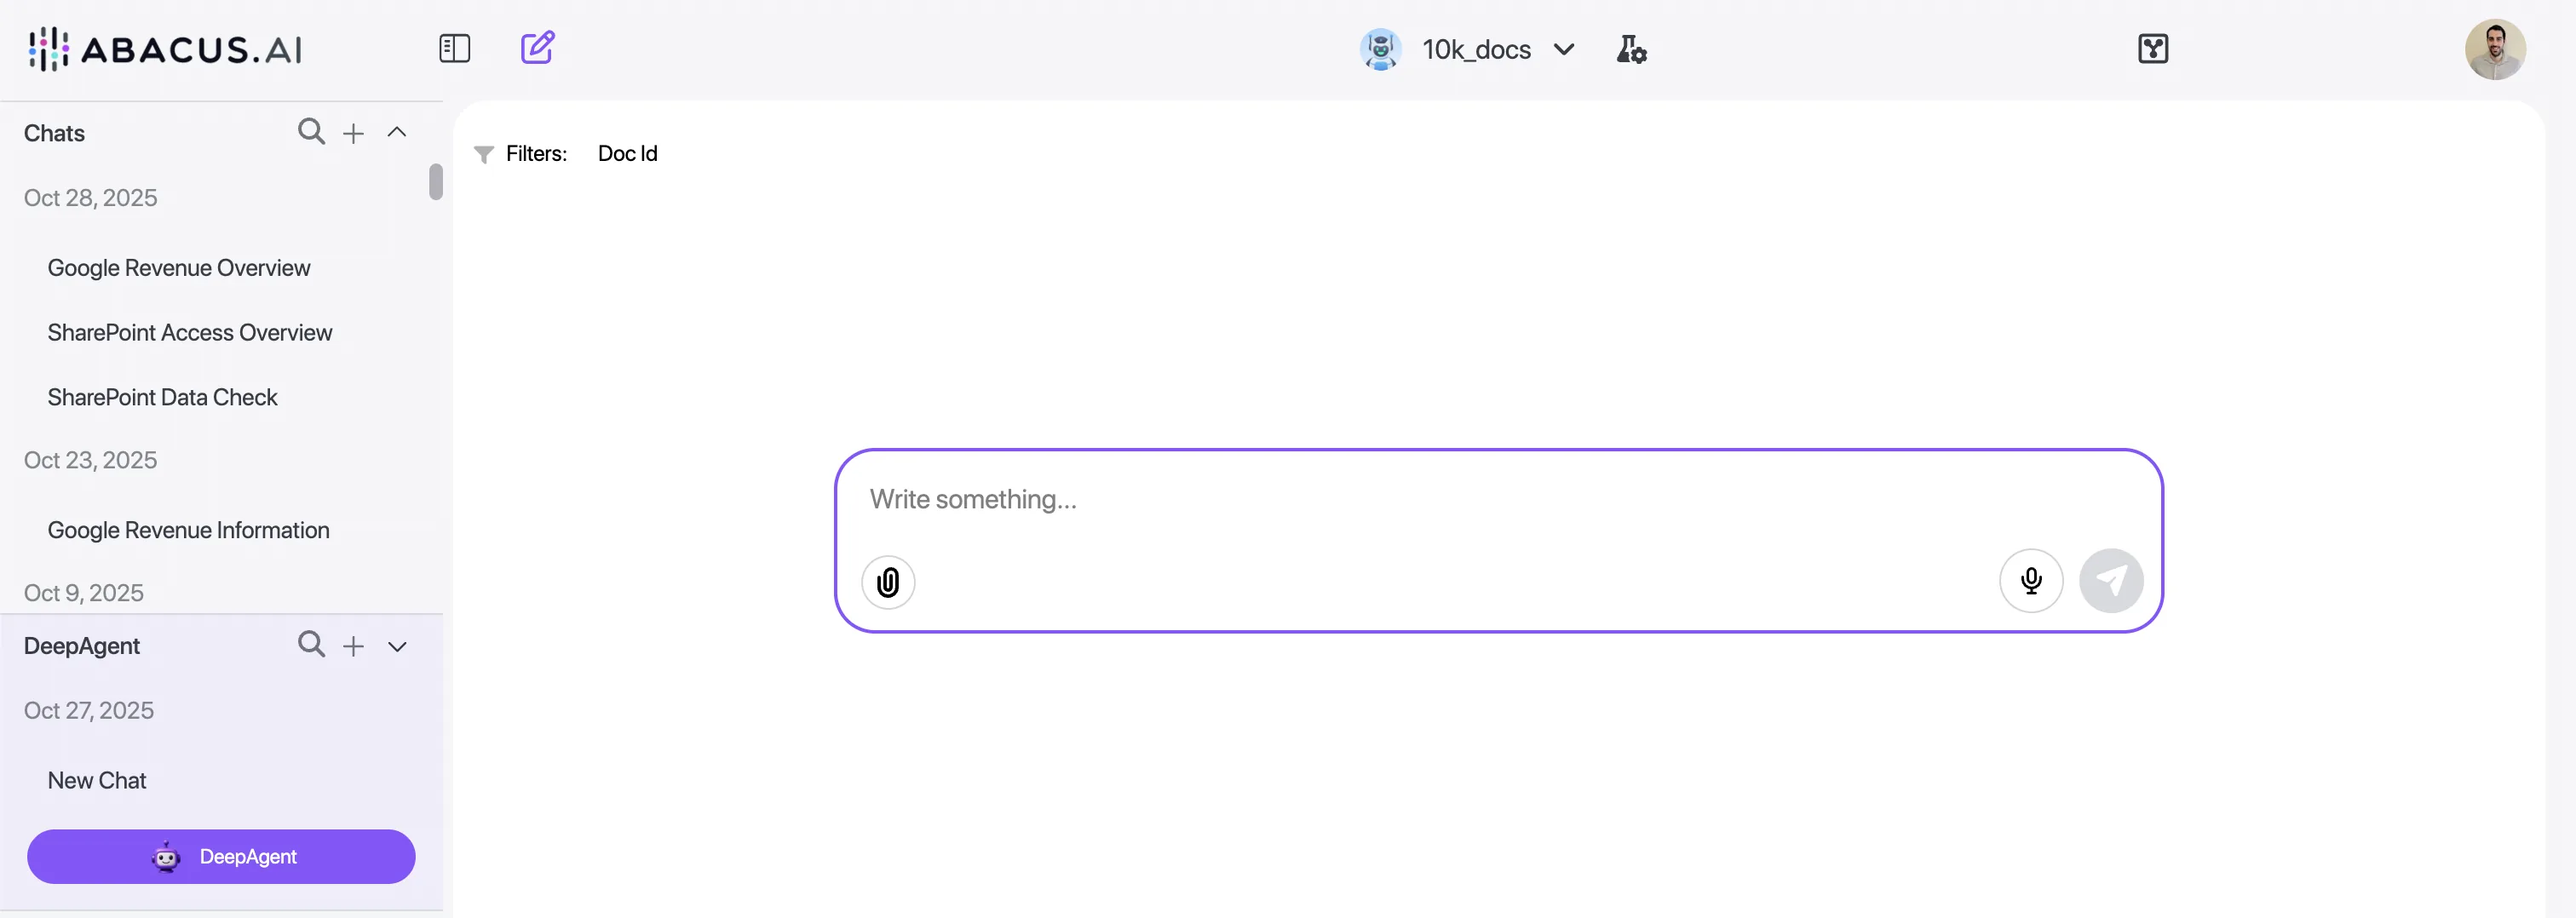
The second variable (named file_upload in this example) can be customized to any name you prefer. Simply including a second variable will automatically display the paperclip icon on the frontend, enabling users to upload documents.
Note: No special input mappings are required to allow for file upload. The existence of a second variable is enough.