SharePoint user connector: Custom OAuth
With Custom OAuth, your organization's own Microsoft Entra app registration is used instead of the Abacus.AI one. You add the delegated permissions to it yourself: the read-only set for a read-only connector, or the write set if your users need to create or modify SharePoint content.
Step 1: Register the Entra app
- Register an app in Microsoft Entra following the Microsoft documentation.
- Add the redirect URI
https://abacus.ai/oauth/callbackso Abacus.AI can complete the OAuth authorization flow. - Under API permissions, add the delegated permissions for the access level you want: the read-only set or the write set. Include the SharePoint scopes as well as the Microsoft Graph scopes.
- Grant admin consent for those permissions from App registrations → your app → API permissions → Grant admin consent.
- Create a client secret and note the Client ID and Client Secret.
Step 2: Create the config connector
- Go to the Connected Services Dashboard. You can click your profile in the top right and then click Manage Connectors.
- Click Add New Connector, select SharePoint from the list, and turn the Config Only toggle on.
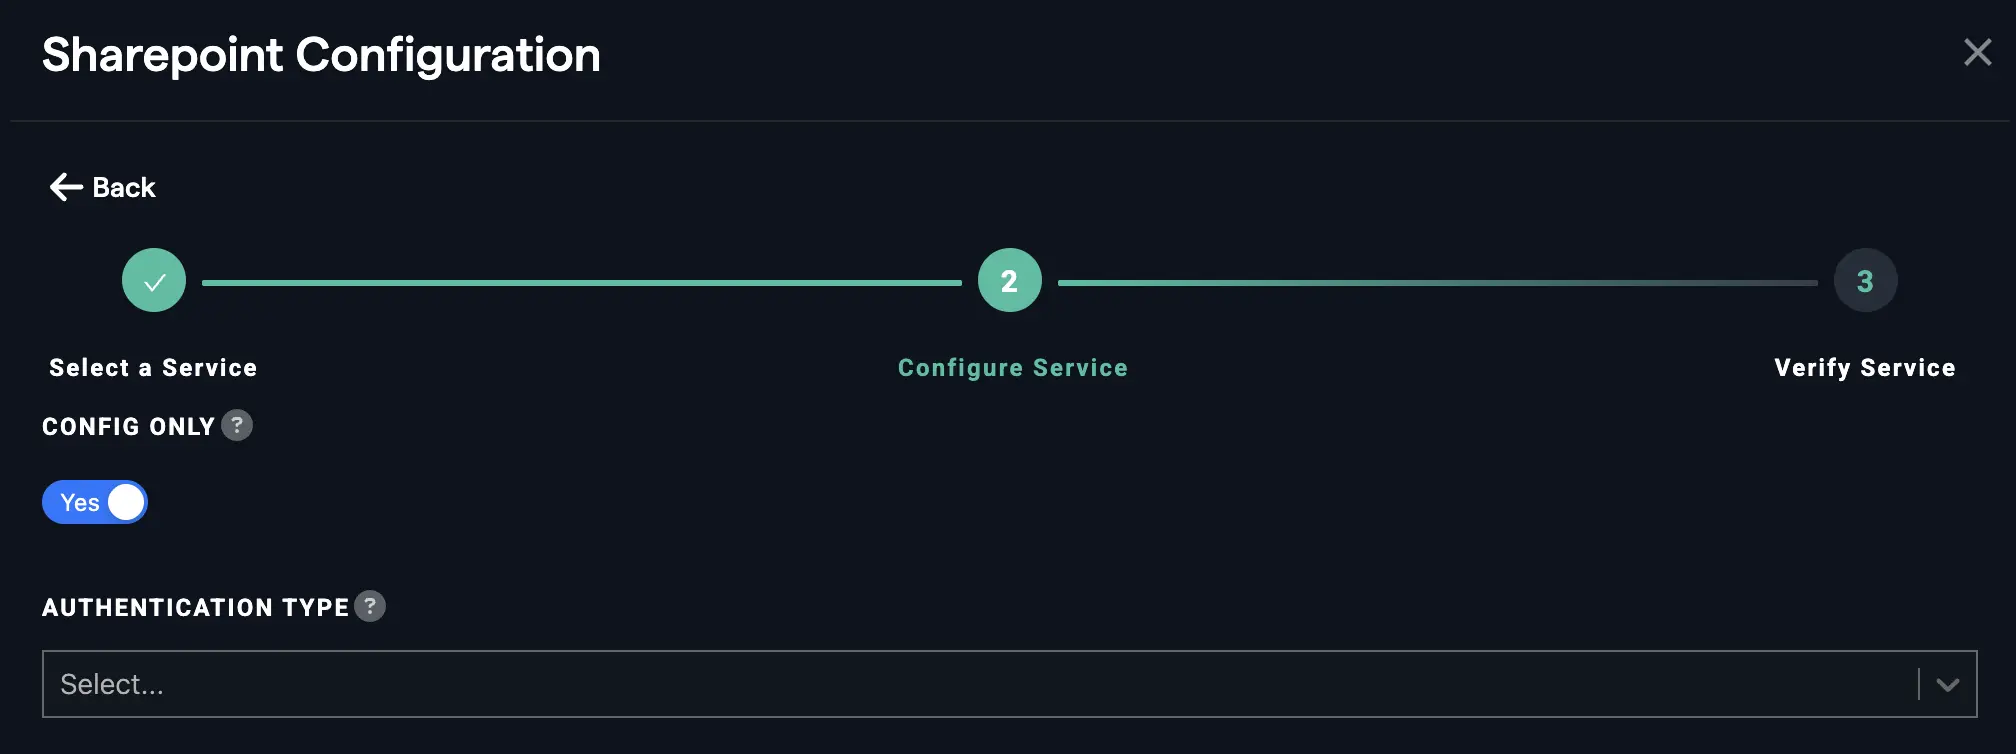
- Under Authentication Type, select Custom OAuth.
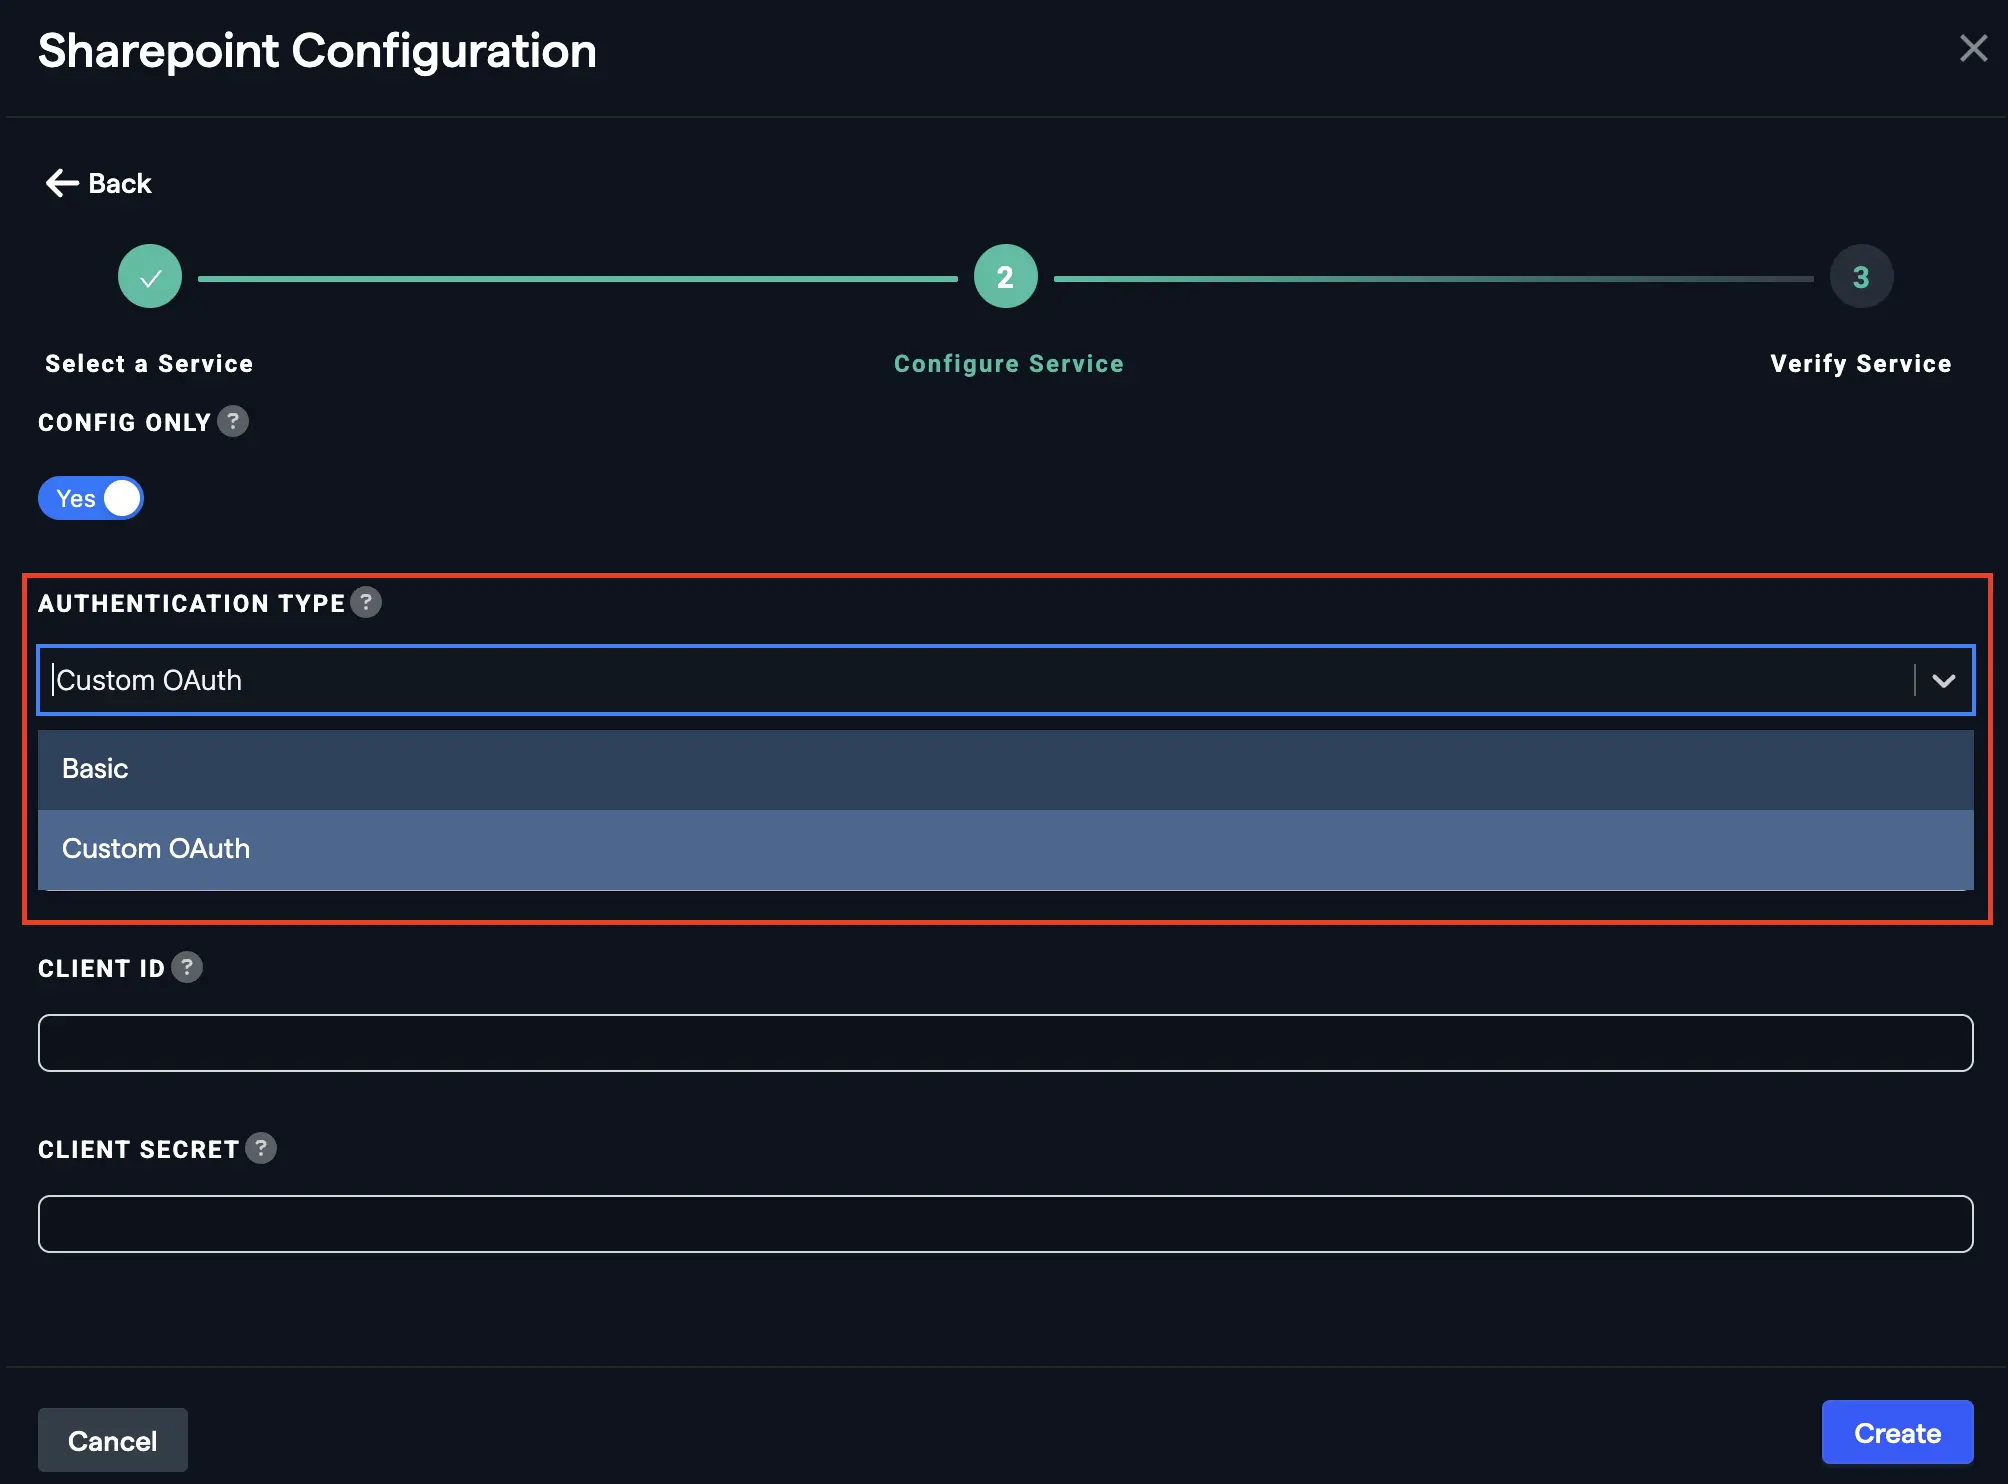
- Enter the SharePoint site URL, and the Client ID and Client Secret of your app.
- (Optional) Turn Multi User Connector on only if you want to use multiple SharePoint config connectors to reach multiple SharePoint environments.
- Click Create.
Next step
Return to Use SharePoint in ChatLLM. Users who had already connected SharePoint must reconnect it from Profile → User Connectors so their connection uses your app.