QuickBooks Connector Documentation
- Connect your QuickBooks to Abacus.AI
- How to Use the QuickBooks Connector
- Supported QuickBooks Entities
- Using QuickBooks Data
Connect your QuickBooks to Abacus.AI
The QuickBooks connector uses OAuth 2.0 to securely authenticate with your QuickBooks Online account via Intuit. No API keys are needed — simply log in and authorize Abacus.AI.
Step 1: Open Connected Services
-
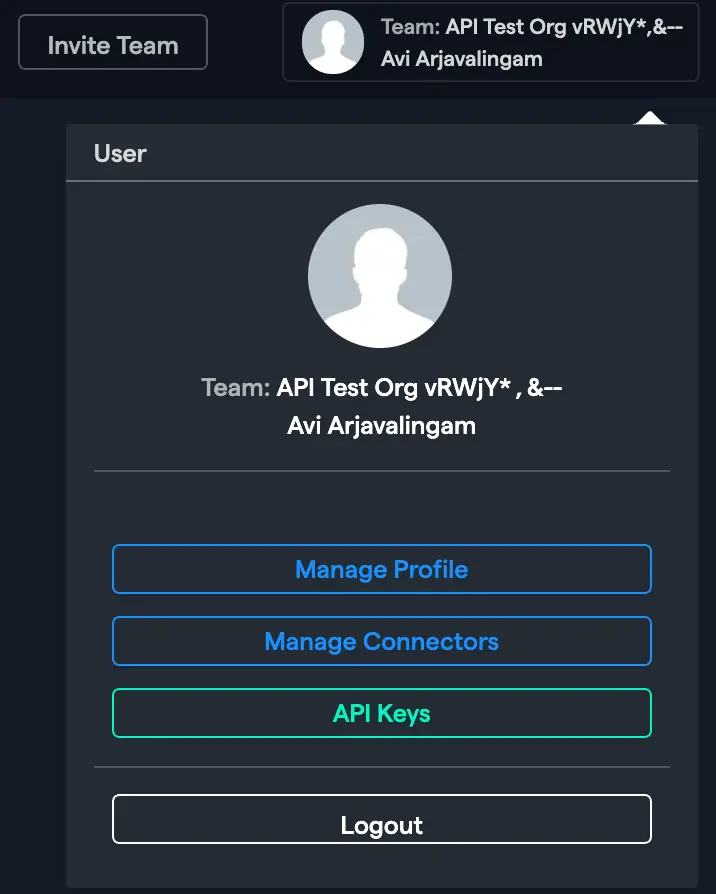
In the Abacus.AI interface, click on your profile picture in the top right corner.

-
Select "Manage Connectors" from the dropdown menu.
Step 2: Add a New QuickBooks Connector
-
Click on "Add New Connector", then choose "QuickBooks" from the list of available services.
-
Enter a name for your connector in the Connector Name field.
-
(Optional) Enter your Company ID (also called the Realm ID). You can find this in QuickBooks Online under Settings → Additional information. This is optional at connect time and can be added later by editing the connector, but it is required before the connector can make API calls.
-
Click "Connect QuickBooks" to initiate the OAuth flow. You will be redirected to Intuit's authorization page where you can log in and grant the requested permissions.
-
After authorizing, you will be redirected back to Abacus.AI and your connector will be verified.
Config Only Mode (Advanced)
If you want to pre-configure the connector without immediately authenticating (for example, to customize OAuth scopes or to set up a config connector for user-level connectors), toggle Config Only to "Yes". This reveals a Scopes selector where you can choose which QuickBooks permissions to request.
Available Scopes
| Scope | Description |
|---|---|
com.intuit.quickbooks.accounting | Full access to QuickBooks Online accounting data (required) |
email | Access to the user's email address |
openid | OpenID Connect authentication |
profile | Access to the user's profile information |
All scopes are selected by default. The com.intuit.quickbooks.accounting scope is required and cannot be removed.
How to Use the QuickBooks Connector
Once the QuickBooks connector is set up, you can import accounting data into Abacus.AI for analysis and model training.
Creating a Dataset
-
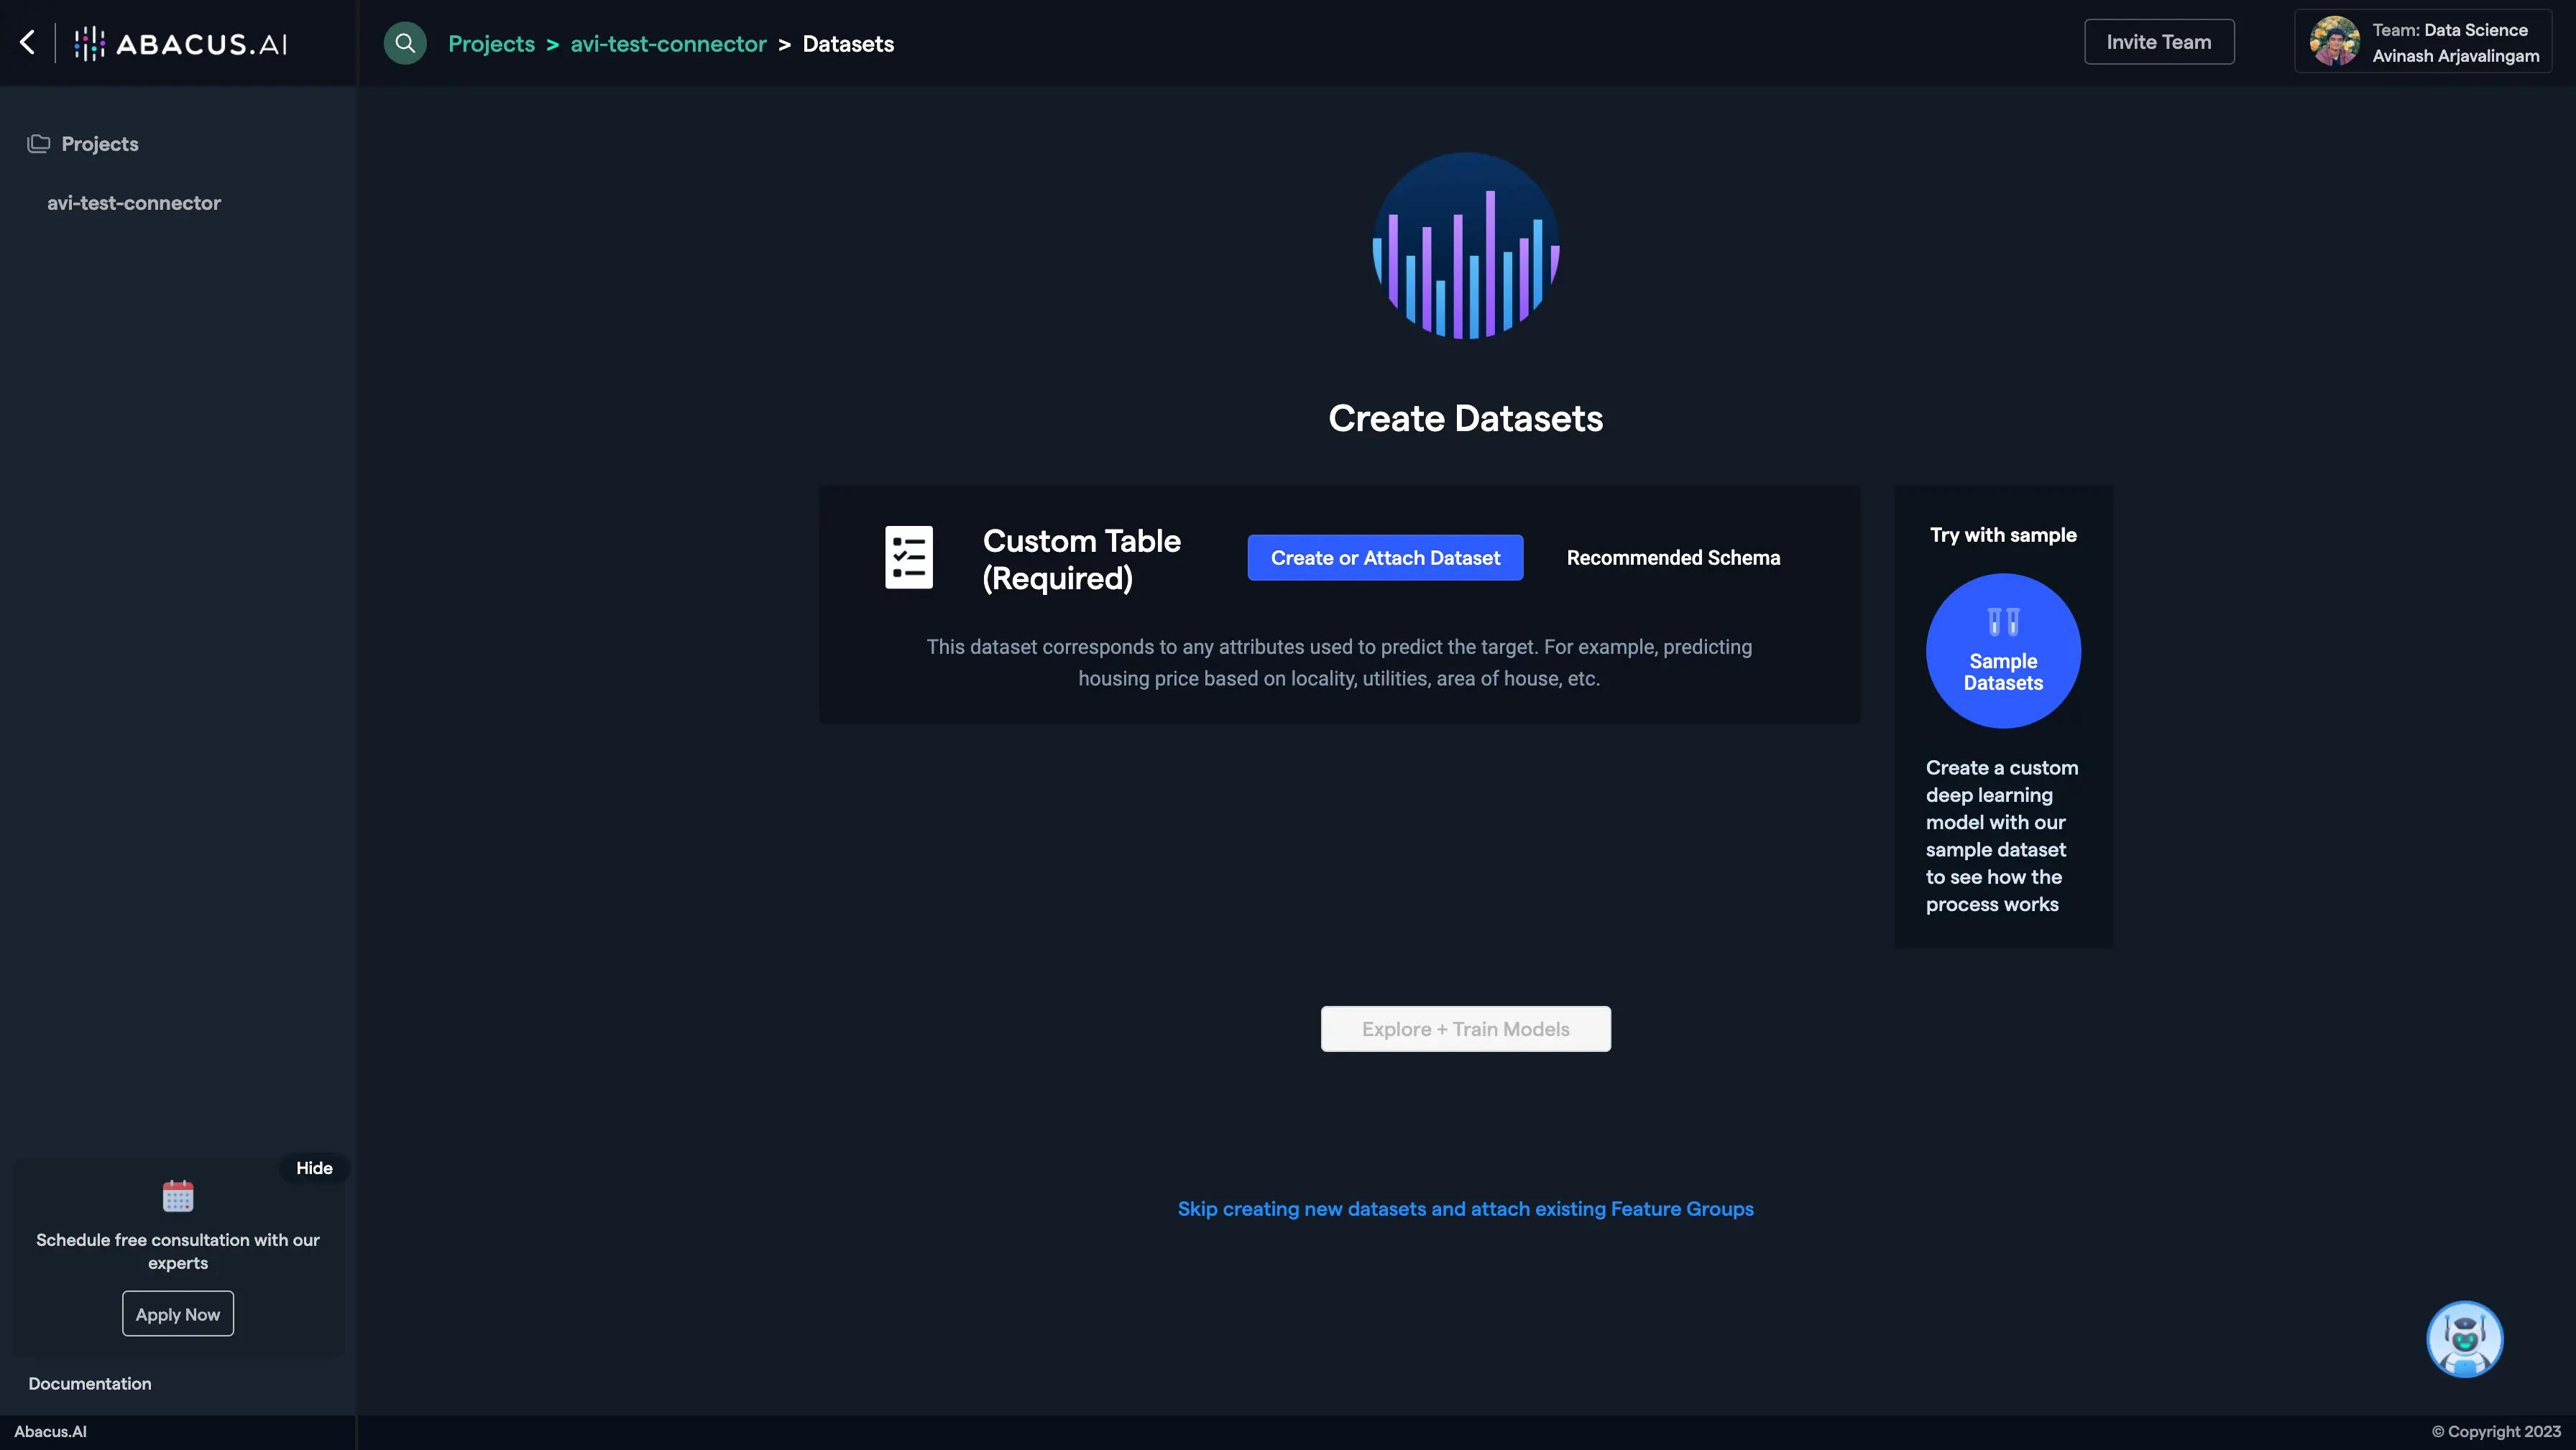
Create a new project and select the use case, then go to the Datasets tab and click "Create Dataset".
-
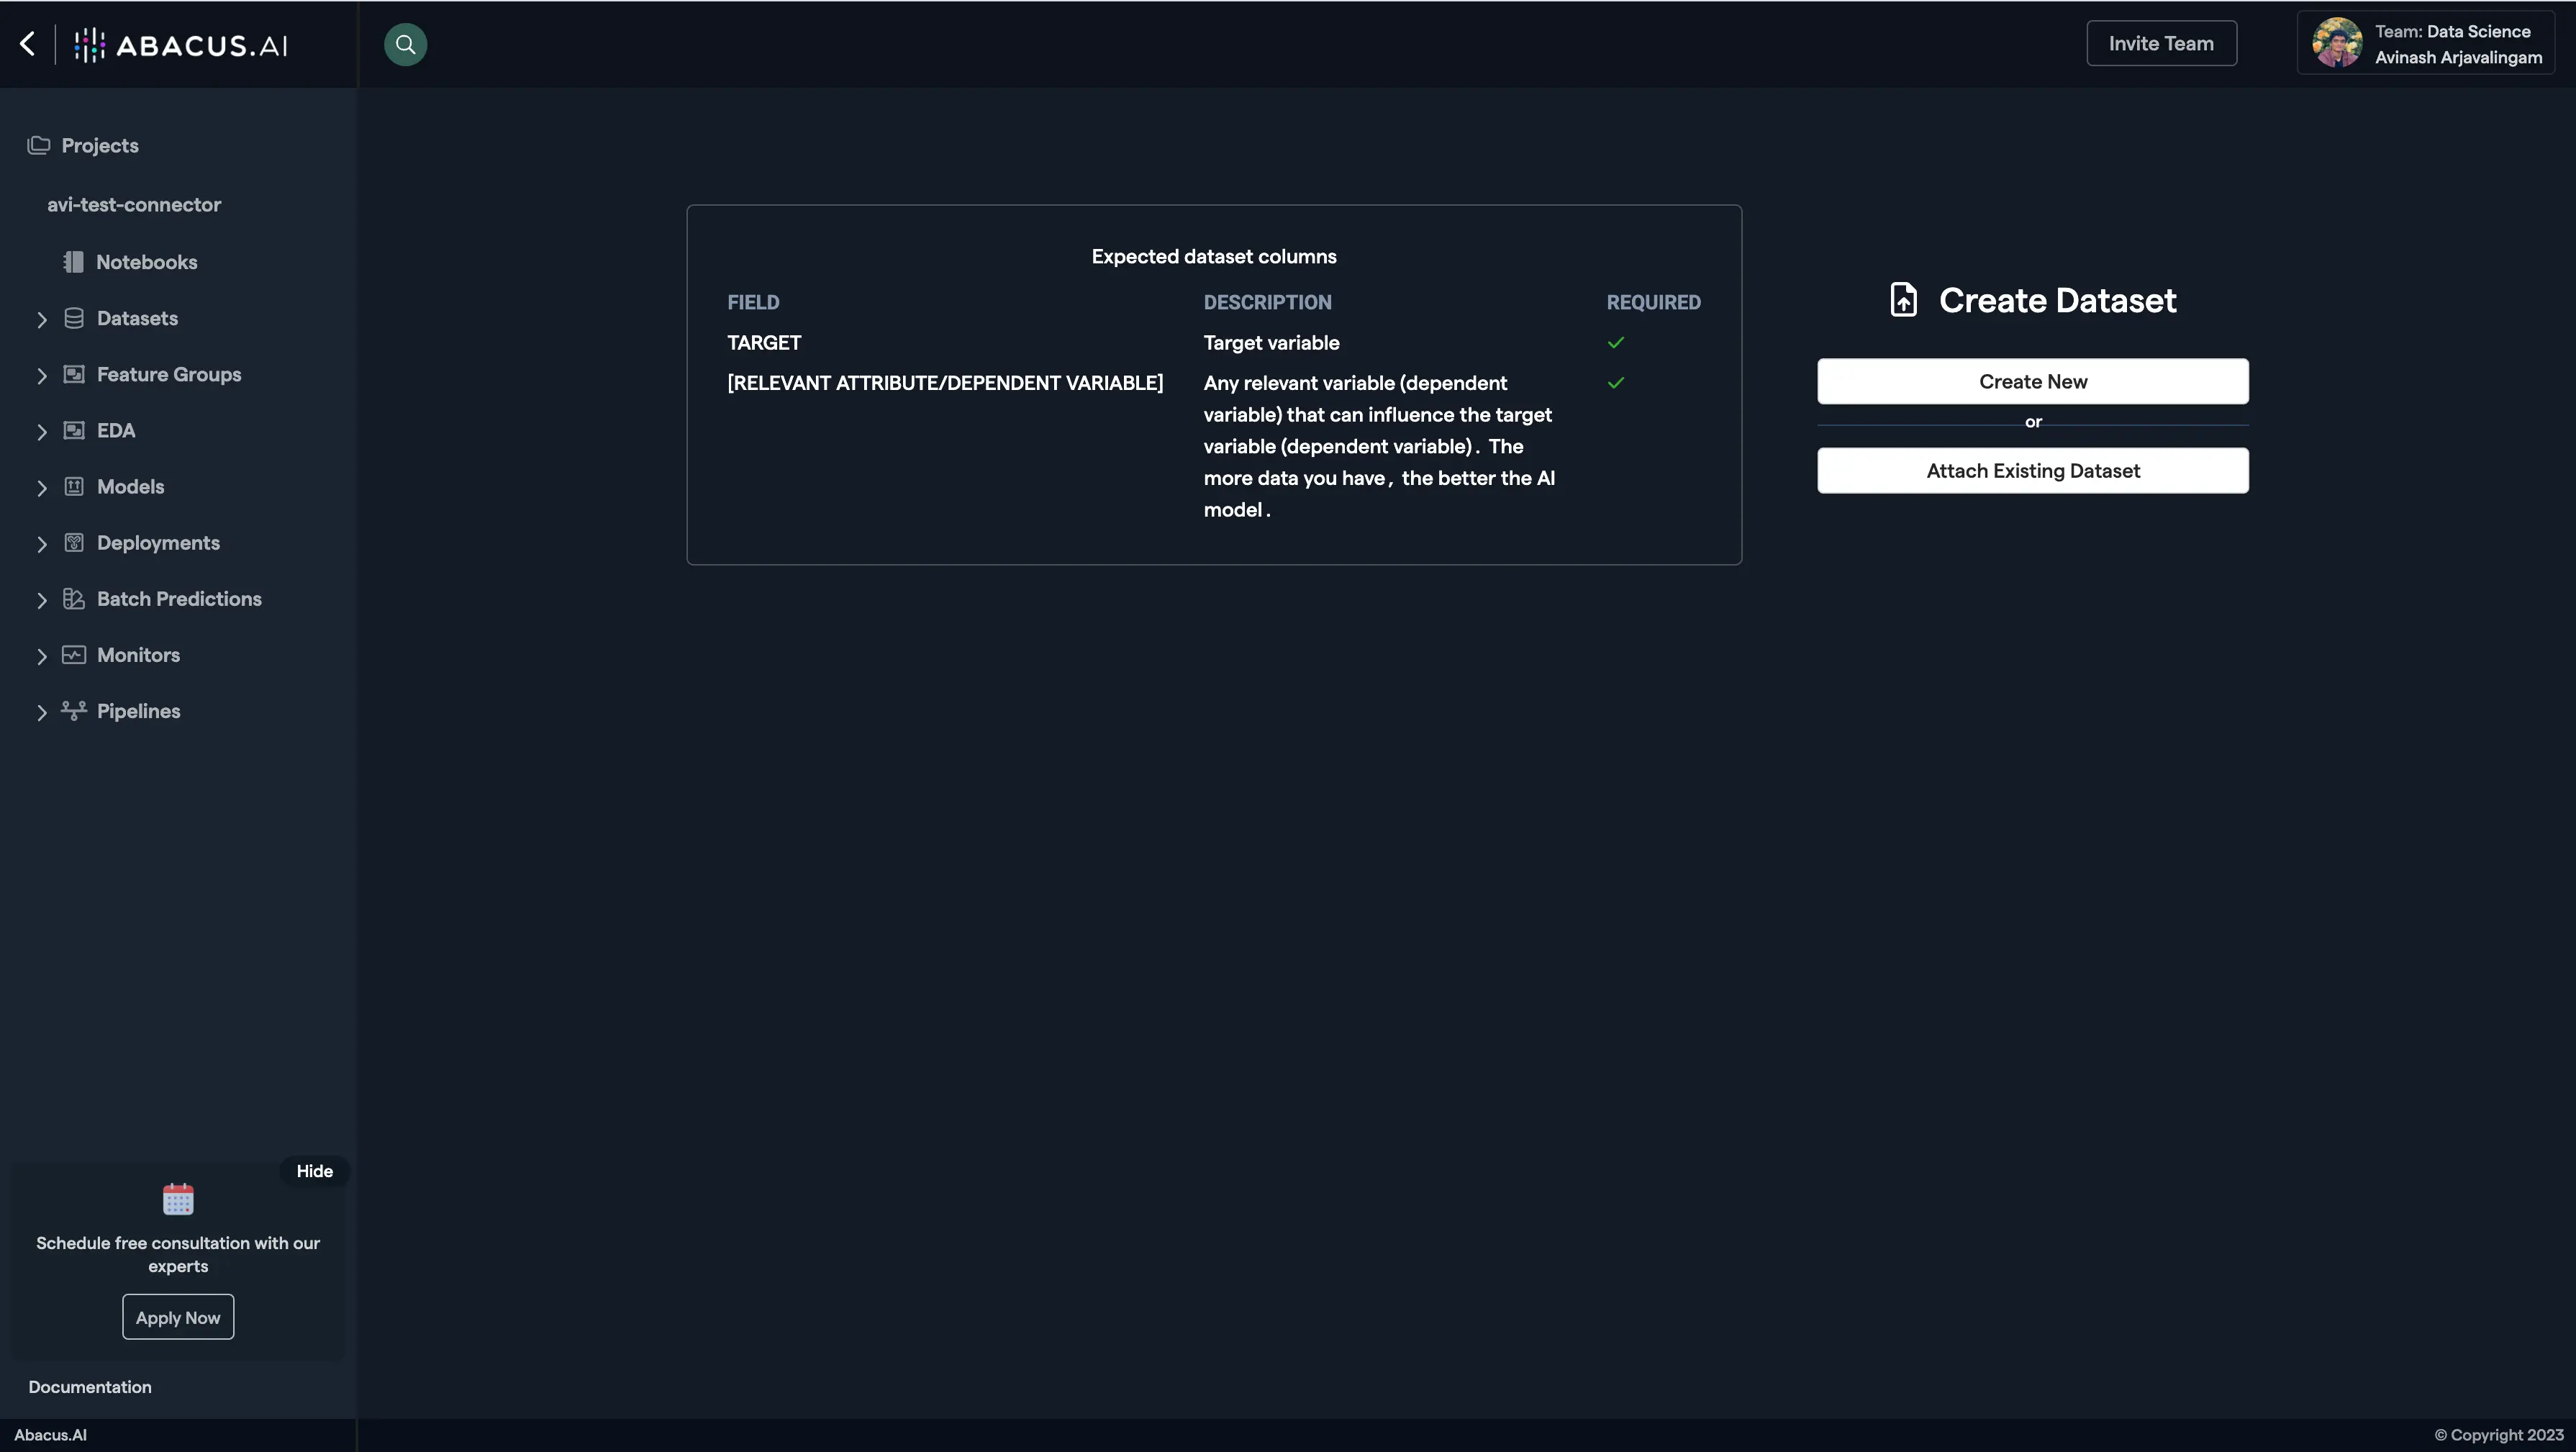
Click on "Create New" and name the dataset.
-
Choose "Read from External Service" and select your QuickBooks connector under "Application Connectors".

-
Configure the dataset import options:
- QuickBooks Entity: Select the entity type you want to import (e.g., Customer, Invoice, Item). See the full list of supported entities below.
-
After configuring the data import options, proceed to upload the dataset.
-
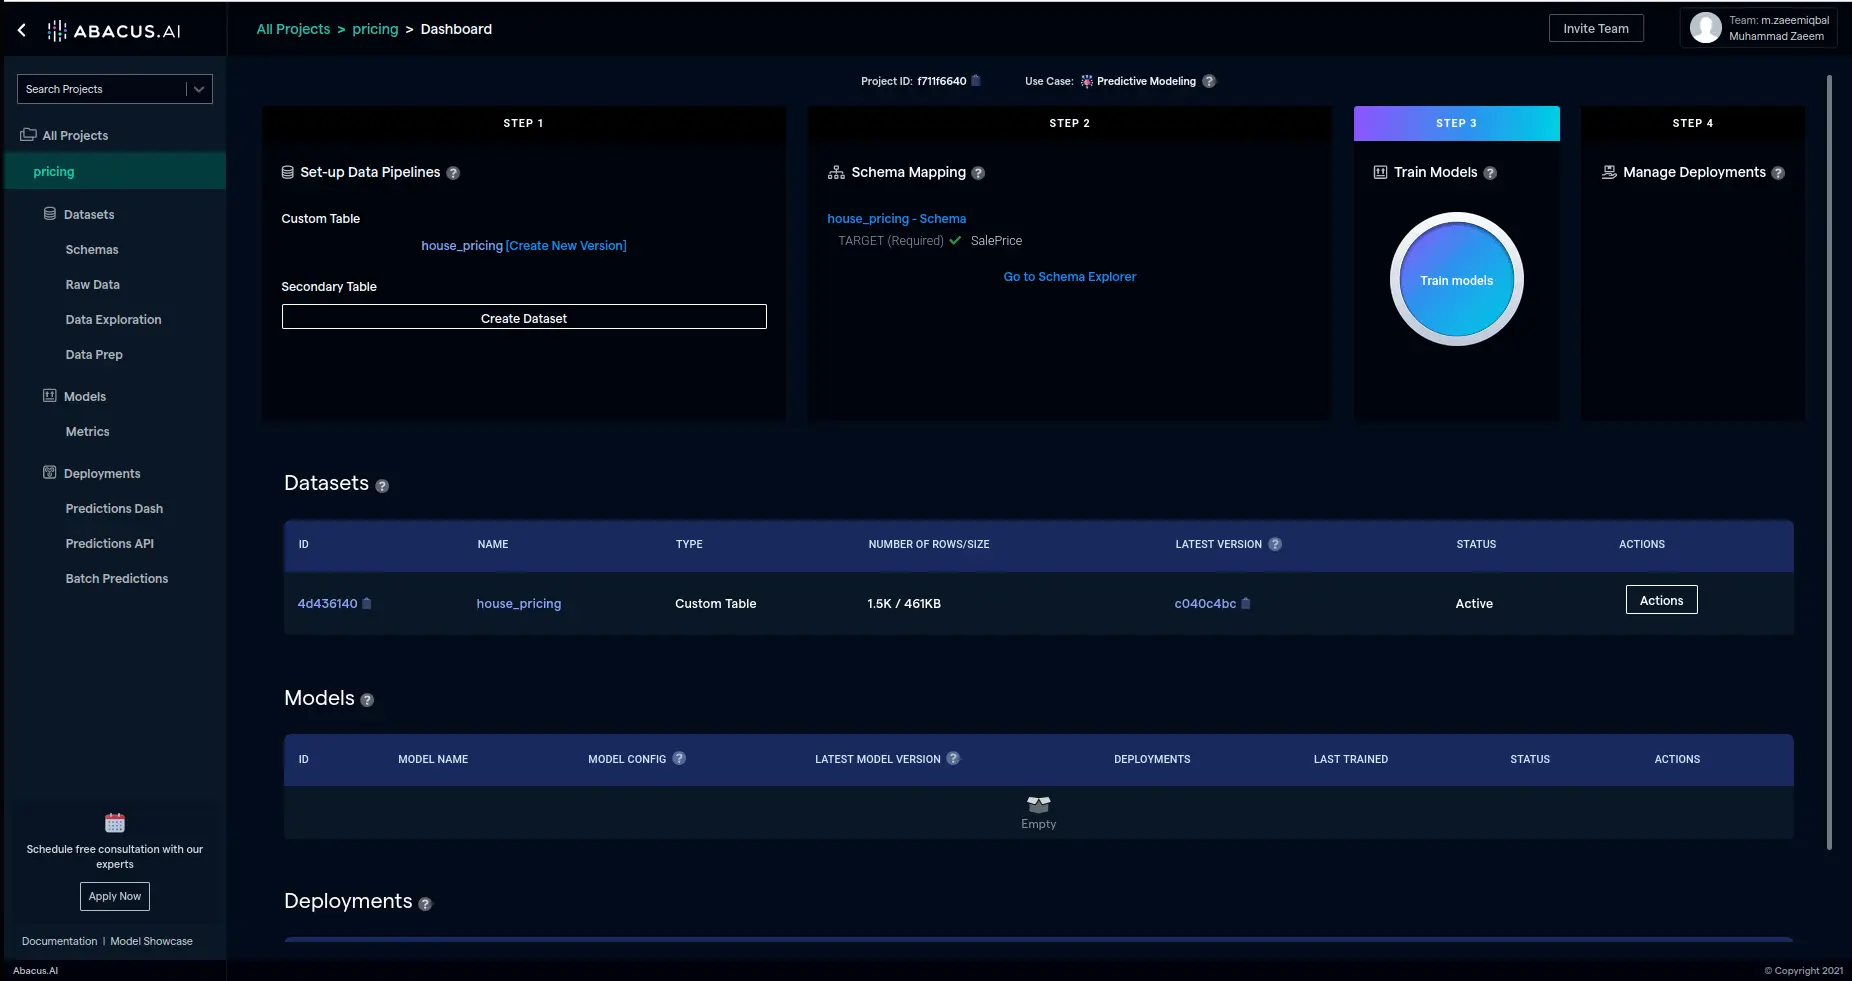
Once the dataset is uploaded, configure the schema mapping and train models with the data.
Supported QuickBooks Entities
The QuickBooks connector supports importing the following QuickBooks Online entities:
| Entity | Description |
|---|---|
| Customer | Customers and clients in your books |
| Vendor | Suppliers and vendors you do business with |
| Employee | Employees on your payroll |
| Invoice | Sales invoices issued to customers |
| Bill | Bills received from vendors |
| Payment | Payments received from customers |
| Purchase | Purchase transactions (checks, credit card charges, etc.) |
| Estimate | Estimates / quotes sent to customers |
| CreditMemo | Credit memos issued to customers |
| SalesReceipt | Sales receipts for immediate payments |
| Account | Chart of accounts entries |
| JournalEntry | Manual journal entries |
| BillPayment | Payments made to vendors |
| Item | Products and services in your catalog |
| TaxCode | Tax codes configured in your books |
| TaxRate | Tax rates associated with tax codes |
| Department | Departments / locations for tracking |
| Class | Classes for categorizing transactions |
| CompanyInfo | Company profile and settings |
Exported Data Format
Each dataset record includes all fields returned by the QuickBooks Online API for the selected entity. Nested objects (e.g., CustomerRef.value) are flattened using dot notation, and list-valued fields are JSON-serialized. Common fields across all entities include:
- Id — QuickBooks record ID
- SyncToken — Optimistic concurrency token
- MetaData.CreateTime — Record creation timestamp
- MetaData.LastUpdatedTime — Last modification timestamp
Using QuickBooks Data
- DataLLM Use Case: QuickBooks data is ideal for structured data interactions, such as querying invoices, analyzing revenue trends, tracking outstanding bills, or generating financial reports.
- ChatLLM Use Case: QuickBooks data is treated as a custom table and cannot be directly used in ChatLLM projects as a document source.
- Combined Data+ChatLLM Use Case: QuickBooks data can be combined with other data sources (documents, emails, etc.) to provide conversational insights alongside structured financial data.
Troubleshooting
If you encounter issues:
- Invalid connector status: Your OAuth tokens may have expired. Delete the connector and re-authenticate.
- Missing Company ID: The QuickBooks tool requires a Company ID (Realm ID) to call the QBO API. Edit the connector and add it under "Company ID". You can find it in QuickBooks Online under Settings → Additional information.
- Empty datasets: Verify that the selected entity contains records in your QuickBooks Online account.
- Permission errors: Ensure the
com.intuit.quickbooks.accountingscope was granted during OAuth authorization.